Page 9For technical questions, please call 1-800-444-3353.SKU 68126
OPERATING INSTRUCTIONS
Read the ENTIRE IMPORTANT
SAFETY INFORMATION
section at the beginning of this
manual including all text under
subheadings therein before set up
or use of this product.
Charging the Battery Pack
The Battery Pack (ITEM 68059) needs to
be charged before rst use. Recharge
the Battery after every use.
Remove the Battery Pack by pressing on 1.
the striped side tabs and sliding it out.
Then set the Pack and Charger on a dry
reproof surface in a room where the
temperature ranges from 50-104° F.
NOTE: Allow a recently used Battery Pack
to cool completely before charging.
Also make sure the Battery Pack is
undamaged; do not charge a cracked or
leaking pack.
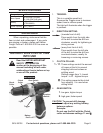
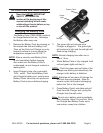
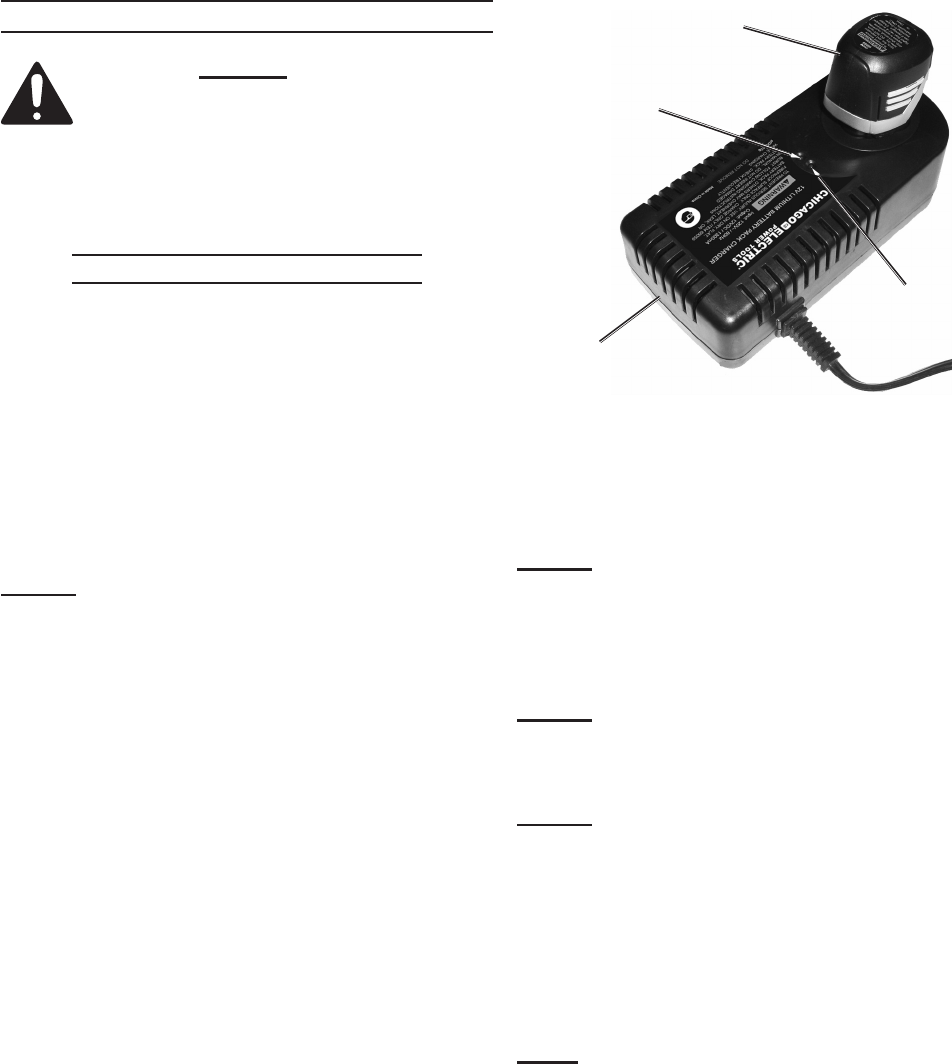
Insert Charger’s plug into a grounded, 2.
120V~ outlet. Then slide Battery Pack
into Charger’s battery port, making sure
Battery Pack’s tabs snap into place and
Battery Pack is secure before charging.
Green
Light
Red Light
Charger
Battery Pack
3. The green light will activate once
Charger is plugged in. The green light
will continue to light and the red light will
ash during charging.
NOTE: Normal charging time after use is
about 1 hour.
When Battery Pack is fully charged, both 4.
red and green lights will stay lit.
NOTE: If both the green and red lights of the
charger are blinking simultaneously, the
charger or the battery is defective.
NOTE: Batteries will not reach full charge the
rst time they are charged. Allow for
several cycles (drilling and recharging)
before the Tool is fully charged.
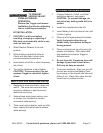
Press Battery Pack’s side tabs and pull 5.
Pack from the Charger and unplug the
Charger from the wall outlet.
Note: Do not use a battery pack immediately
after charging. Allow it to cool rst. Store
the Charger and Battery Packs not in
use indoors, away from children.


