SKU 93781 For technical questions please call 1-800-444-3353. Page 10
Note: The monitoring voltage of the Battery Charger is 10.5V; if the voltage is below 10.5V, the
Battery Charger will not work. A battery must be properly connected to the charger to
allow it to work. For best results, the capacity of the battery should be below 24 Ah.
Operation (cont’d)
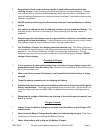
1. Place the Battery Charger on a stable, flat surface.
2. Connect the Red Charging Clamp (15) to the positive (+) terminal of the battery (if the
Negative [–] post is grounded to the chassis, as in most vehicles) -refer to specific guidelines
on page 9.
3. Connect the Black Charging Clamp (15) to the appropriate site, depending on the specific
usage as outlined on page 9.
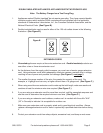
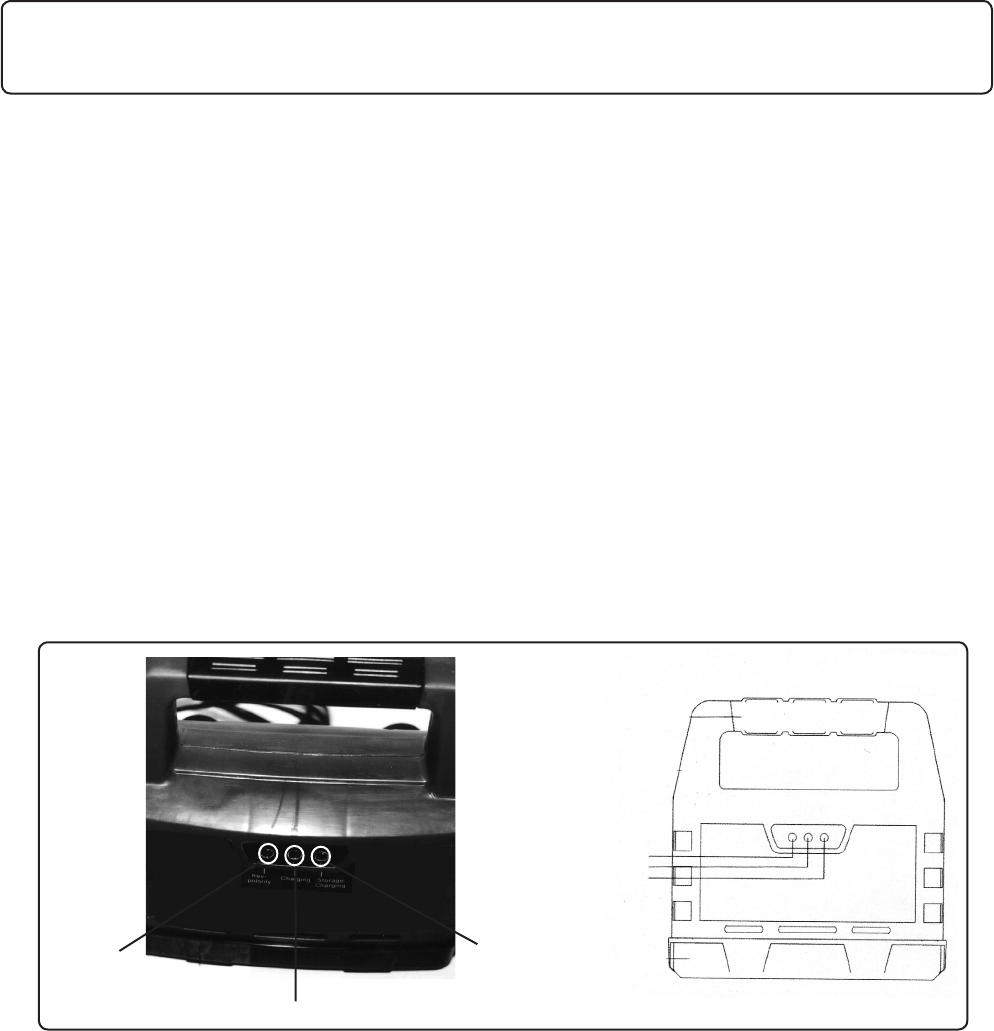
4. Plug the Input Power Cord (14) into the nearest 115V, grounded, electrical outlet. The
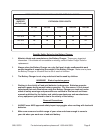
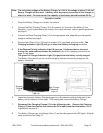
Charging Indication Light (B) will go on when the battery is charging-see below.
5. If the Reverse Polarity Indication Light (A) goes on, it indicates that an incorrect
hookup has occurred/connections are reversed (refer to the clamping instructions on
page 9)- see below.
The green Full Charge Indication Light (C) signals that the battery is fully charged.
The Battery Charger will put out a trickle charge to maintain the existing charge on the
battery -see below.
6. Leave the Automatic Battery Charger plugged in to the nearest outlet and attached to the
battery until the battery is to be used. Then unplug and remove the Battery Charger.
7. Disconnect the Charging Clamps (15) in the following order: Remove the Charging
Clamp (15) from the chassis, then remove the DC output clamp from the battery. (Refer
to guidelines on page 9.)
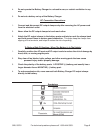
8. The Battery Charger has two Storage Posts (7) on the side opposite the LED lights. Wrap all
cords around the two Posts (7).
Charging Indication
Light (4)
Reverse
Polarity
(3)
Full Charge
Indication
Light (5)
3
4
5


