


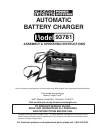

SKU 93781 For technical questions please call 1-800-444-3353. Page 9
WARNING! The warnings, precautions, and instructions discussed in this manual cannot
cover all possible conditions and situations that may occur. The operator must understand
that common sense and caution are factors which cannot be built into this product, but
must be supplied by the operator.
Unpacking
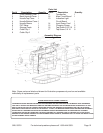
When unpacking the Automatic Battery Charger, check to make sure parts on page 11 are included.
If any parts are missing or broken, please call HARBOR FREIGHT TOOLS at 1-800-444-3353.
Operation
1. Determine which post of the battery is grounded (connected) to the chassis of the
vehicle.
If the NEGATIVE (–) post is grounded to the chassis (as in most vehicles), attach the
POSITIVE (+) DC output clamp to the POSITIVE (+) battery post and connect the NEGATIVE
(–) DC output clamp to a clean, thick, metal area on the vehicle chassis or engine block away
from the battery. Do not connect the NEGATIVE (–) DC output clamp to the carburetor, fuel
lines, or thin sheet metal body parts.
If the POSITIVE (+) post is grounded to the chassis, attach the NEGATIVE (–) DC output clamp
to the NEGATIVE (–) battery post and connect the POSITIVE (+) DC output clamp to a clean,
thick, metal area on the vehicle chassis or engine block away from the battery. Do not connect
the POSITIVE (+) DC output clamp to the carburetor, fuel lines, or thin sheet metal body parts.
2. When disconnecting the Battery Charge from the battery, turn all switches of the
Battery Charger to their “OFF” position. Unplug the AC input power cord from its
electrical outlet. Remove the DC output clamp from the vehicle chassis. Then, remove the
DC output clamp from the battery.
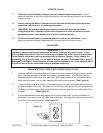
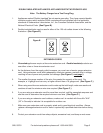
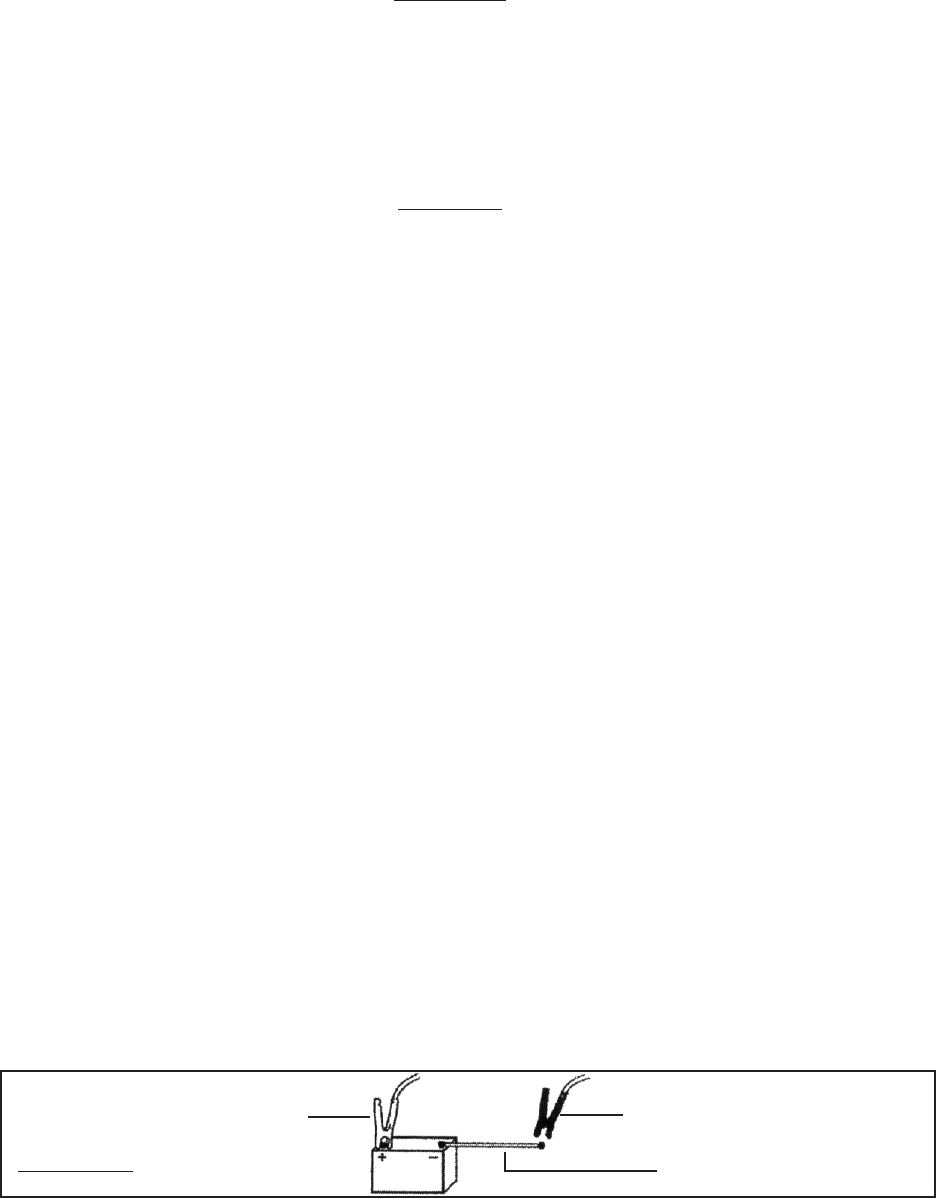
To Reduce Risk Of Sparking - When The Battery Is Outside The Vehicle:
1. Check the polarity of the battery posts. A POSITIVE (+) battery post usually has a
larger diameter than a NEGATIVE (–) battery post.
2. Attach at least a 24 inch long, 6 gauge (AWG), insulated battery cable to the
NEGATIVE (–) battery post-see Figure A below.
3. Connect the POSITIVE (+) DC output clamp to the POSITIVE (+) post of the battery.
4. Position yourself and the free end of the 24 inch long, 6 gauge (AWG), insulated
battery cable as far away from the battery as possible. Connect the NEGATIVE (–) DC
output clamp to the free end of the cable. Do not face the battery when making this final
connection. (See Figure A.)
FIGURE A
NEGATIVE (--)
DC OUTPUT CLAMP
POSITIVE (+)
DC OUTPUT CLAMP
24 INCH, 6 GAUGE BATTERY CABLE
(NOT INCLUDED)