


SKU 95094 For technical questions, please call 1-800-444-3353. PAGE 10
OPERATING INSTRUCTIONS
NOTE: For additional information regarding the parts listed in the following pages, refer to
the Assembly Diagram on page 14.
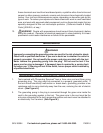
WARNING! Remove the Battery (23) from the tool and set the Locking Le-
ver (7) to its center, locked position before making any adjustments, changing
accessories, or storing the tool.
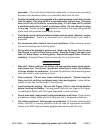
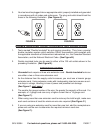
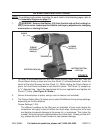
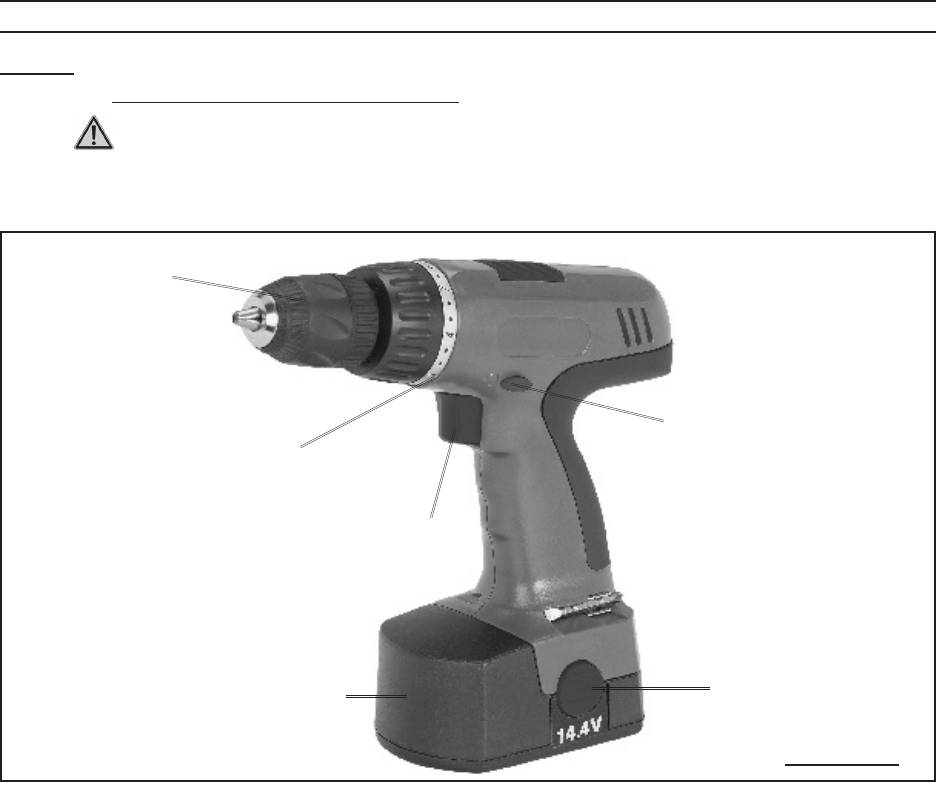
CHUCK
(1)
TORQUE
SETTING
RING (3)
LOCKING
LEVER (7)
TRIGGER (10)
BATTERY PACK (23)
FIGURE E
To install a drill/screwdriver bit, with the chuck pointing away from you, hold the
Chuck Sleeve firmly in place and turn the Chuck (1) counterclockwise. Insert the
shank of the bit all the way into the Chuck (1). While holding the Chuck Sleeve in
place, turn the Chuck clockwise to lock the bit in place. The Chuck (1) accepts up
to
3
/
8
” diameter bits. Insert the appropriate bit for your application and tighten the
Chuck (1) firmly. (See Figure E, above.)
Secure the workpiece in place, using a vise or clamps (not included).
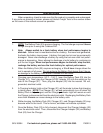
The Torque Setting Ring (3) allows you to select 20 different driving torque settings,
depending on the job required.
Torque Settings (1-20):
The different numbers on the Ring are an indication of how much torque the
screwdriver will apply to the bit before the clutch slips, allowing the bit to stop
and helping to prevent damage to the screw, bit, or workpiece. The higher the
number, the more torque is applied before the clutch slips. Unless you are drill-
ing, always start with a lower number to help prevent damage.
1.
2.
3.
4.
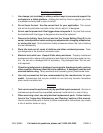
BATTERY BUTTON
LOCK (26)