


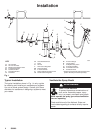
12 308640
Operation
Flush the Gun Daily
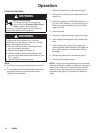
WARNING
INJECTION HAZARD
To reduce the risk of a fluid injection
injury, follow the Pressure Relief Proce-
dure on page 7 before cleaning,
removing, or installing a spray tip and whenever
you are instructed to relieve pressure.
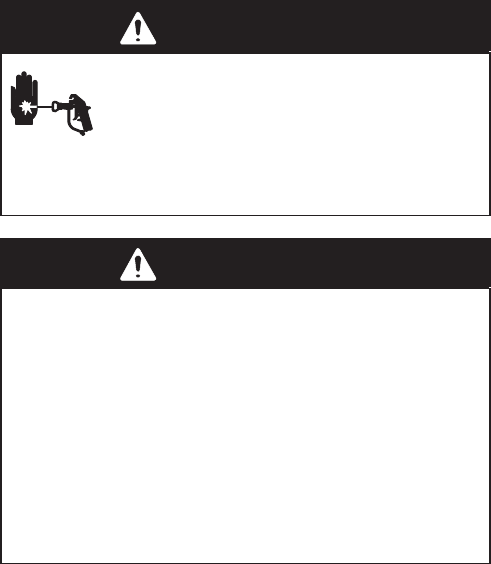
WARNING
To reduce the risk of serious injury, including
splashing fluid in the eyes or on the skin, or static
electric discharge when flushing:
D Be sure the entire system, including flushing
pails, are properly grounded.
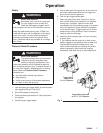
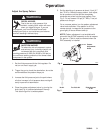
D Remove the tip guard and spray tip.
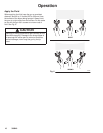
D Maintain metal-to-metal contact between the
gun and a grounded metal waste container. See
Fig. 7, page 11.
D Use the lowest possible pressure.
NOTE:
D Flush the pump and gun before the fluid can dry in
it.
D If it is available, the flushing procedure provided in
the pump or sprayer manual should be used
instead of this procedure.
1. Relieve the pressure as instructed on page 7.
2. Disconnect the atomizing air hose and the fluid
supply line.
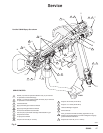
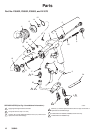
3. Remove the tip guard or AA RAC assembly (11),
air cap or RAC housing (13), and spray tip (14).
Refer to the parts drawing for your gun model
(page 18 or 20).
4. Clean the parts.
5. Connect a compatible solvent supply to the gun.
6. Start the pump and operate it at its lowest pres-
sure.
7. Hold a metal part of the gun firmly against a
grounded metal waste container, and trigger the
gun until all the paint is removed from the gun
passages.
8. Relieve the pressure as instructed on page 7.
9. Disconnect the solvent supply.
NOTE:
If the gun is being used with plural component
materials,
remove the needle cartridge and thoroughly
clean it with a soft brush to ensure that the material
does not cure in the spring area and make the gun
inoperable. See page 16 to remove the needle car-
tridge.