


ESTIMATED ASSEMBLY TIME 35 MINUTES
ASSEMBLY INSTRUCTIONS
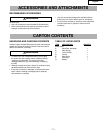
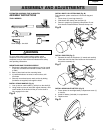
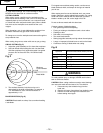
TOOLS NEEDED
For your safety, never connect plug to power source
receptacle until all assembly and adjustment steps are
completed, and you have read and understood the safety
and operating instructions.
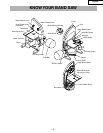
MOUNT BAND SAW TO WORK SURFACE
1. Band saw is designed to be portable so it can be moved
to job site, but should be mounted to stable, level bench
or table.
2. Base of band saw has four mounting holes.
3. If predrilled holes do not exist on work surface, drill
four holes.
4. Securely mount band saw to work surface by bolting
(hardware not supplied) it through the holes.
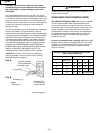
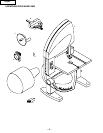
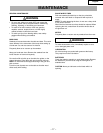
INSTALL CRANK HANDLE (Fig. A)
1. Line up slot on crank handle (1) with pin on the shaft (2).
2. Using mallet or piece of wood with regular hammer, drive
crank handle on the shaft until the pin on the shaft is
fully engaged in the slot.
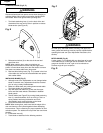
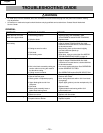
INSTALL DUST COLLECTION BAG (Fig. B)
Dust collection system consists of a 30-micron bag and
clamp.
1. Place clamp (1) over bag sleeve (2).
2. Slide sleeve with clamp over dust port (3).
3. Secure in position by tightening clamp down. Do not
force handle. Rotate handle to increase clamp size.
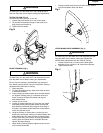
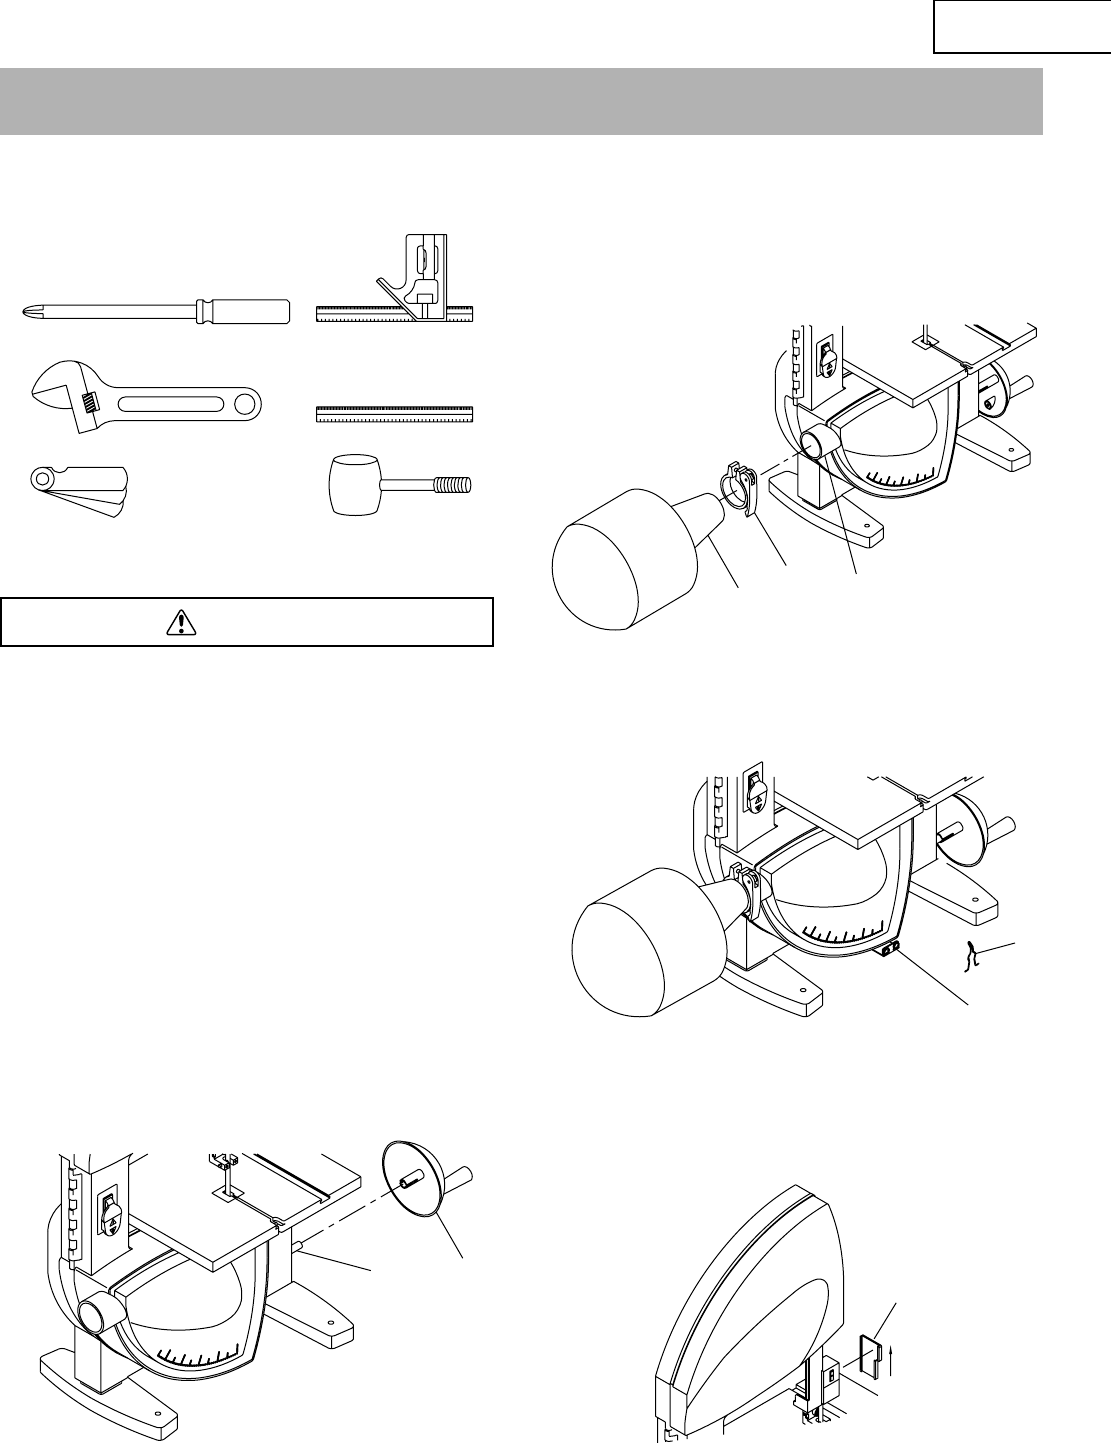
INSTALL POINTER (Fig. C)
1. Squeeze the ends of the pointer (1) inward and carefully
insert each end into the holes located on the bracket of
the pointer assembly (2).
INSTALL WORKLIGHT BATTERY (Fig. D)
1. Press upward on worklight battery compartment cover (1)
to remove.
2. Install 9V battery (included) in compartment.
3. Replace cover.
WARNING
English
– 11 –
ASSEMBLY AND ADJUSTMENTS
Phillips Screwdriver Combination Square
Adjustable Wrench
Straight Edge
Feeler Gauge - size 0.02 Mallet
Fig. A
2
1
Fig. B
Fig. C
3
1
2
1
2
Fig. D
1