— 12 —
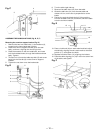
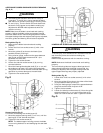
Fig. C
3
1
2
4
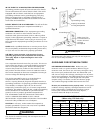
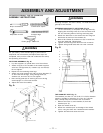
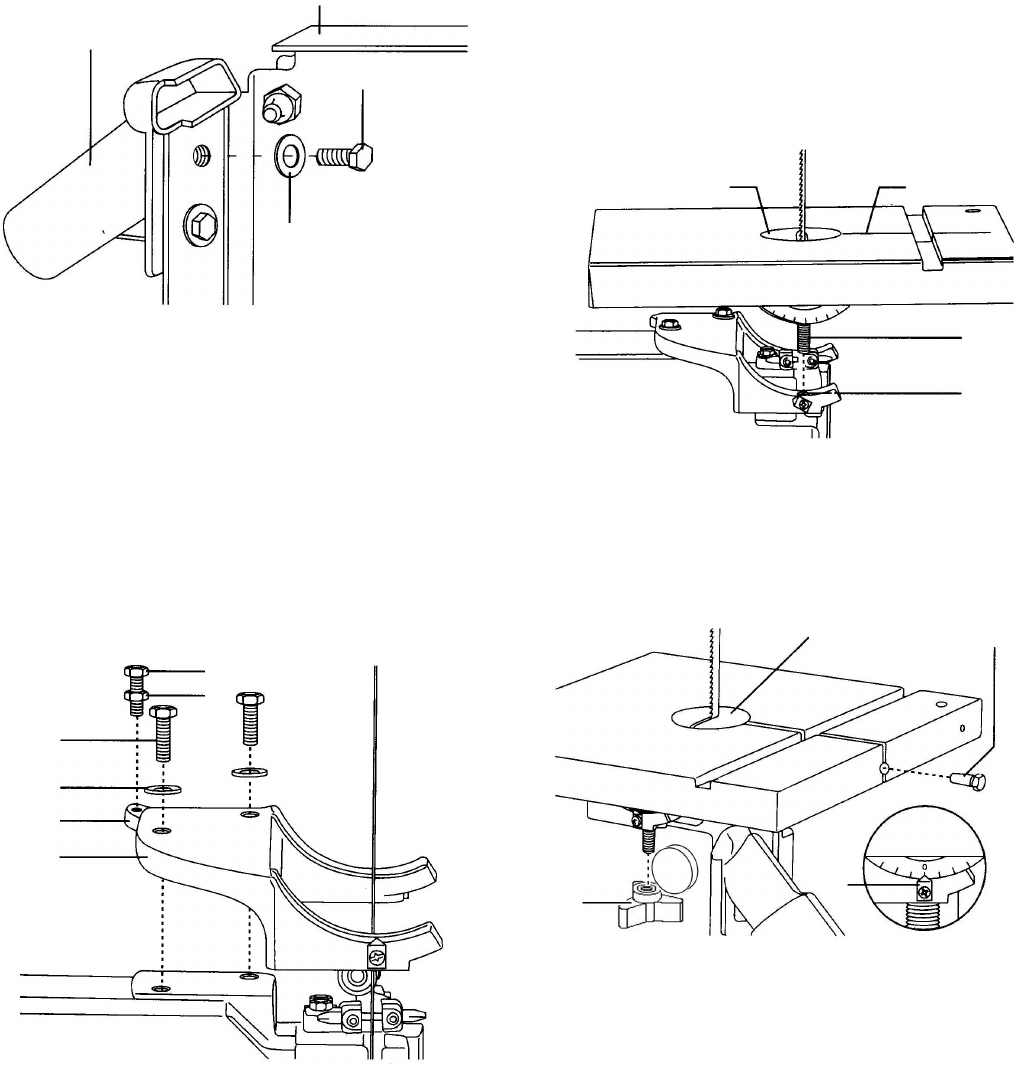
ASSEMBLE THE BAND SAW TABLE (Fig. D, E, F)
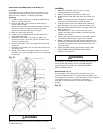
Mounting the trunnion support bracket (Fig. D)
1. Remove the two hex head bolts (1) and washers (2),
located on the lower band saw housing.
2. Place the trunnion support bracket (3) on the saw
body, as shown, aligning the mounting holes.
3. Place the washers on the hex head bolts, and insert
into the threaded holes, through the bracket and saw
body. Tighten.
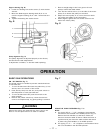
4. Thread a nut (4) onto the table stop bolt (5) and screw
bolts into the rear tab (6) on the trunnion support
bracket.
5. Tighten the nut down onto the bracket tab.
Fig. D
5
4
1
2
6
3
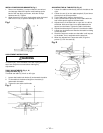
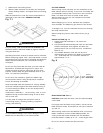
6. Turn the table right side up.
7. Remove the table insert (13) from the table.
8. Guide the table slot (14) over the saw table and
rotates 1/4 turn, so the slot is perpendicular to the
blade.
9. Placing the scale lock knob bolts (10) through the
trunnion bracket holes (15) as shown, lower the table
onto the trunnion bracket.
Fig. E
13
14
10
15
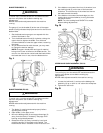
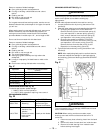
13. Place a lock knob (16) on each scale knob bolt adjust
the table by aligning the zero scale mark to the scale
pointer (17), and tighten the knob.
14. Replace the table insert (13), aligning the indents.
15. Place the table aligning pin (18) in the hole at the front
of the table, and tighten.
Fig. F
13
17
16
18


