OM-499 Page 18
SECTION 5 – OPERATING THE WELDING GENERATOR
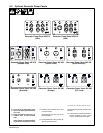
5-1. Controls (Kohler-Powered Units)
802 511-A / 802 0511 / 495 178
6
7
60 Hz
. Weld and generator power output stops if
generator overheats or engine speed is
too low.
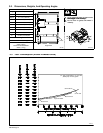
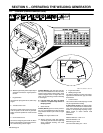
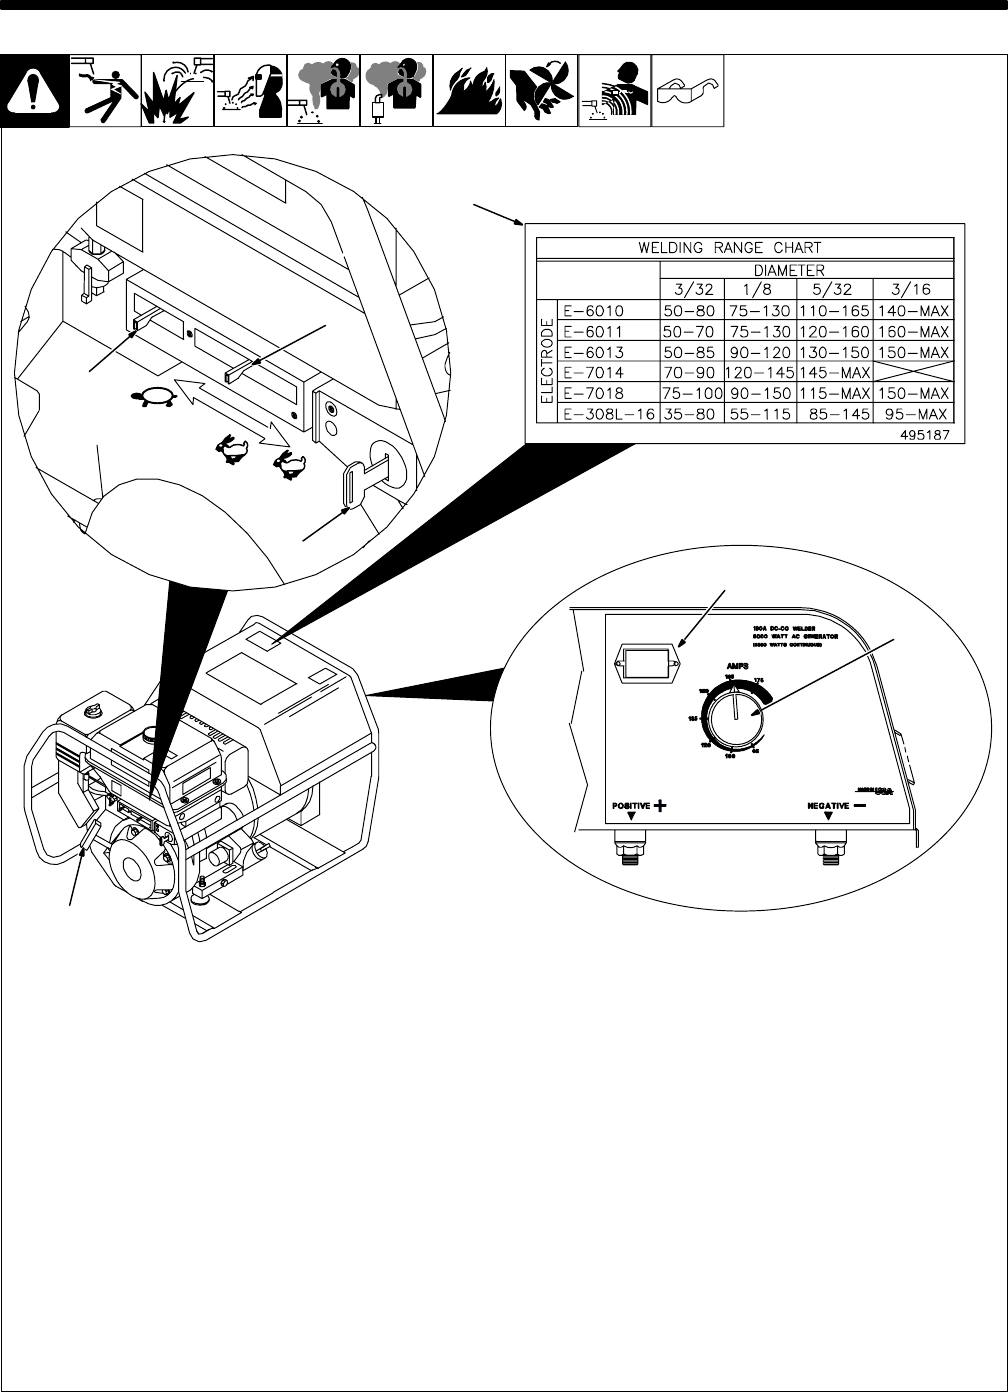
1 Engine Switch
Use switch to open ignition circuit, and to stop
engine.
2 Throttle Control Lever
Use lever to select engine speed. Use 50 Hz
or 60 Hz position for 50 or 60 Hz generator
power. Use 60 Hz position for maximum weld
output.
3 Choke Control Lever
Use lever to change engine air/fuel mix. Move
lever to right if starting a cold engine. Move le-
ver to left if starting a warm engine.
To Start (Electric): open fuel valve (see Sec-
tion 4-4), move throttle lever to Idle, set choke,
and turn engine switch to Start position. Open
choke as engine warms. If engine does not
crank, use recoil starting procedure following
to start engine.
Y If engine does not start, let engine
come to a complete stop before at-
tempting restart.
4 Starter Handle
To Start (Recoil): open fuel valve (see Sec-
tion 4-4), move throttle lever to Idle, set choke,
and pull starter handle. Open choke as engine
warms.
To Stop: turn engine switch to Off.
. Always close fuel valve after stopping
unit. Moving unit with fuel valve open may
cause carburetor flooding and make
starting difficult.
5 Engine Hour Meter
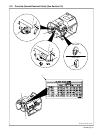
6 Welding Range Label
Use label to determine correct weld amper-
age based on electrode size, type, and mate-
rial thickness.
7 Current Control
Use control to select weld amperage. Control
may be adjusted while welding.
To Set Current Control: Use label to deter-
mine correct size electrode for material thick-
ness. Select electrode type and set current
control to corresponding amperage range.
Adjust control to obtain desired weld
performance.
EXAMPLE:
Material Thickness: 1/8 to 1/4 in
Electrode Diameter: 1/8
Electrode Type: E-6013
Current Control Setting: 90 – 120 A
1
3
5
2
4
50 Hz


