22
English
7 Electrical connection
Engines :
• Standard : with on-off switch with no-volt
release switch
- 1-phase, 230 V, 800 W (1 hp)
3 x 1.5 mm
2
with plug (cable 2 P + E)
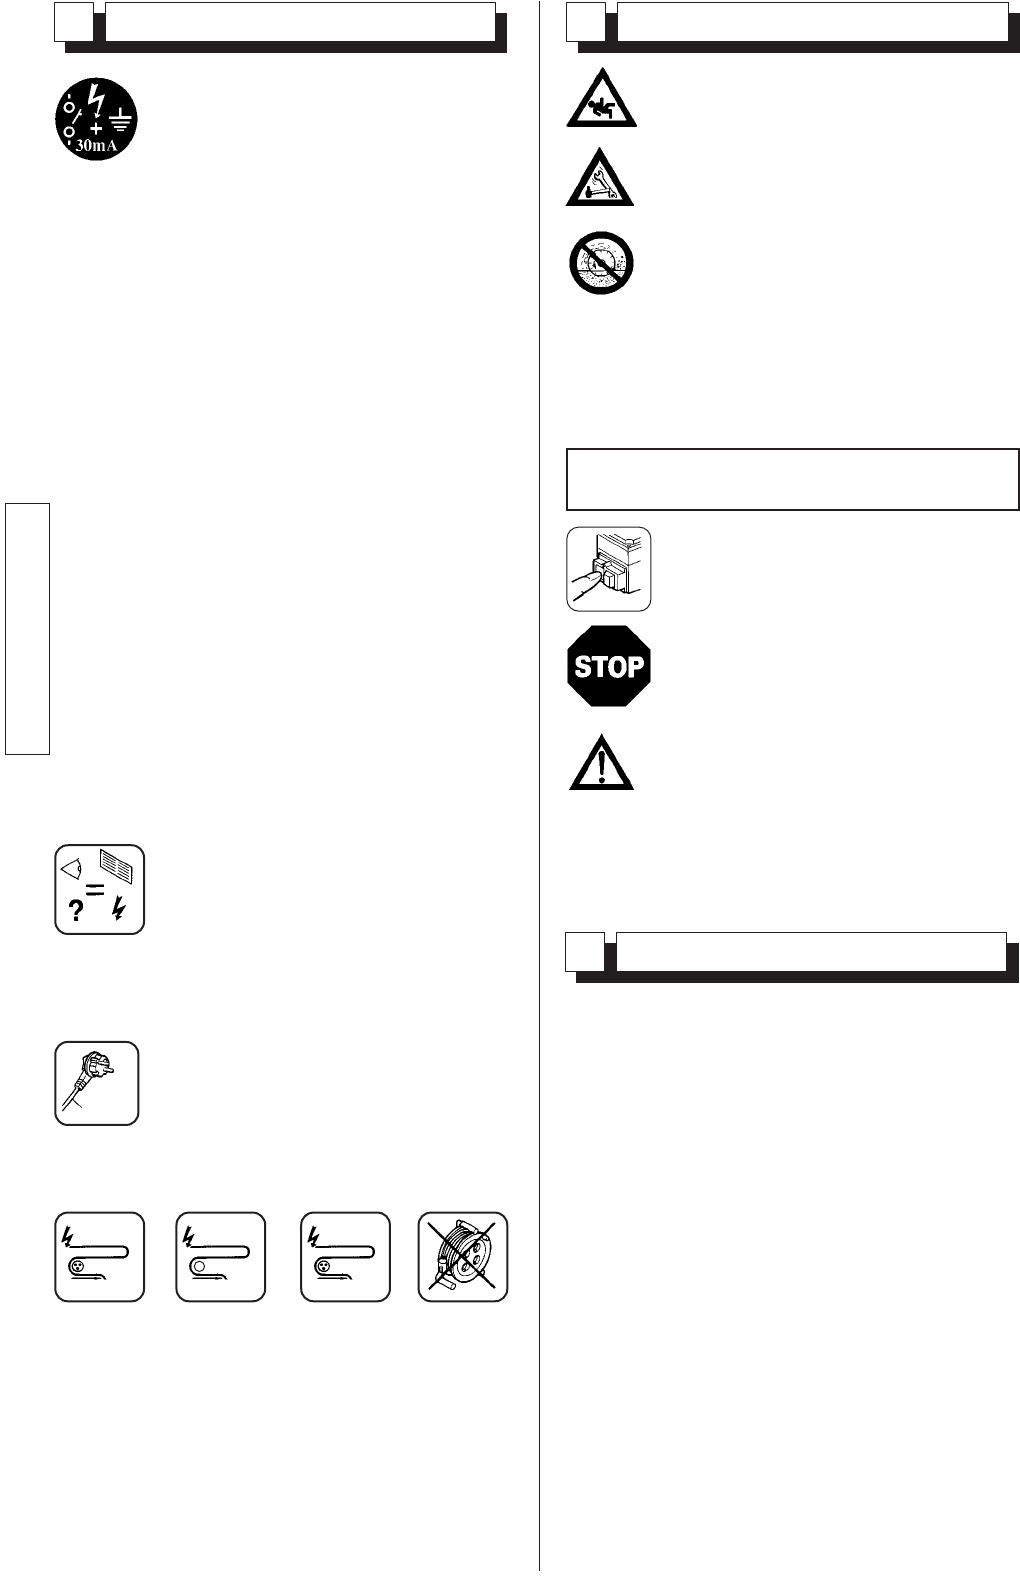
- ELECTRICAL SAFETY :
Operate this machine only on a sup-
ply equipped with a 30 mA earthed
current-limiting circuit-breaker.
Otherwise, consult our catalogue for
appropriate models.
- The RCCB must be used correctly,
including testing it regularly. For
tools supplied with an integral
RCCB in the cable or in the mains
plug, if the cable or plug has been
damaged, repairs must be carried
out by the manufacturer, one of his
agents or by a qualified repair
workshop to avoid any risks resul-
ting from errors.
- Make sure that the mains voltage cor-
responds with that marked on the
manufacturer's plate on the machine.
- Use the following types of plug, single
phase 2 P + E
2 P+E
230 V
H07 - RNF
3 x 2,5
2
50 M
+ (x2)
- Extension lead : Cable size sufficient for the elec-
trical power, connection to the mains by a H07
RNF type cable of the following size :
- 3 x 2.5 mm
2
up to 50 m for 230 V
- 3 x 4 mm
2
up to 40 m for 115 V
115 V
H07 - RNF
3 x 4
2
40 M
+ (x2)
●●
●●
400 V
H07 - RNF
4 ou 5x1,5
2
100 M
+ (x2)
For wet cutting:
• Fill the tray with clean water (maximum level =
base of the plate).
•Immerse pump in tank.
8 Starting up
Always take care.
Get into a comfortable, balanced
position.
Remove all adjustment tools and
wrenches from floor and machine
Always keep blade guard in place
•To start the machine press the green
button on the switch (optional cut-out
switch).
Ensure that the water supply is abundant,
when cutting wet.
•To stop the machine, press the red
button.
As each saw is fitted with a self-pri-
ming pump, the disk is sprayed as
soon as the saw is turned on.
The protective guard and the motor
mounting ensure that the disk is
sprayed evenly.
Square cuts :
•
Remove the disk support head towards the rear
.
• Position the material on the table.
• Pull the head towards yourself whilst gradually
forward it without forcing the blade (avoid sud-
den contact with the material).
45 degree bevel cuts :
• Loosen the two adjusting flywheels (G) [
SEE
FIG.
7].
•Tip over the cutting head and rail assembly.
• Relock the flywheels.
With the head down (for foils, mouldings, etc.) :
• Unscrew the locking lever (J).
• Adjust to the required cutting depth
[
SEE FIG.8]
• Relock the wedge-shaped screw (J).
• Proceed to cut.
9 Cutting method


