15
Jointing Warped Material
If the work to be jointed is cupped or warped, take
light, repetitive cuts until the surface is flat. Forc-
ing the material flat against the table will still leave
a warped piece after the cuts have been made.
WARNING
Never joint any material shorter than eight
inches!
The material may tip into the jointer’s throat
and be kicked back!
Avoid jointing thin material which could
become jammed under the fence or blade
guard!
Failure to comply may cause serious injury!
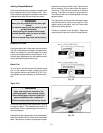
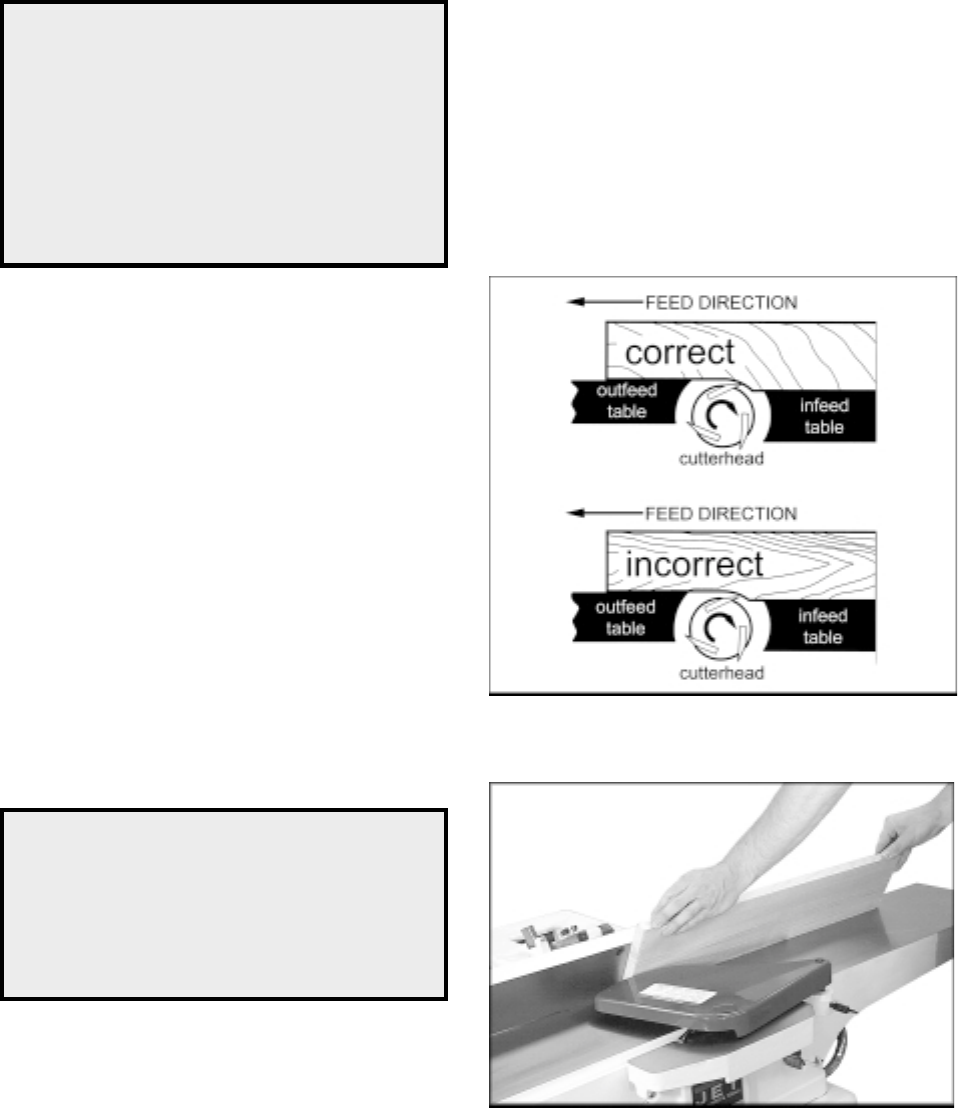
Direction of Grain
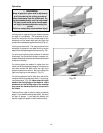
Feed the material with of the grain to avoid tearout
(Fig. 23). If the direction of the grain changes some-
where in the board, try reducing depth of cut and
slow the feed speed down to avoid tearout. If re-
sults still aren’t satisfactory, turn the material around
and try feeding through the other way.
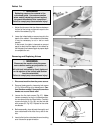
Bevel Cut
To cut a bevel, lock the fence at the desired angle
and run the material through, pressing the work
firmly against the fence and tables (Fig. 24). Sev-
eral passes may be necessary for the desired re-
sult.
Taper Cut
WARNING
Taper cuts require the removal of the
cutterhead guard. Use extreme caution
when making taper cuts and replace the
guard immediately after completion!
Failure to comply may cause serious injury!
One of the most useful jointer operations is cutting
an edge to a taper. This method can be used on a
wide variety of work; tapered legs of furniture is a
common example.
Instead of laying the piece down on the infeed table,
lower the forward end of the work onto the outfeed
table. Use caution, however, as the piece will span
Fig. 23
the knives, and they will take a “bite” from the work
with a tendency to kick back unless the piece is
held firmly. Push the work forward as in ordinary
jointing. The effect is to plane off all the stock in
front of the knives to an increasing depth, leaving a
tapered surface.
The ridge left by the knives when starting the taper
may be removed by taking a very light cut in the
regular jointing procedure, with the infeed table
raised to its normal position.
Practice is required in this operation. Beginners
are advised to make trial cuts with scrap material.
Fig. 24


