


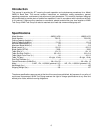

14
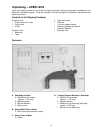
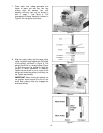
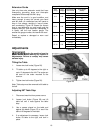
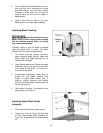
13. To mount the table, remove pin and insert
from the table (Figure 19).
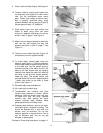
14. Orient the table so the saw blade will pass
through the slot in the table and into the
center opening. Continue holding up the
table, and rotate the table so the two screws
that are hanging vertically from below the
table will slide into the holes on the trunnion
support bracket. Lower the table. The
screws should now protrude below the
trunnion support bracket - attach lock knobs
to the ends of these screws. (Figure 19).
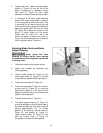
15. Re-install table insert and table pin.
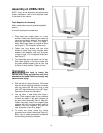
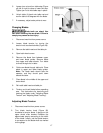
16. Connect the plugs of the motor cord and
switch cord (Figure 20).
17. Transportation and handling may have
caused some fasteners to loosen. Before
operating, check all screws, bolts, and nuts
to make sure they are snug. Operate
machine only after reading the entire
manual including blade tracking, blade
guide adjustments, and safety rules.
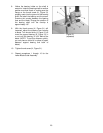
Grounding Instructions
This band saw must be
grounded while in use to protect the
operator from electric shock.
In the event of a malfunction or breakdown,
grounding provides a path of least resistance for
electric current to reduce the risk of electric
shock. This tool is equipped with an electric cord
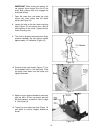
having an equipment-grounding conductor and a
grounding plug that looks similiar to the plug in
Figure 21. The plug must be inserted into a
matching outlet that is properly installed and
grounded in accordance with all local codes and
ordinances.
Do not modify the plug provided. If it will not fit
the outlet, have the proper outlet installed by a
qualified electrician.
Improper connection of the equipment-
grounding conductor can result in a risk of
electric shock. The conductor, with insulation
having an outer surface that is green with or
without yellow stripes, is the equipment-
grounding conductor. If repair or replacement of
the electric cord or plug is necessary, do not
connect the equipment-grounding conductor to a
live terminal.
Figure 19
Figure 20
Figure 21