


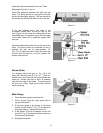
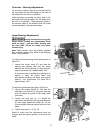
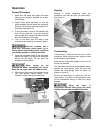
21
the motor.
The weight of the motor should put enough
tension on the belt. You just want to push down
lightly to take up any slack.
3. Tighten the two hex cap screws (A , B).
Note: A new belt may stretch slightly during the
“breaking in” process, and the tension may
occasionally need to be checked and adjusted.
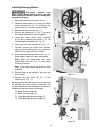
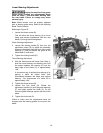
Pulley Alignment
The pulley alignment is done in conjunction with the
V-belt replacement.
If you are just beginning the alignment, start with
the Replacing the V-Belt section (previous page.
If you were directed here, proceed as follows:
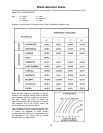
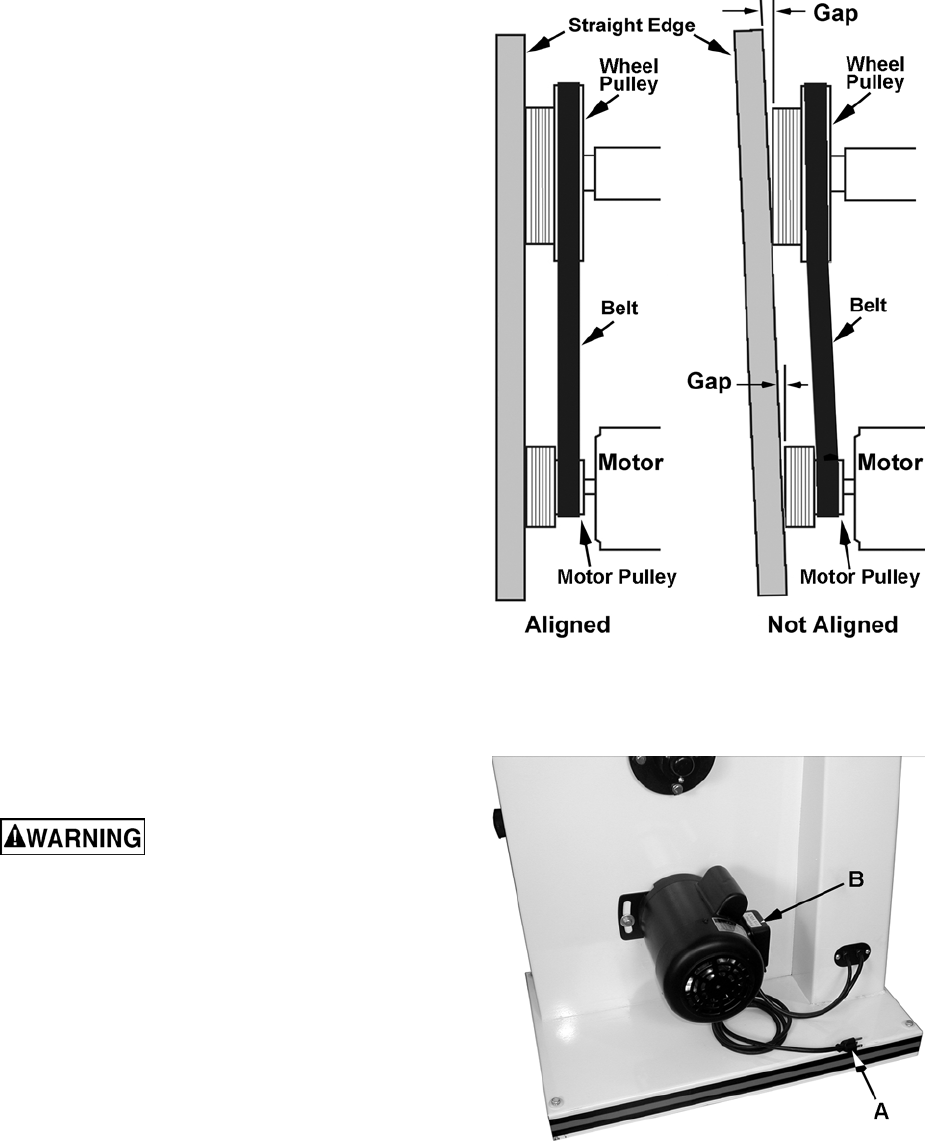
1. Uses a straight edge placed against the wheel
pulley and motor pulley and refer to Figure 28
to determine if alignment is necessary.
If alignment is necessary:
2. With a 4mm hex wrench, loosen two set screws
on the motor (lower) pulley.
3. Adjust the motor pulley by sliding in or out.
4. Confirm the alignment of the V-belt by placing a
straight edge against the faces of both pulleys,
(Figure 28). If the straight edge lies flush
against both pulleys, then the pulleys and belt
are aligned.
5. Re-tighten the two set screws on the motor
pulley.
6. Return to Step 8 of the Replacing V-Belt
section on page 20.
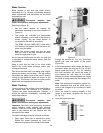
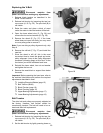
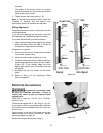
Electrical Connections
All electrical connections must
be done by a qualified electrician. Failure to
comply may result in loss of property and/or
serious injury.
JWBS-18X is rated at 1.75 HP, 1Ph, 115/230V,
prewired 115V.
The band saw comes with a 115V plug (A, Fig. 29).
If you switch to 230V a plug needs to be purchased
for the band saw that matches the 230V outlet you
intend to use.
Confirm power at the site is the same as the saw
before making any electrical connections. Review
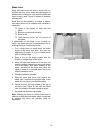
the wiring diagram on page 38.
Review Grounding Instructions on page 7.
Figure 28
Figure 29