1/2-Inch Drill Operator's Manual 11
Operation
APPLICATIONS:
Drilling in various metal, lumber, and plastics.
PRE-OPERATION:
CAUTION: CONFIRM THE FOLLOWING POINTS
PRIOR TO CONNECTING THE PLUG
TO THE POWER RECEPTACLE.
1. Confirm the applied power source:
Be sure to operate the Electric Power Tool in the voltage
specified on the name plate.
2. Confirm that the power switch is turned "OFF":
If the plug is connected to the power receptacle while the
power switch is turned ON, the machine starts operating
unexpectedly, inviting serious accidents. Prior to using
the Electric Power Tool, be sure to confirm that the power
switch is turned "OFF".
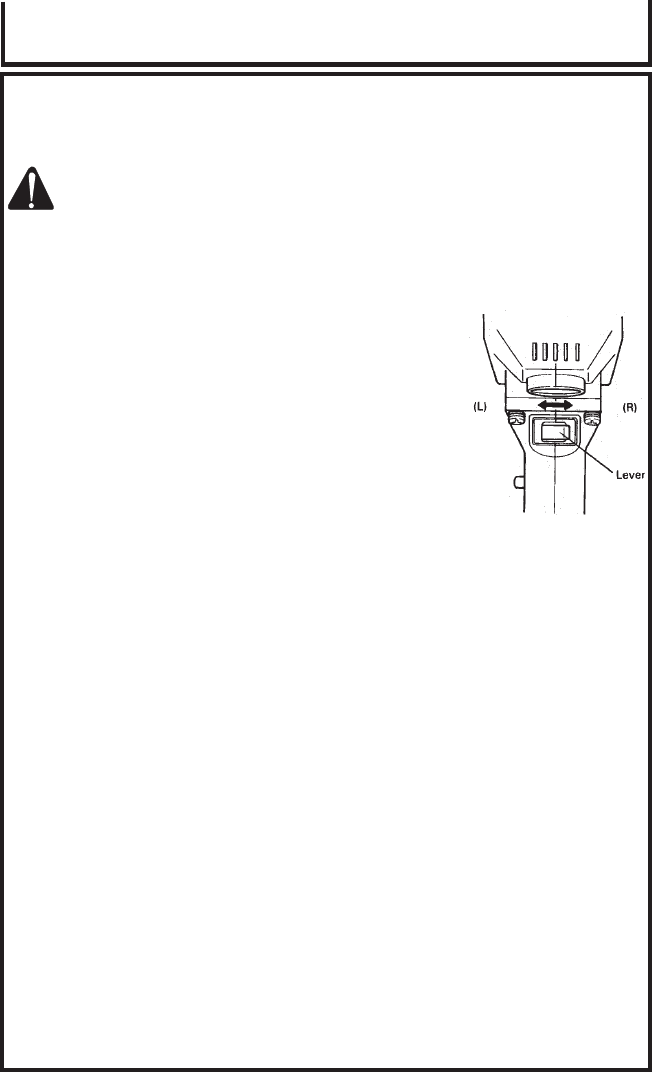
3. Confirm the direction of bit rotation (Fig. 2):
The drill bit rotates clockwise (when viewed from the rear)
when the lever of the reversing switch is set to the “R”
position, and rotates in the reverse direction when the
lever of the reversing switch is set to the “L” position.
4. Mounting drill bits:
Tighten drill bits with the chuck wrench. There are three
holes in which the chuck wrench should be inserted.
Tighten them equally in turn at three holes, without
tightening them only at one hole. The drill bits can be
removed in the opposite method as mentioned above.
5. How to select drill bits:
a. When drilling holes in metals or plastics:
Use ordinary metalworking drill bits, applicable drill
sizes range from min 3/64” (1.2mm) to drill chuck
capacity.
b. When drilling holes in lumber:
Use woodworking drill bits. For small holes of 1/4”
(6.5mm) diam. or below, use metalworking drill bits.
6. Installing spade handle:
The spade handle can be installed on the back of the
drill. Insert the bolt through the hole in the spade handle,
locate the spade handle in the desired position and
tighten the bolt firmly.
(Fig. 2)


