


7
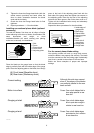
Dust bag (optional accessory)
2
1
010175
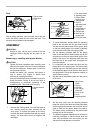
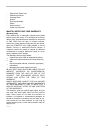
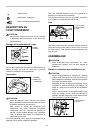
Remove the chip cover and install the nozzle (optional
accessory). Attach the dust bag onto the nozzle . The
nozzle is tapered. When attaching the dust bag, push it
onto the nozzle firmly as far as it will go to prevent it from
coming off during operation.
1
007802
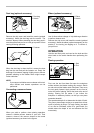
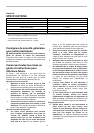
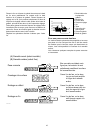
When the dust bag is about half full, remove the dust
bag from the tool and pull the fastener out. Empty the
dust bag of its contents, tapping it lightly so as to remove
particles adhering to the insides which might hamper
further collection.
NOTE:
• If you connect a Makita vacuum cleaner to this tool,
more efficient and cleaner operations can be
performed.
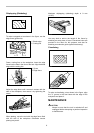
Connecting a vacuum cleaner
010176
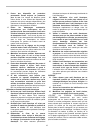
When you wish to perform clean planing operation,
connect a Makita vacuum cleaner to your tool. Then
connect a hose of the vacuum cleaner to the nozzle
(optional accessory) as shown in the figures.
Elbow (optional accessory)
1
2
010177
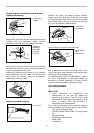
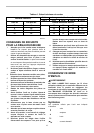
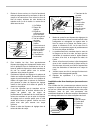
Use of elbow allows change of chip discharge direction
to perform cleaner work.
Remove the chip cover and install the nozzle (optional
accessory). Attach the elbow (optional accessory) on the
nozzle of the tool by just slipping on it. To remove it,
just pull it out.
OPERATION
Hold the tool firmly with one hand on the knob and the
other hand on the switch handle when performing the
tool.
Planing operation
1
2
010178
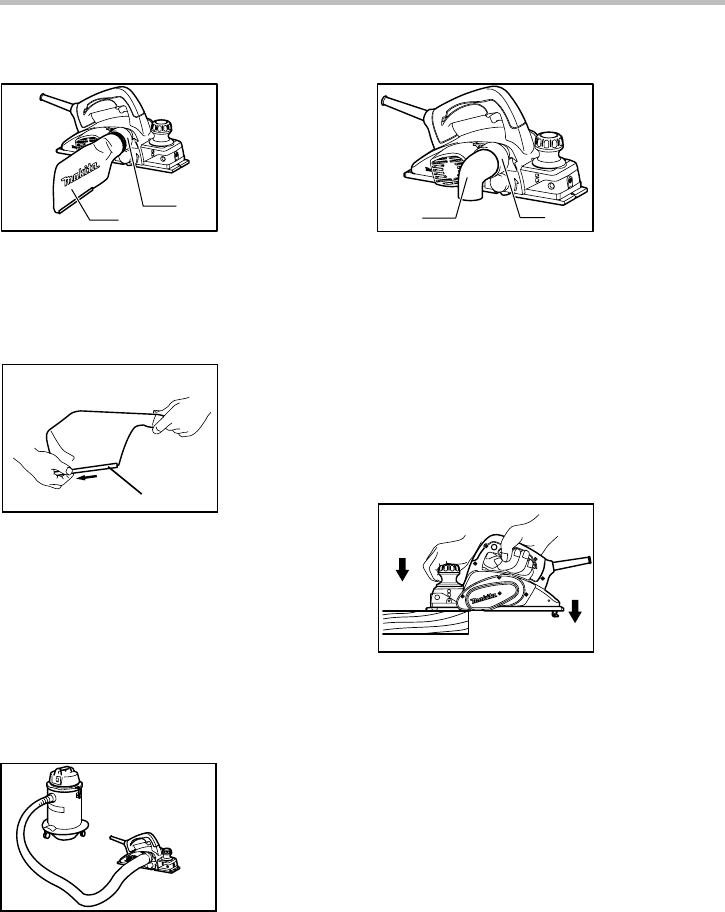
First, rest the tool front base flat upon the workpiece
surface without the blades making any contact. Switch
on and wait until the blades attain full speed. Then move
the tool gently forward. Apply pressure on the front of
tool at the start of planing, and at the back at the end of
planing. Planing will be easier if you incline the
workpiece in stationary fashion, so that you can plane
somewhat downhill.
The speed and depth of cut determine the kind of finish.
The power planer keeps cutting at a speed that will not
result in jamming by chips. For rough cutting, the depth
of cut can be increased, while for a good finish you
should reduce the depth of cut and advance the tool
more slowly.
1. Start
2. End
1. Elbow
2. Nozzle
1. Fastener
1. Dust bag
2. Nozzle