


11
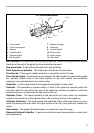
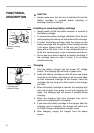
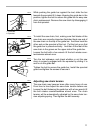
While pushing the guide bar against the tool, slide the bar
towards the sprocket till it stops. Keeping the guide bar in the
position, tighten the bolt to secure the guide bar for easy saw
chain replacement. Remove the saw chain by disengaging it
from the sprocket.
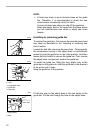
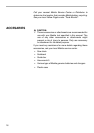
To install the saw chain, first, making sure that blades of the
saw chain are correctly placed as illustrated hook one end of
the saw chain on the top of the guide bar. And then hook the
other end on the sprocket of the tool. Put the tool up so that
the guide bar is placed vertically. And then fit the feet of the
saw chain in the groove on the upper side of the guide bar.
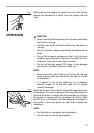
Loosen the bolt with a hex wrench till the bolt rotates coun-
terclockwise almost once.
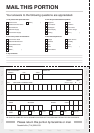
Turn the tool sideways, and check whether or not the saw
chain is properly engaged with the sprocket by sliding it to
and fro on the guide bar.
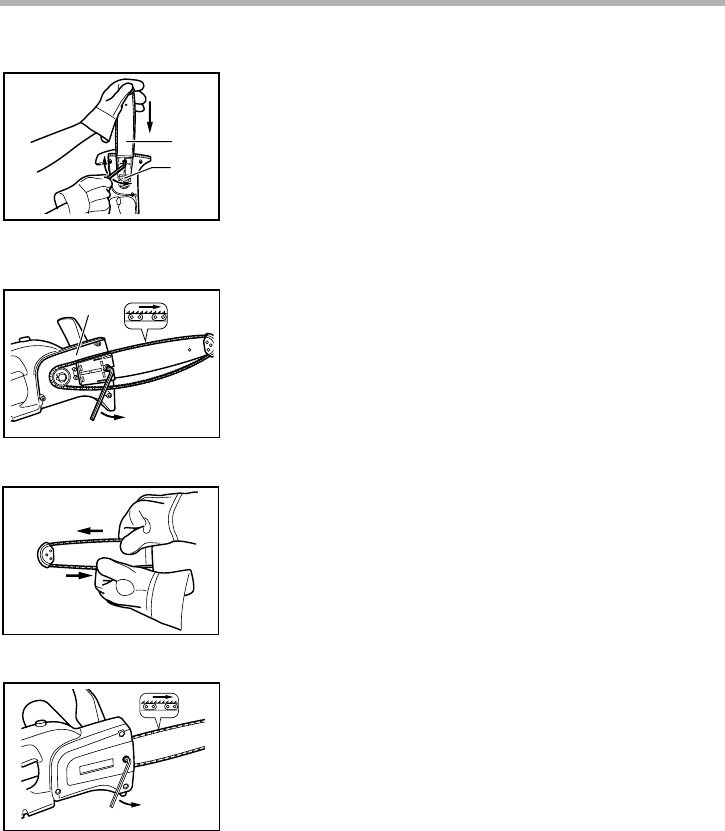
Tighten the bolt to secure the guide bar. Install the sprocket
guard and tighten the screws to secure it.
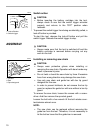
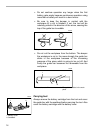
Adjusting saw chain tension
The saw chain may become loose after many hours of use.
From time to time adjust the saw chain tension before use.
Loosen the bolt fastening the guide bar with a hex wrench till
the bolt rotates counterclockwise almost once. The chain
tension will be automatically adjusted by the saw chain ten-
sion adjusting spring. Then tighten the bolt securely.
1. Guide bar
2. Sprocket
1
2
002274
1. Adjust base
1
002275
002276
002277