23
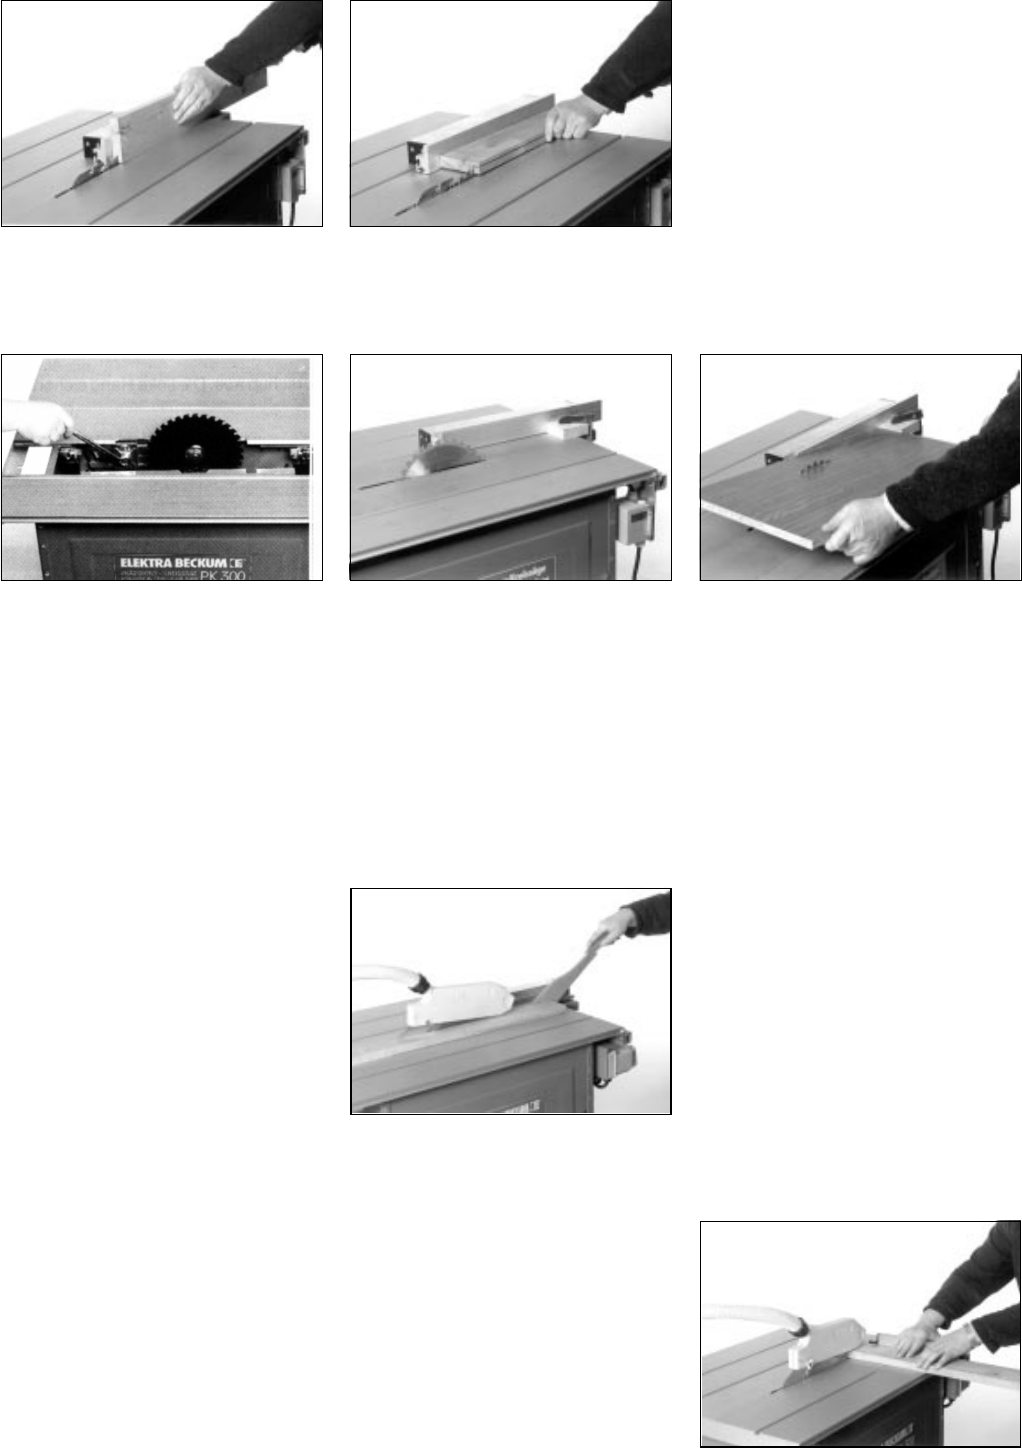
Remove blade guard and set riving knife
as decribed in paragraph 5.6 of this
manual. Check depth of cut directly on the
blade with tape or stick measure. Set rip
fence to required width and make first cut.
The sequence of cuts is important: when
making the second cut the waste must be
on the left side of the blade. If on to the
right of the blade, the waste may jam
between fence and blade and kicked back
against you (danger of personal injury).
First cut Second cut
11.2 Rabetting and Grooving
11.5 Crosscuts
Perform all crosscutting operations with the mitre fence supplied with this
machine or with a sliding carriage available as optional accessory.
Install fence extrusion with the small edge facing the blade and position so that
its front end just reaches the saw blade. With very small cutoffs use a deflector
board as described in paragraph 8 to keep the cutoffs from being picked up by
the rising teeth of the saw blade.
11.4 Ripping with the Auxiliary Fence
Have riving knife and blade guard installed as described in paragraph 5.5.
The auxiliary fence is used for
ripping stock that tends to open or
close behind the blade.
Loosen both wing nuts holding the
rip fence extrusion, remove the rip
fence extrusion and install it with
the small edge facing the blade. In
this position it serves as an auxiliary
fence. The wide edge must rest on
the table. Position the fence ex-
trusion to that its front end reaches
to approx. the centre of the saw
blade.
Always use the auxiliary fence when
ripping 45° bevels, guiding the work along
the small edge of the fence extrusion.
See also paragraph 5.3.
Remove the riving knife and tighten the
gusset plate.
With set-in work the cut starts somewhere
within the board. To do this work safely
(danger of kickback) backstops are re-
quired. These can simply be wooden
blocks clamped to the saw table or, for
longer workpieces, a complete jig or anti-
kickback fence may be required, which is
firmly attached to the saw table.
Set rip fence as required. Place work-
piece with yout right hand against the
stop, the left hands holds the workpiece
against the fence and pushes it down into
the blade.
Note: Mark area where blade will cut
through on top of workpiece. Keep hands
at at least 150 mm distance from blade.
11.3 Set-In Work


