


6
7
OPERATION
WARNING To reduce the risk of injury,
always unplug tool before attaching or remov-
ing accessories or making adjustments. Use
only specifi cally recommended accessories.
Others may be hazardous.
WARNING To reduce the risk of injury,
keep hands and cord away from the bit and
all moving parts.
WARNING To reduce the risk of injury,
wear safety goggles or glasses with side shields.
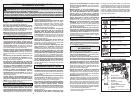
Selecting Action
MILWAUKEE Hammer-Drills have two settings:
drilling and hammer-drilling.
1. For drilling, turn the hammer-drill lever towards
the drill symbol .
2. For hammer-drilling, turn the hammer-drill lever
towards the hammer symbol .
NOTE: To engage the hammering mechanism,
maintain pressure on the bit. When pressure on
the bit is released, the hammering action will stop.
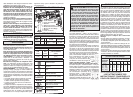
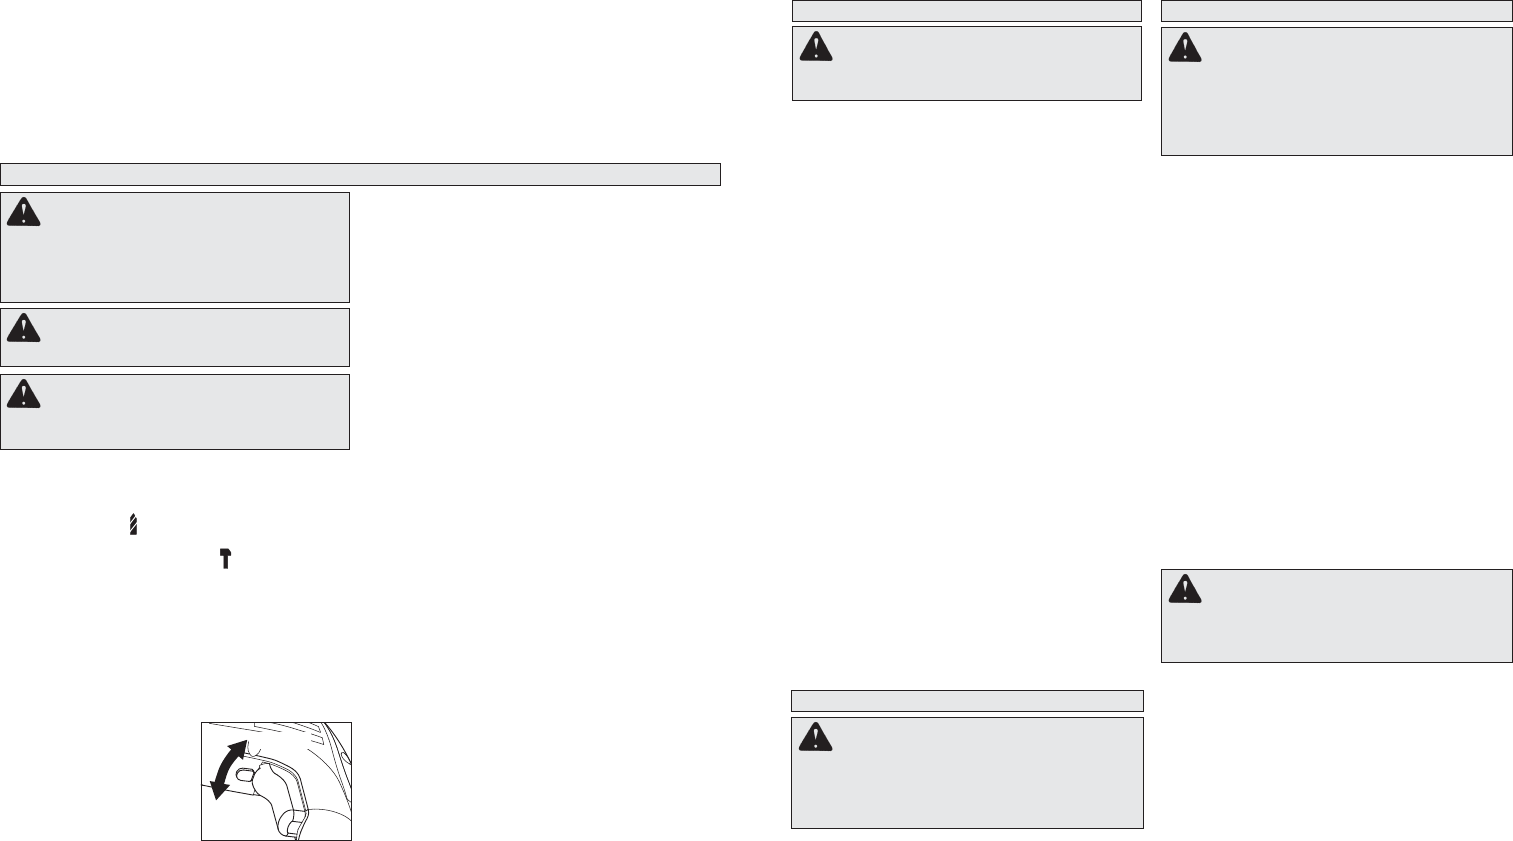
Using Forward/Reverse Lever
The forward/reverse lever can only be adjusted
when the trigger is not pressed. Always allow the
motor to come to a complete stop before using the
forward/reverse lever.
1. For forward (clockwise) rotation, push the for-
ward/reverse lever to the
left (when viewed from the
back of the tool) as shown.
2. For reverse (counter-
clockwise) rotation, push
the forward/reverse lever
to the right (when viewed
from the back of the tool)
as shown. Allow the motor to come to a full stop
before reversing.
NOTE: When hammer-drilling, use the tool in for-
ward rotation (clockwise) only.
Forward
Reverse
Selecting Speed
Allow the tool to come to a complete stop before
changing speeds. Changing speeds while the tool
is running could damage the tool.
1. For low speed (up to 1500 rpm), turn the speed
selector to position 1.
2. For high speed (up to 3500 rpm), turn the speed
selector to position 2.
Starting, Stopping & Controlling Speed
1. To start the tool, pull trigger.
2. To stop the tool, release trigger.
3. To vary the speed, increase or decrease pres-
sure to trigger. The further the trigger is pulled,
the greater the speed.
Locking Trigger
The lock button holds the trigger in the ON position
for continuous full speed use.
1. To lock the trigger, hold in the lock button while
pulling the trigger. Release the trigger.
2. To unlock the trigger, pull the trigger and release.
The lock button will pop out.
Operating
Position the tool, grasp the handles fi rmly and pull
the trigger. Always hold the tool securely using
both handles and maintain control. This tool has
been designed to achieve top performance with
only moderate pressure. Let the tool do the work.
If the speed begins to drop off when drilling deep
holes, pull the bit partially out of the hole while the
tool is running to help clear dust. Do not use water
to settle the dust since it will clog the bit fl utes and
tend to make the bit bind in the hole. If the bit should
bind, a built-in, non-adjustable slip clutch activates. If
this occurs, stop the tool, free the bit and begin again.
Operator Force
This hammer-drill features the Vibration Isolation
System to provide the operator with comfort without
sacrifi cing power or performance. The motor hous-
ing is suspended independently from the switch
handle. Insulating elements absorb vibration when
hammer-drilling and drilling.
Ideal operator force compresses the handle slightly
and allows the tool to work aggressively while the
handle provides maximum vibration dampening.
Excessive operator force compresses the handle
too far and reduces the vibration dampening. Users
will be able to feel the difference and should adjust
the force to the handle accordingly.
ACCESSORIES
For a complete listing of accessories refer to your
MILWAUKEE Electric Tool catalog or go on-line
to www.milwaukeetool.com. To obtain a catalog,
contact your local distributor or a service center.
WARNING To reduce the risk of injury,
always unplug the tool before attaching or
removing accessories. Use only specifi cally
recommended accessories. Others may be
hazardous.
Maintaining Tools
Keep your tool in good repair by adopting a regular
maintenance program. Before use, examine the
general condition of your tool. Inspect guards,
switches, tool cord set and extension cord for
damage. Check for loose screws, misalignment,
binding of moving parts, improper mounting, bro-
ken parts and any other condition that may affect
its safe operation. If abnormal noise or vibration
occurs, turn the tool off immediately and have the
problem corrected before further use. Do not use a
damaged tool. Tag damaged tools “DO NOT USE”
until repaired (see “Repairs”).
Under normal conditions, relubrication is not neces-
sary until the motor brushes need to be replaced.
After six months to one year, depending on use,
return your tool to the nearest MILWAUKEE service
facility for the following:
• Lubrication
• Brush inspection and replacement
• Mechanical inspection and cleaning (gears, spin-
dles, bearings, housing, etc.)
• Electrical inspection (switch, cord, armature, etc.)
• Testing to assure proper mechanical and electrical
operation
WARNING To reduce the risk of injury,
electric shock and damage to the tool, never
immerse your tool in liquid or allow a liquid
to fl ow inside the tool.
MAINTENANCE
WARNING To reduce the risk of injury,
always unplug your tool before performing
any maintenance. Never disassemble the tool
or try to do any rewiring on the tool’s electrical
system. Contact a MILWAUKEE service facility
for ALL repairs.
Cleaning
Clean dust and debris from vents. Keep the tool
handles clean, dry and free of oil or grease. Use
only mild soap and a damp cloth to clean your
tool since certain cleaning agents and solvents
are harmful to plastics and other insulated parts.
Some of these include: gasoline, turpentine, lacquer
thinner, paint thinner, chlorinated cleaning solvents,
ammonia and household detergents containing
ammonia. Never use fl ammable or combustible
solvents around tools.
Repairs
If your tool is damaged, return the entire tool to the
nearest service center.
APPLICATIONS
Drilling in Wood, Composition Materials and
Plastic
When drilling in wood, composition materials and
plastic, select the drill operating mode. Start the drill
slowly, gradually increasing speed as you drill. Select
low speeds for plastics with a low melting point.
Drilling in Metal
When drilling in metal, select the drill operating
mode. Use high speed steel twist drills or hole saws.
Use a center punch to start the hole. Lubricate drill
bits with cutting oil when drilling in iron or steel. Use
a coolant when drilling in nonferrous metals such
as copper, brass or aluminum. Back the material
to prevent binding and distortion on breakthrough.
Drilling in Masonry
When drilling in masonry, select the hammer-drill
operating mode. Use high speed carbide-tipped
bits. Drilling soft masonry materials such as cinder
block requires little pressure. Hard materials like
concrete require more pressure. A smooth, even
fl ow of dust indicates the proper drilling rate. Do
not let the bit spin in the hole without cutting. Do
not use water to settle dust or to cool bit. Do not
attempt to drill through steel reinforcing rods. Both
actions will damage the carbide.
WARNING To reduce the risk of elec-
tric shock, check work area for hidden pipes
and wires before drilling.
1. Unplug the tool.
2. Open the chuck jaws wide enough to insert a bit.
Allow the bit to strike the bottom of the chuck.
Center the bit in the chuck jaws and tighten the
jaws by hand to align the bit.
3. Place the chuck key into each of the three holes
in the chuck, turning it clockwise to tighten the
chuck securely.
NOTE: Never use a wrench or means other than
a chuck key to tighten or loosen the chuck.
4. To remove the bit, insert the chuck key into one
of the holes in the chuck and turn it counterclock-
wise.