


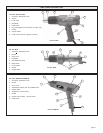
page 8
APPLICATIONS
WARNING!
To reduce the risk of heat damage and personal injury, shield
combustible materials and areas adjacent to workpiece.
Protect yourself from hot paint scrapings and dust.
1. To form a bend, use either a low or high temperature setting. When
using a low temperature, hold the heat gun close to the workpiece
and pass the nozzle back and forth slowly. When using a high
temperature, hold the heat gun further away from the workpiece and
pass the nozzle back and forth rapidly.
2. Pass the nozzle over entire length of the surface to be bent. Applying
heat to only part of the surface will make bending uneven.
Removing Paint
Read safety instructions for removing paint before proceeding with paint
removal.
1. Begin work with low temperature setting.
2. Place nozzle approximately 1" away from work surface.
3. Pass nozzle back and forth over a small area of workpiece.
4. Gradually increase heat until paint starts to blister, then remove heat.
5. Remove paint using a sharp-edged putty knife.
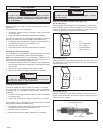
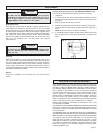
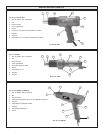
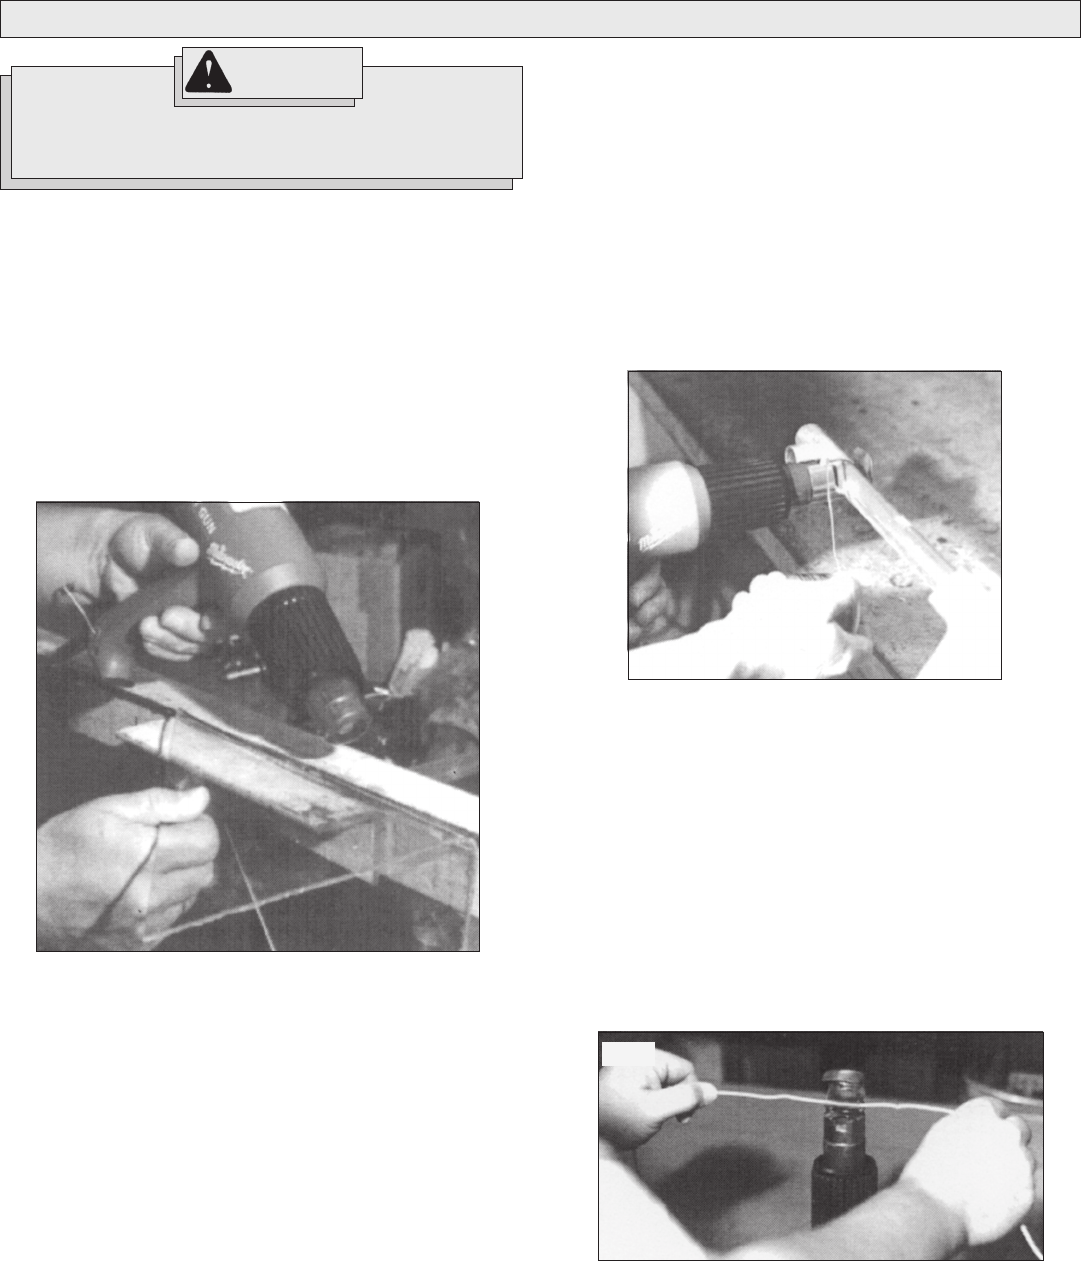
Creating Bends (Fig. 6)
Both variable temperature and dual temperature heat guns are ideal for
creating bends in plexiglass that is used for guards and fixtures.
Fig. 6
Cutting Styrofoam
1. To attach the styrofoam cutting nozzle, first attach reduction nozzle
Cat. No. 49-80-0305 to the heat gun (See Installing Reduction
Nozzles). Attach the styrofoam nozzle to the reduction nozzle.
2. To cut styrofoam, use a low to medium temperature setting and
apply heat to workpiece in desired pattern. The nozzle will make
straight or curved cuts and will cut holes or recesses.
NOTE: Slight smoke and odors are normal and are not harmful as
long as you are working with adequate ventilation. Cut at maximum
speed to avoid excess smoke development and prevent the nozzle
from overheating. Read the safety instructions supplied with the
material you are cutting.
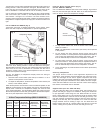
Soldering (Fig. 7)
1. Attach the soldering reflector nozzle or hook nozzle to the heat gun.
2. Deburr the pipe and joint using sandpaper or steel wool.
3. To solder with either lead or non-lead solder, coat the tip on both the
copper pipe and the joint with flux. Then slip the joint over the pipe.
4. Slip the accessory nozzle around the joint. With the heat gun at a
high temperature setting, apply heat to the joint.
5. When the flux bubbles, add solder and position heat gun so excess
solder does not drip into the heat gun.
Fig. 7
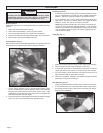
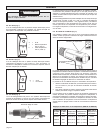
Fig. 8
Heat Shrinking (Fig. 8)
1. Attach the soldering reflector nozzle or hook nozzle to the heat gun.
2. To heat shrink tubing, use a low temperature setting. Apply heat to
the workpiece using a side to side motion until tubing has shrunk.
Remove heat immediately.