


9
6
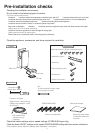
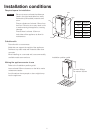
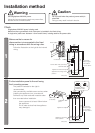
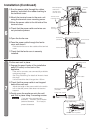
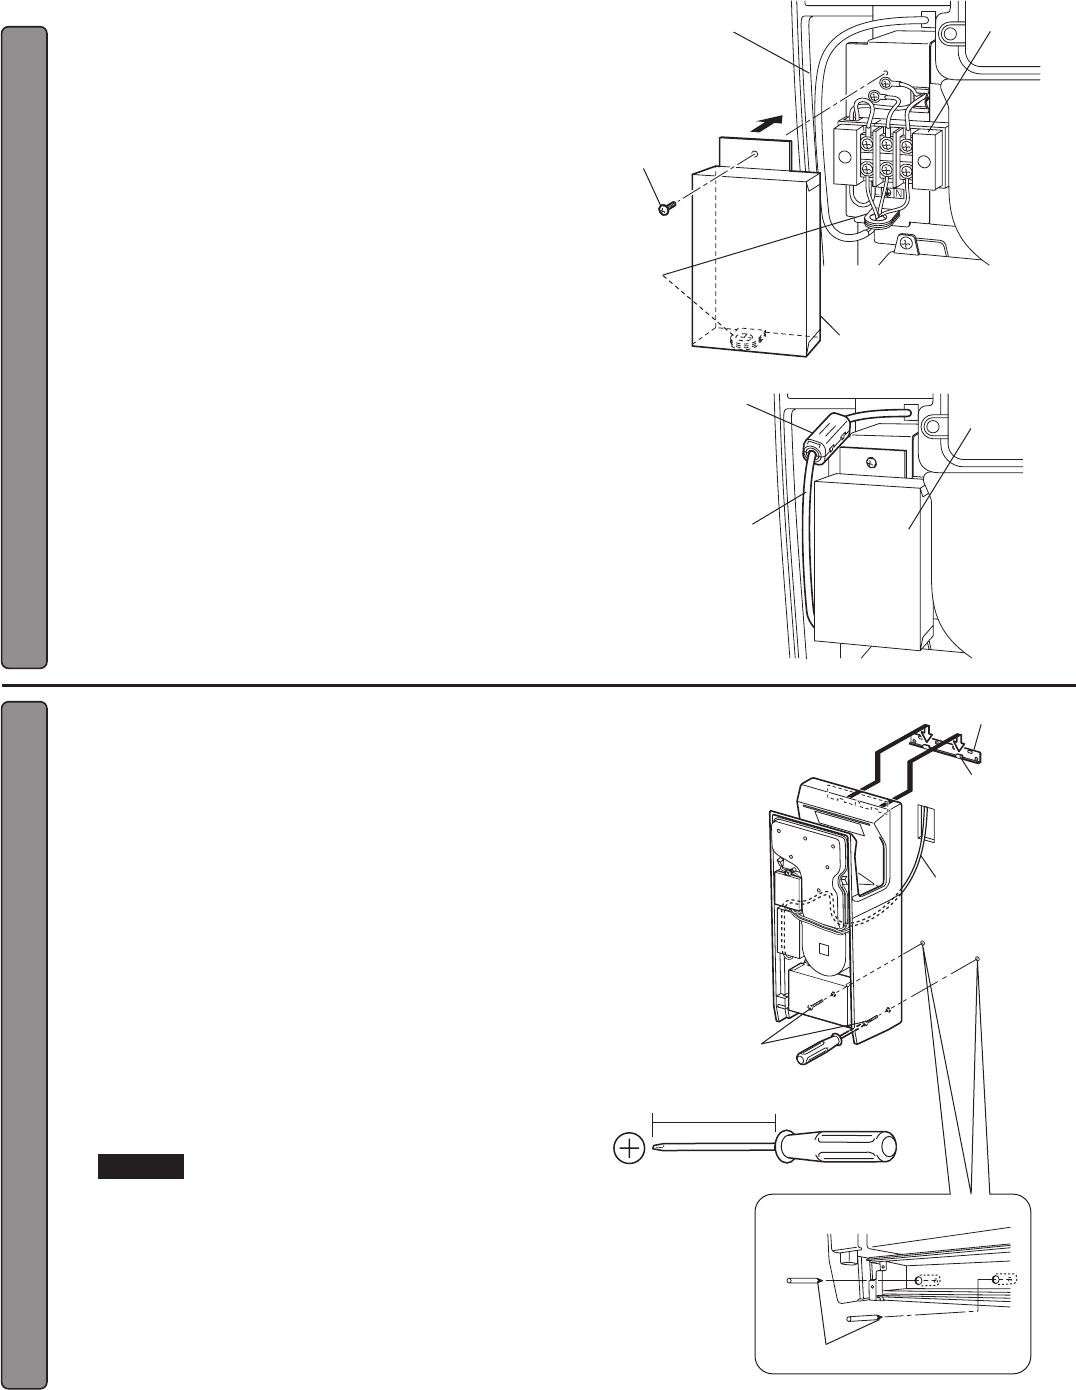
Installation (Continued)
1.Run the power cable through the rubber
bushing, and attach the rubber bushing to
the terminal cover.
2.Attach the terminal cover to the main unit
using the terminal cover mounting screw.
3.Move the power cable to the left side of the
terminal cover.
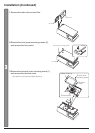
4.Check that the power cable and wires are
not pinched anywhere.
5.Open the ferrite core.
6. Pass the power cable through the ferrite
core, and clos
e it.
Place the ferrite core on the outside of the terminal
cover.
7. Check that the ferrite core is securely
installed.
7
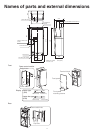
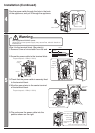
Fix the main unit in place.
1.Engage the panel hooks of the installation
panel (2 hooks) on the back of the
appliance.
If the wall is concrete, use commercially available
metal screw plugs.
See "Plug Positioning" for details of where to insert
the plugs.
Use a screwdriver that is longer than 150mm.
2.Check that the power cable is not trapped
behind the main unit.
Adjust the length of the power cable in the switch
box so that the power cable does not become
trapped.
3.Gently press the appliance onto the wall,
and fix it in place using 2 mounting screws.
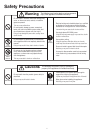
Cautions
If you are using commercially
available 4 screws, use a washer
(external diameter 10 or less) to
prevent looseness.
Installation panel
Panel hooks
Power cable
Mounting screws
(Included)
Longer than 150mm
Plug positioning
Mark the wall in 2 places
Move the power
cable to the
left side of the
terminal cover.
Terminal
block
Terminal cover
mounting screw
Rubber
bushing
Terminal cover
Ferrite core
(Included)
Terminal cover
Power cable