


www.norcold.com/cda 53N6XX/N8XX ModelsRefrigerator Service Manual
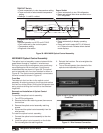
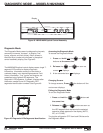
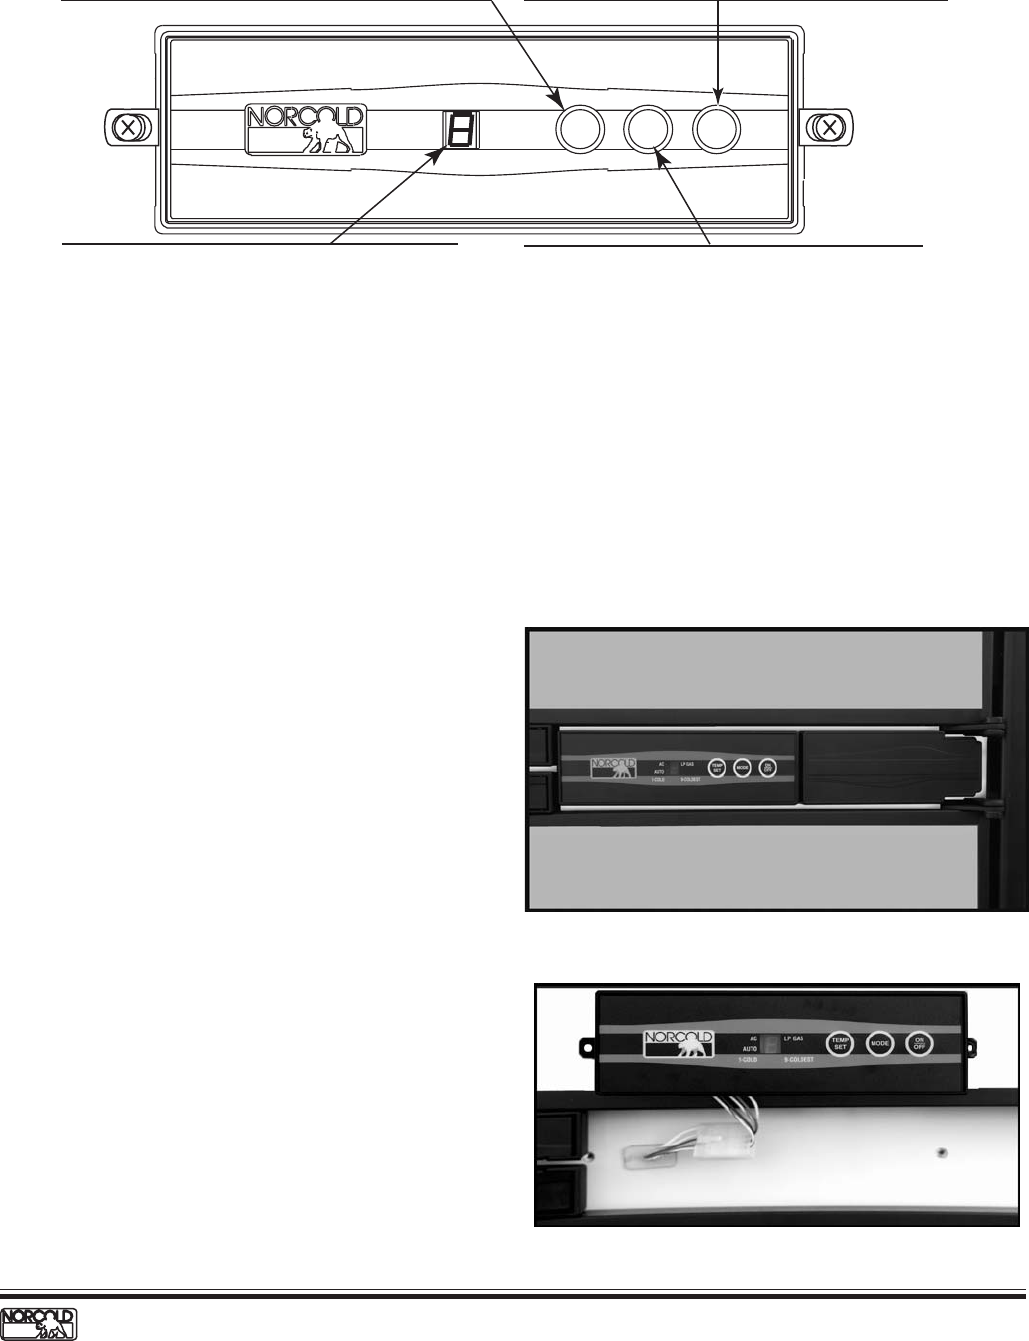
N62X/N82X Optical Control Assembly
The optical control assembly communicates with the
power board through a "foamed in" wire harness.
Drilling or puncturing the refrigerator rear panels may
cause damage to the wire harness. Controls and
related features are shown in Figure 39. The optical
control assembly with front box attached is shown in
Figure 40. The optical control assembly connected to
the wire harness is shown in Figure 41.
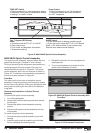
Front Box
Two tabs lock the front box to the optical control
assembly. A retaining screw on the hinge side retains
the front box to the divider. Shifting the refrigerator door
swing requires shifting the front box to the selected
hinge side.
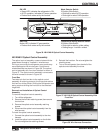
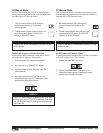
Removal and Installation of Optical Control
Assembly
To remove the optical control assembly:
1. Turn OFF the refrigerator.
2. Remove the front box retaining screw, then remove
the front box.
3. Remove the optical control assembly retaining
screws.
4. Disconnect the optical control assembly from the
wire harness.
To install the optical control assembly:
1. Connect the optical control assembly to the wire
harness.
2. Install the optical control assembly on the divider.
Do not overtighten the retaining screw.
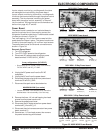
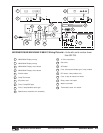
Figure 39. N62X/N82X Optical Control Assembly.
3. Reinstall the front box. Do not overtighten the
retaining screw.
4. Turn on the refrigerator, then check all of the
optical control assembly functions.
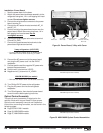
Figure 41. Wire Harness Connection.
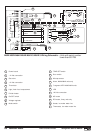
Figure 40. N611/811 Optical Control Assembly With
Front Box.
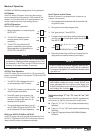
AC
AUTO
1-COLD
LP GAS
COLDEST-9
TEMP
SET
ON
OFF
MODE
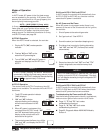
Power Switch
Press momentarily to turn ON refrigerator.
Press and release after three seconds to turn
OFF refrigerator.
7-Segmet LED Display
Shows:
Normal operation on AUTO and LP GAS.
Fault codes set by the control system.
Temperature setting.
Diagnostic information.
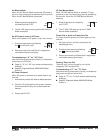
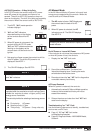
TEMP SET Switch
Press momentarily to view temperature setting
.
Press and hold to select desired temperature
setting.
Settings: 1= cold/9= coldest.
MODE Switch
Press momentarily to display operating
mode.
Press and hold fo select AUTO, AC-Manual,
or LP Manual mode. Release when desired
mode displays.