


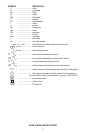


11
3. While holding adjustment knob in desired position: tighten lock-nut
firmly.
ADJUSTABLE FENCE
Model 557 is equipped with an integral, adjustable fence which:
• Provides micro height adjustment, distance scale includes indexes
to top of cut, to center of cut, and to bottom of cut.
• Tilts 0° through 135°, with an adjustable stop at 90°.
• Does not have to be removed to make “flush” cuts.
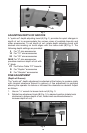
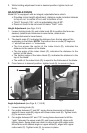
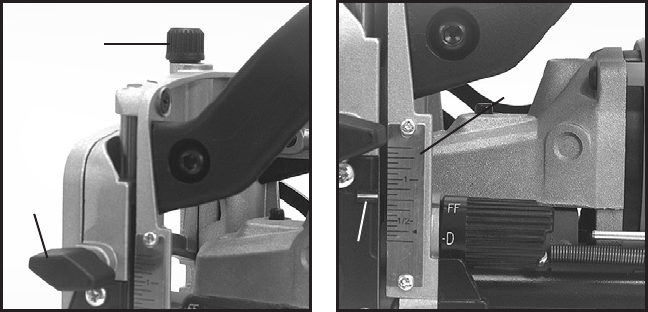
Height Adjustment (see Figs. 4 & 5)
1. Loosen locking knob (A), and rotate knob (B) to position the fence as
desired, (rotate knob clockwise to raise fence, rotate knob
counterclockwise to lower fence).
2. The depth scale (C), indicates the distance from the top edge of the
workpiece to the blade: NOTE: The bottom line on scale (C) begins at
1
/4" and all lines are in
1
/16" increments.
• The line across the center of the index block (D), indicates the
distance to the center of the blade.
• The top edge of the index block (D), indicates the distance to the
bottom of the blade.
• The bottom edge of the index block (D), indicates the distance to the
top of the blade.
• The width of the index block (D), is equal to the thickness of the blade.
3. Once fence is in desired position, tighten knob (A), to secure in place.
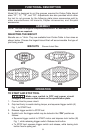
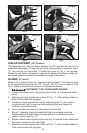
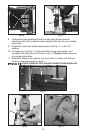
Angle Adjustment (see Figs. 6, 7, 8 & 9)
1. Loosen locking knob (A).
2. For angles between 0° and 90°: swing fence downward until desired
angle on lower scale (B), aligns with lower index mark (E). Tighten knob
(A), to secure in place.
3. For angles between 90° and 135°: swing fence downward until the
“gate” between the upper scale (D), and lower scale (B), aligns with
locking knob. Swing scale arm down to align knob with upper scale.
Move fence until desired angle on upper scale (D), aligns with upper
index mark (C). Tighten knob (A), to secure in place.
Fig. 4 Fig. 5
B
A
C
D