10
LED WORK LIGHT
When drill is activated by pulling the trigger switch (1), the integrated LED work light (9)
will automatically illuminate the work area.
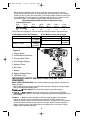
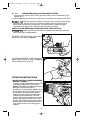
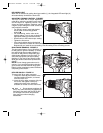
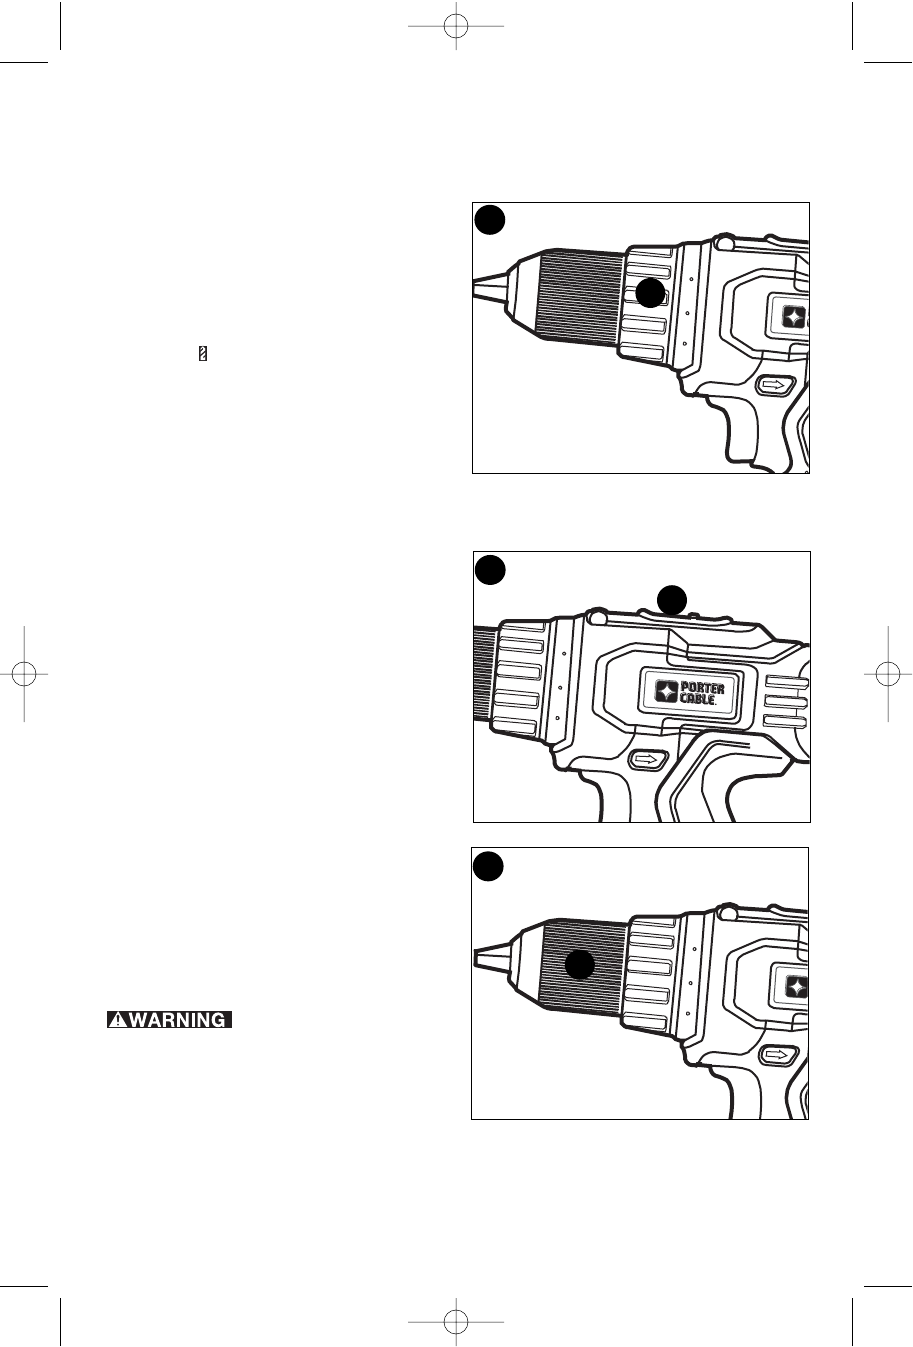
ADJUSTING TORQUE CONTROL - FIGURE F
This tool is fitted with a torque adjustment
collar (3) to select the operating mode and to
set the torque for tightening screws. Large
screws and hard workpiece materials require
a higher torque setting than small screws and
soft workpiece materials.
• For drilling in wood, metal and plastics,
set the collar to the drilling position
symbol
• For screwdriving, set the collar to the
desired setting. If you do not yet know the
appropriate setting, proceed as follows:
• Set the collar to the lowest torque setting.
• Tighten the first screw.
• If the clutch ratchets before the desired
result is achieved, increase the collar setting and continue tightening the screw.
Repeat until you reach the correct setting. Use this setting for the remaining screws.
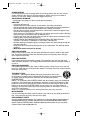
DUAL RANGE GEARING - FIGURE G
The dual range feature of your drill allows you
to shift gears for greater versatility. To select
low speed, high torque setting (position 1),
turn tool off and permit to stop. Slide gear
shifter button (4) away from the chuck. To
select the high speed, low torque setting
(position 2), turn tool off and permit to stop.
Slide gear shifter button back (towards the
chuck).
NOTE: Do not change gears when tool is
running. If you are having trouble changing
gears, make sure that the dual range gear
button is either completely pushed forward or
completely pushed back.
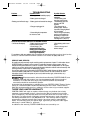
KEYLESS CHUCK - FIGURE H
To insert a drill bit or other accessory:
1. Grasp the chuck (5) and rotate it in the
counterclockwise direction, as viewed
from the chuck end.
2. Insert the bit or other accessory fully into
the chuck, and tighten securely by
rotating the chuck in the clockwise
direction as viewed from the chuck end.
Do not attempt to tighten drill
bits (or any other accessory) by gripping the
front part of the chuck and turning the tool
on. Damage to the chuck and personal
injury may occur when changing
accessories.
:
8 10 12 14
8 10 12 14
F
G
3
4
8 10 12 14
H
5
90550129 PC1800D 4/1/09 2:38 PM Page 10


