10
A
B
A
C
F
E
D
B
C
TROUBLESHOOTING
For assistance with your machine, visit our website at
www.portercable.com for a list of service centers or call the
help line at 1-888-848-5175.
MAINTENANCE
To reduce the risk of injury, turn unit off
and disconnect it from power source before installing and
removing accessories, before adjusting or when making
repairs. An accidental start-up can cause injury.
KEEP MACHINE CLEAN
Periodically blow out all air passages with dry compressed
air. All plastic parts should be cleaned with a soft damp cloth.
NEVER use solvents to clean plastic parts. They could possibly
dissolve or otherwise damage the material.
Wear certified safety equipment for eye,
hearing and respiratory protection while using compressed air.
FAILURE TO START
Should your machine fail to start, check to make sure the
prongs on the cord plug are making good contact in the outlet.
Also, check for blown fuses or open circuit breakers in the line.
LUBRICATION & RUST PROTECTION
Apply household floor paste wax to the planer table, extension
table or other work surface weekly. Or use a commercially
available protective product designed for this purpose. Follow
the manufacturer’s instructions for use and safety.
BRUSH INSPECTION AND REPLACEMENT
Disconnect tool from power source.
Brush life varies. It depends on the load on the motor. Check
the brushes after the first 50 hours of use for a new machine
or after a new set of brushes has been installed. After the first
check, examine them after about 10 hours of use until such
time that replacement is necessary.
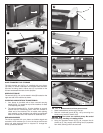
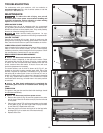
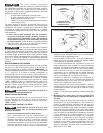
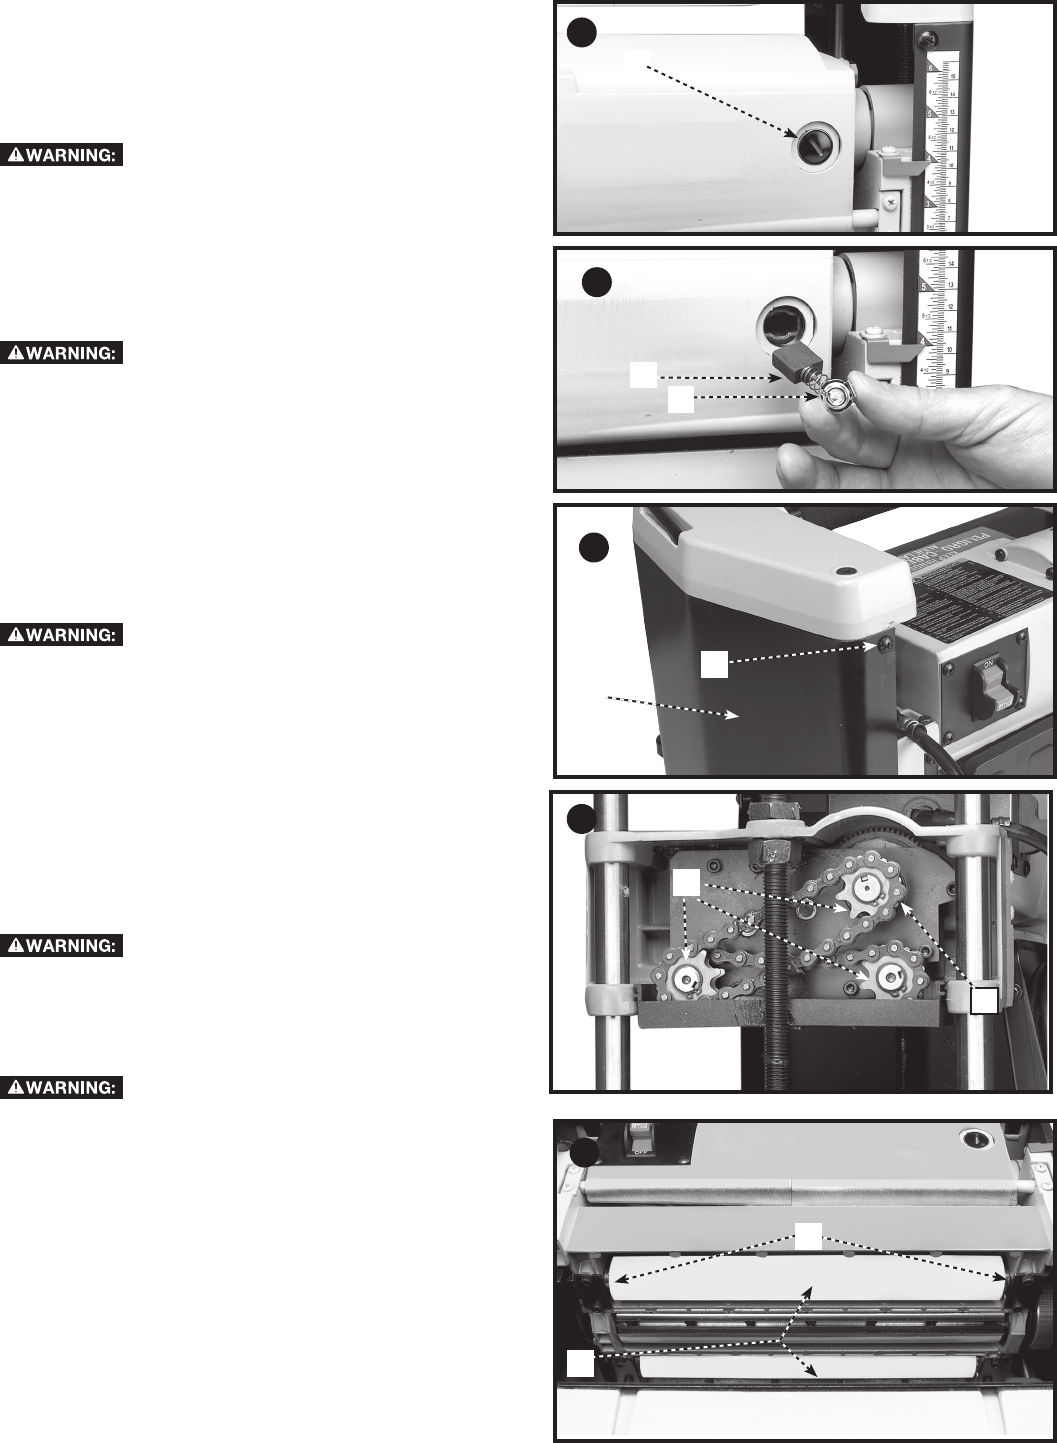
The brush holders, one of which is shown at (A) Fig. 27, are
located on the motor housing opposite each other. One of the
brushes, removed for inspection, is illustrated in Fig. 28. When
the carbon (B) on either brush is worn to 3/16 inch (4.7 mm) in
length or if either spring (C) or shunt wire is burned or damaged
in any way, replace both brushes. If the brushes are found
serviceable after removing, re-install them in the same position
as removed.
After brush maintenance is completed, the
cutterhead guard must be re-installed before starting the
planer.
LUBRICATION
The gears in the gear box and the feed roller bushings should
be lubricated periodically.
Disconnect tool from power source.
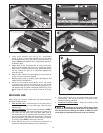
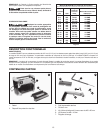
1. Remove the screw (A) Fig. 29, and nut located on the other
end of screw. Remove the side cover (B) from the left side
of the planer.
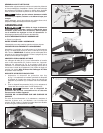
2. Place a light coat of E.P. multi-purpose grease on the teeth
of the gears (C) Fig. 30, and a light coat of spray lubricant
on the chains (F). Replace the side cover.
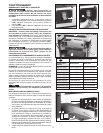
3. Place the planer on its back and squirt oil on the feed roller
bushings (D) Fig. 31 at each end of the feed rollers (E).
4. Replace side cover.
27
28
29
30
31


