


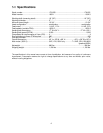
8
An undersized cord will cause a drop in line voltage
resulting in loss of power and overheating. Table 1
shows correct size to use depending on cord
length and nameplate ampere rating. If in doubt,
use the next heavier gauge. The smaller the gauge
number, the heavier the cord.
8.0 Adjustments
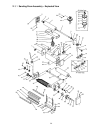
Disconnect sander from power
source before making adjustments.
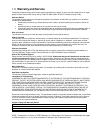
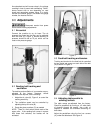
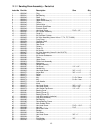
8.1 Air control
Connect the machine to an air hose. The air
pressure that flows into the filter can be adjusted
with the knob (A), Figure 2. Normal working air
pressure should be set at 75 psi, which can be
read on the pressure gauge.
Figure 2
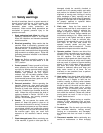
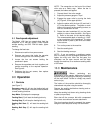
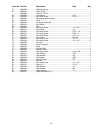
8.2 Sanding belt tracking and
oscillation
The tracking and oscillation of your sander are pre-
adjusted at the factory. However, should
adjustment be required, do the following:
1. Adjust the air valve (A), Figure 3, to control the
tracking sensitivity.
2. The oscillation speed can be controlled by
adjusting the top air valve (B).
3. Empty the glass container (C) as needed.
NOTE: There is a limit switch at both ends of the
upper roller. If the sanding belt comes in contact
with these limit switches, the brakes will be
activated.
Figure 3
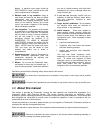
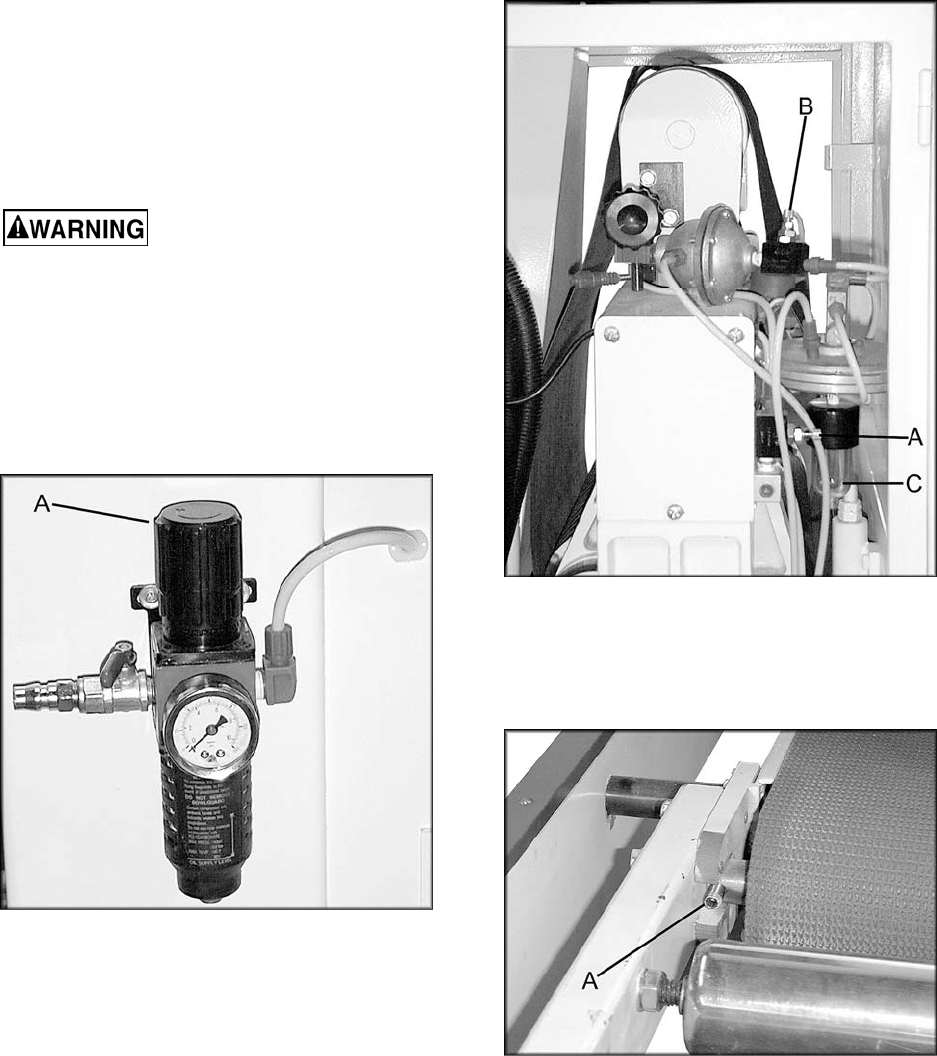
8.3 Feed belt tracking and tension
Tracking and tension for the feed belt is controlled
by two socket set screws on each side of the belt
(A) as shown in Figure 4.
Figure 4
8.4 Adjusting table parallel to
sanding surface
The table comes pre-adjusted from the factory.
Check its parallelism by running a 16" wide piece
of plywood through the sander. Use a pair of
calipers to measure the thickness remaining on
both sides.
Adjust the parallelism using the four hex. screws
(A), under the table base. See Figure 5.