


11
Canister System Assembly
(17mm wrench required)
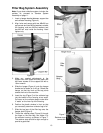
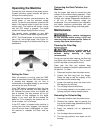
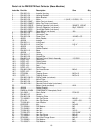
9. Place the snap ring over the top of the
plastic collector bag, and fold over the bag
approximately three inches (Figure 8).
Figure 8
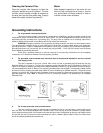
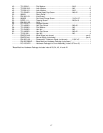
10. Insert the snap ring of the collector bag into
the bottom of the housing at an angle
(Figure 9).
11. Pull down on the snap ring to make sure it
“seats” on the inner lip of the housing.
Note: Make sure the snap ring “snaps” into
place in the housing, and also that the
plastic bag hangs down approximately 3
inches so that there are no air leaks.
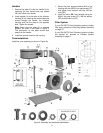
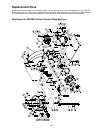
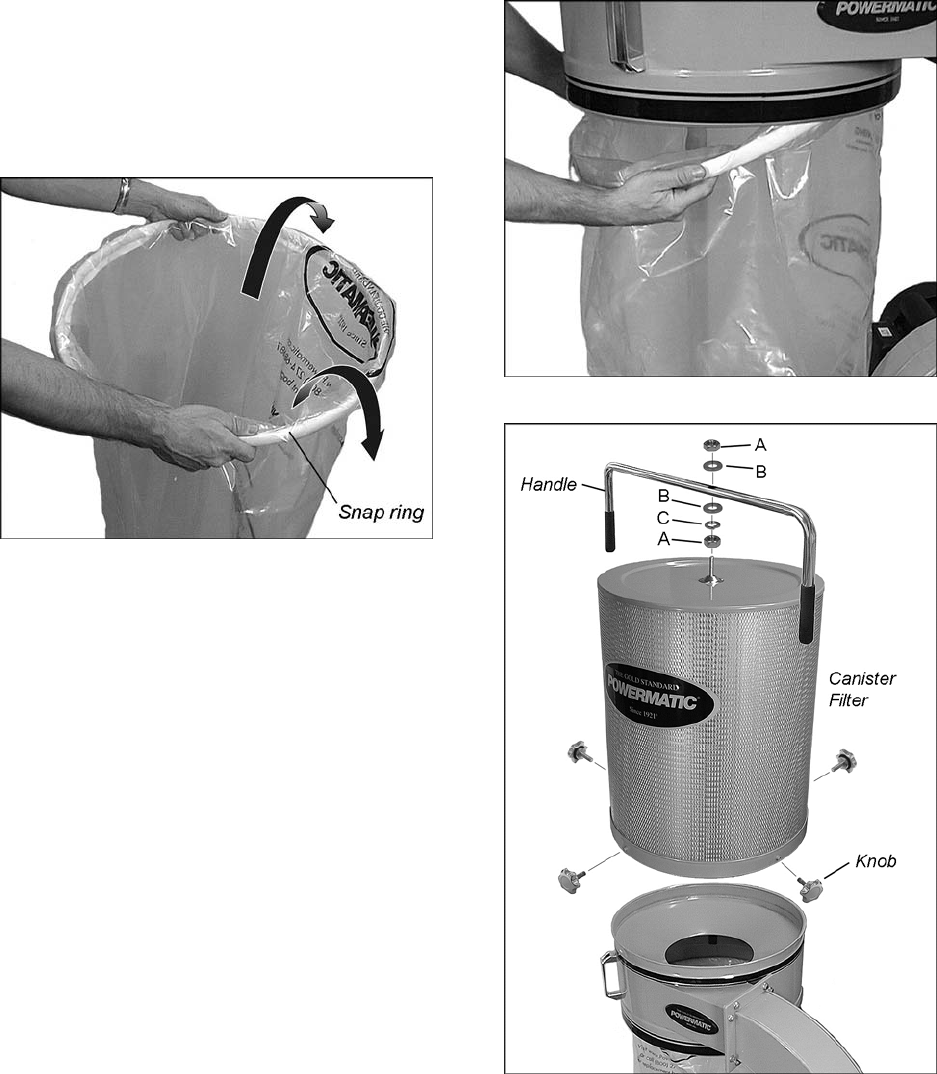
12. Remove the handle (Figure 10) from inside
the canister filter. Mount the handle onto the
canister filter with two M10 hex nuts (A), two
M10 flat washers (B), and an M10 lock
washer (C). Arrange these fasteners
according to Figure 10. Tighten with a 17mm
wrench.
13. Place the canister on top of the housing, and
push down to ensure the canister is seated
on the housing.
14. Insert and tighten the four knobs into the
threaded holes on the canister (Figure 10).
Note: The Powermatic® label on the front of the
canister should have a negligible effect upon air
flow. However, if zero effect is desired, the label
can always be peeled off.
Figure 9
Figure 10