7
USING THE TOOL
Complete all steps of PREPARING THE TOOL before using the tool.
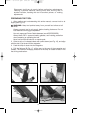
First position and closely fit together (rack) the flooring strip with the (metal)
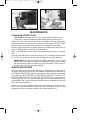
mallet. Position the tool on the tongued edge of the flooring strip (see Fig. 18)
aligning the driver guide against the front of the flooring strip. Pull and hold
the trigger and strike the rubber cap with the rubber mallet. The tool will then
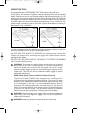
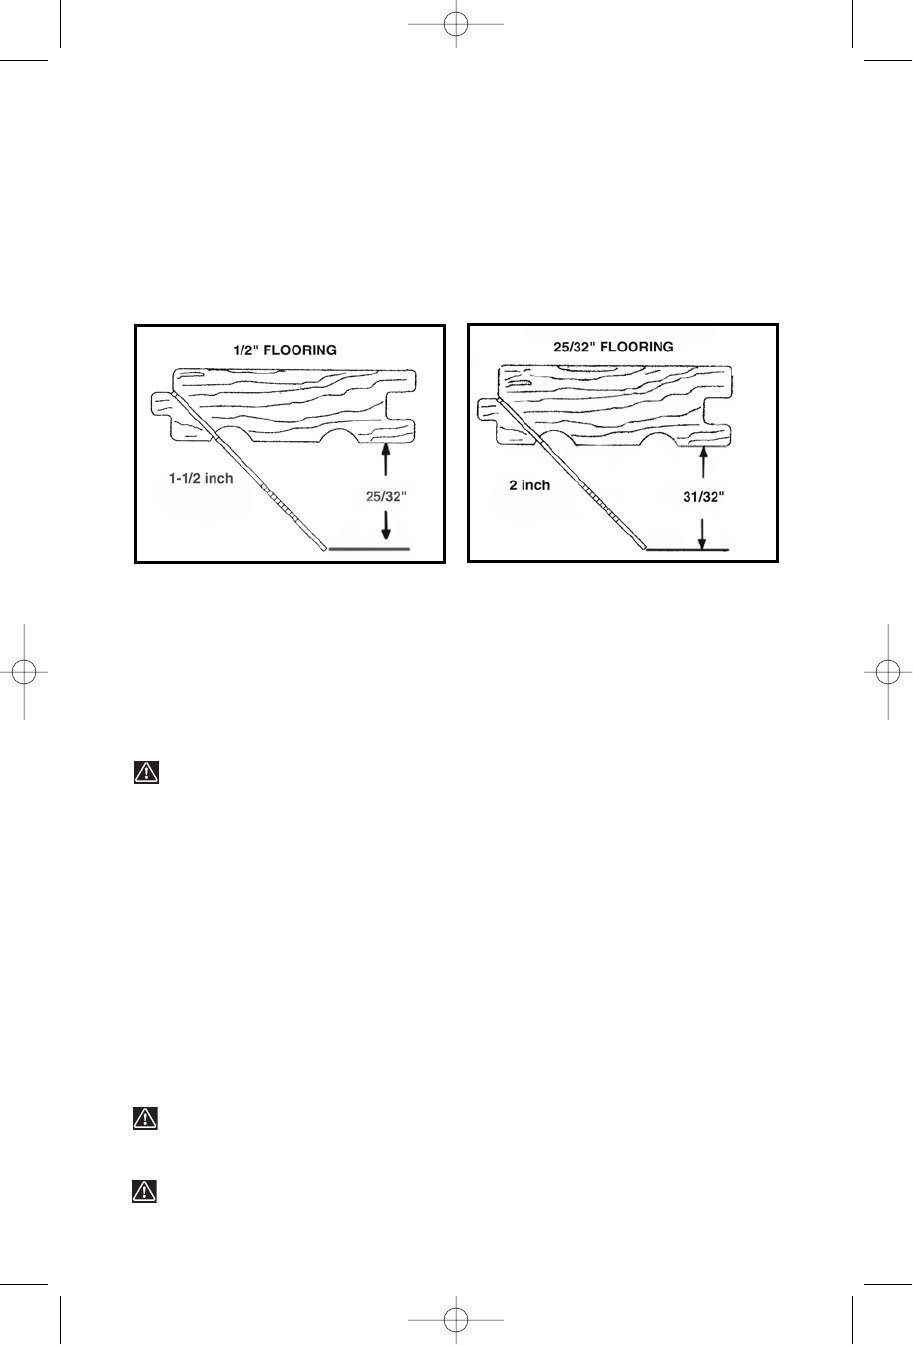
drive the cleat at the correct 45 degree angle as shown in Fig. 19 and 20. The
proper length of flooring cleat to use with various thicknesses of flooring is
also shown in Fig. 19 and 20.
It is not necessary to hit the rubber cap hard to activate it. Never hit the tool
hard with excessive force, as this will damage the tool.
DO NOT USE THE NAILER TO POSITION the flooring strips. Hitting the
rubber cap without first activating the trigger will cause severe internal
damage to the Nailer.
DO NOT USE THE METAL END OF THE MALLET TO STRIKE THE RUBBER
CAP, use the rubber end only.
WARNING: The trigger is a safety device and should only be pulled
when the tool is in the proper position on the work surface and
before the rubber cap is struck with the mallet. Do not tie or tape
down the safety trigger as the tool could discharge if dropped on the
rubber cap. The tool will not fire unless the safety trigger is pulled
before the mallet blow.
NOTE: When Using Tool to install Pre-finished Flooring
The Porter-Cable FCN200 was designed for installing both
unfinished and pre-finished hardwood flooring. Care must be used
however when installing pre-finished flooring to ensure that the finish
is not damaged by the tool. It is recommended that the tool be
inspected for damage [especially the base plate (C) Fig.18] and
tested on a sample section to be certain that the tool and technique
of use do not mar the finish. This procedure should be followed
before each job due to variations in flooring and tool condition.
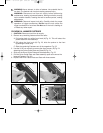
WARNING: Remove finger from trigger when not driving fasteners.
Never carry tool with finger on trigger: tool will fire a fastener if
rubber cap is bumped.
WARNING: Keep tool pointed in a safe direction at all times.
Fig. 19
Fig.20
899223 - 05-31-01.qxd 2/19/02 2:01 PM Page 7


