


8
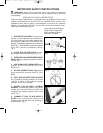
WARNING: Never attempt to drive a fastener into material that is
too hard. The fastener can ricochet causing personal injury.
WARNING: Disconnect tool from air supply before performing
maintenance, clearing a jammed fastener, leaving work area, moving
tool to another location, handing the tool to another person, making
adjustments.
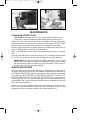
WARNING: Clean and inspect tool daily. Carefully check for proper
operation of trigger mechanism. Do Not use the tool unless the
trigger mechanism is functional. Do Not use if the tool is leaking air
or needs any other repair.
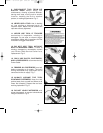
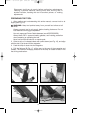
CLEARING A JAMMED FASTENER
1. CAUTION: Disconnect tool from air supply.
2. Remove any remaining fasteners from the nailer.
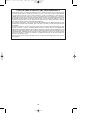
A. Pull pusher back by pulling front knob (A) Fig. 21. This will retract the
pusher face from the cleat strip.
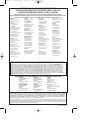
B. Still using the front knob (A) Fig. 22, slide the pusher to the front
bypassing the cleat strip.
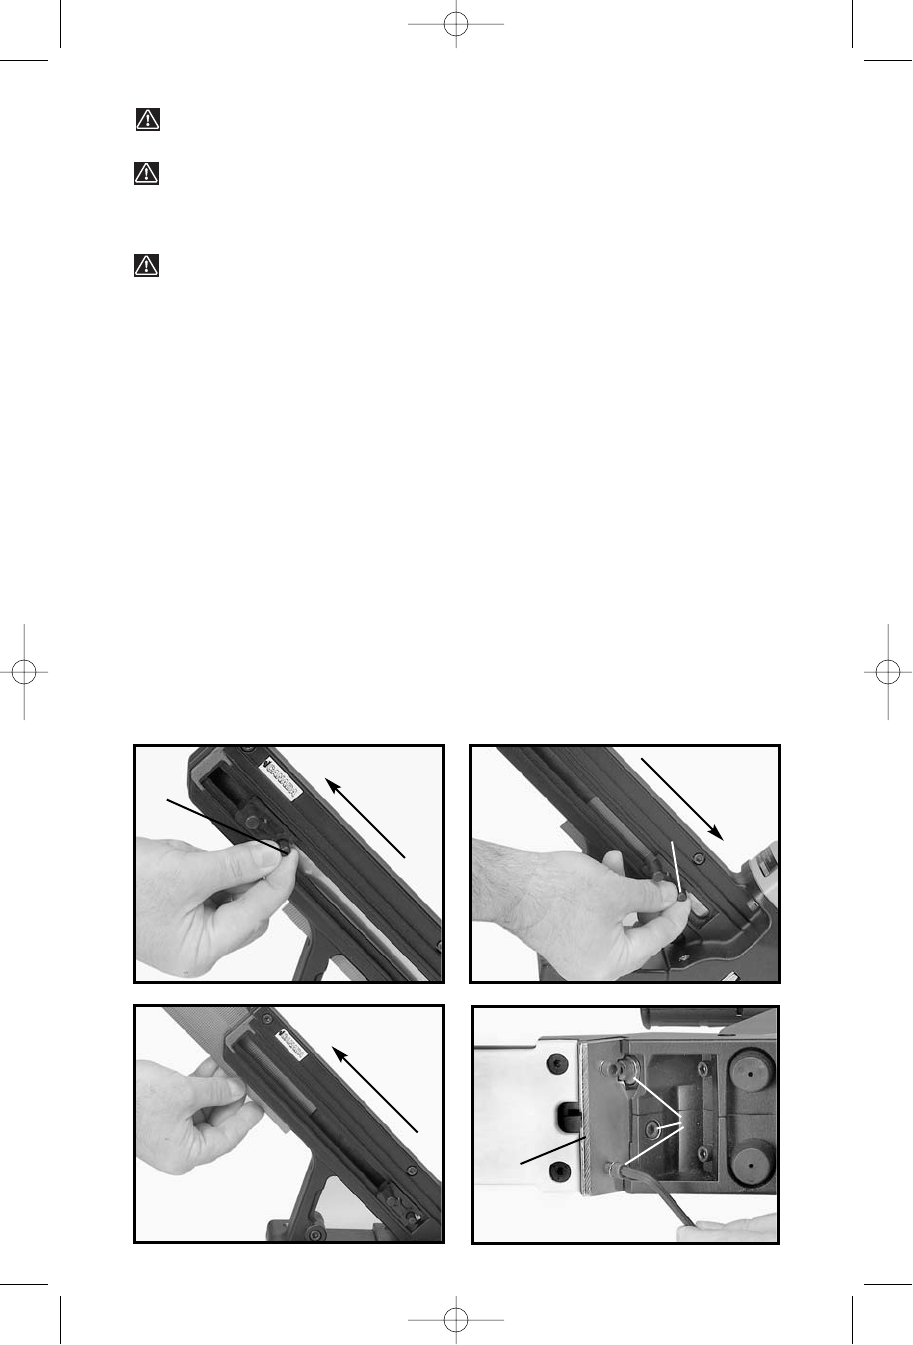
C. Slide the remaining Fasteners out of the magazine. Fig. 23.
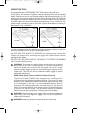
3. Use the 3/16” hex wrench to remove the three screws (A) Fig. 24
attaching the Driver Guide Plate and Gate (B) Fig. 24.
4. Slide out the Driver Guide Plate and Gate assembly. Fig. 25.
5. Pull the Driver Guide Plate and Gate assembly apart and remove the
jammed Fastener. Fig. 26.
6. Replace the Driver Guide Plate and Gate with three screws.
Fig. 21
A
Fig. 23
Fig. 24
A
Fig. 22
A
B
899223 - 05-31-01.qxd 2/19/02 2:02 PM Page 8