


NOTE! Always use both hands when using the vise to
prevent saw from tipping.
NOTE! For smoother operation and extended life, keep
the vise mechanism lubricated.
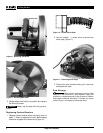
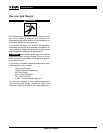
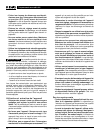
Cutting with Dry Cut Saw
1. To start the tool, firmly grasp the handle, then depress
LOCK-OFF switch button (Figure 4). Keeping the
LOCK-OFF switch button depressed, pull the trigger
switch. Be sure to allow the motor to reach maximum
speed prior to cutting (Figure 5).
Keep hands out of the path of the saw
blade. Never reach around or in back of the saw blade.
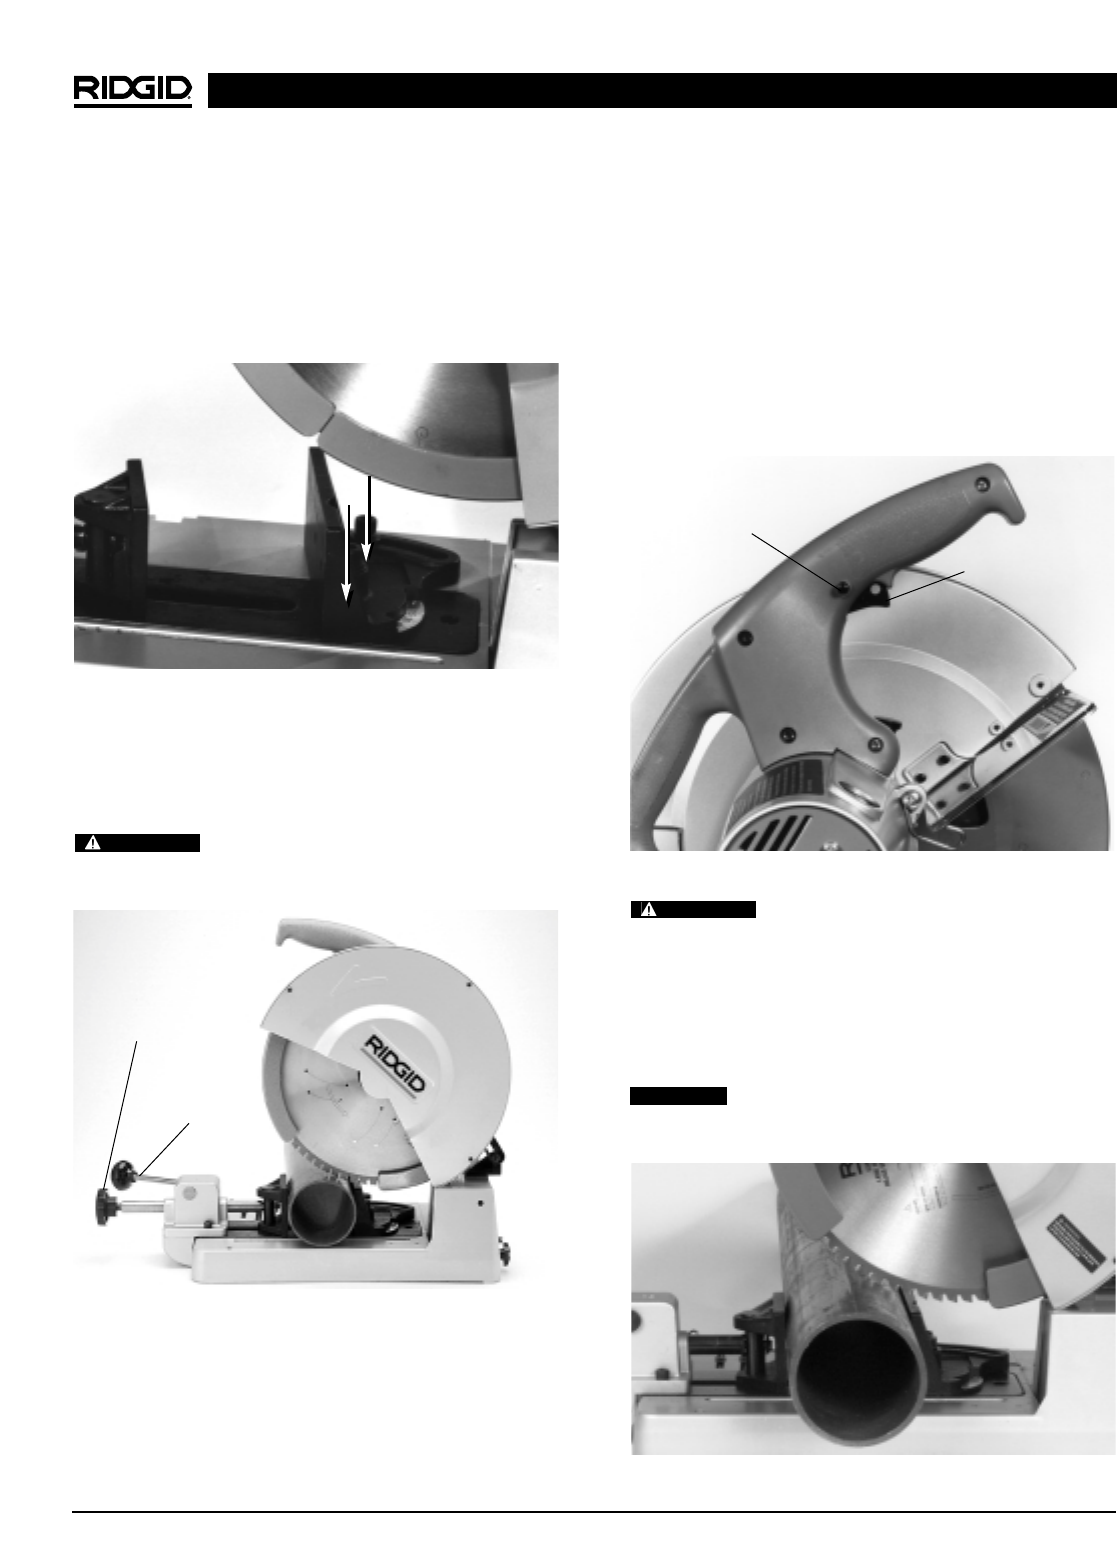
2. Hold the workpiece firmly. Cut the workpiece slowly
and evenly. Raise the handle from the workpiece
and release the trigger switch to turn saw OFF.
Leave the handle only when the tip saw blade is
completely stopped.
Raise the cut off saw from the kerf of the
workpiece prior to releasing the trigger switch. Less
likely for the saw blade to bind.
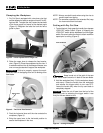
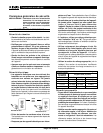
Clamping the Workpiece
1. Dry Cut Saw is equipped with a two-lever vise that
can be adjusted to make an angle cut from 45º to 90º,
right and left. To adjust the vise, loosen the two bolts
of the fence guard and move to the desired angle
(Figure 2). Retighten the bolts the lock the fence
guide in place.
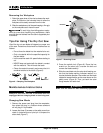
2. Raise the upper lever to release the feed mecha-
nism (Figure 3). Place the workpiece into the vise. If
it extends more than four (4) feet beyond the saw, use
one or more pipe stands to support the workpiece.
Failure to properly support the work-
piece can result in the tipping of the unit or binding of the
saw blade.
3. Push the horizontal lever until the vise contacts the
workpiece (Figure 3).
4. Bring the upper lever to the horizontal position to
secure the workpiece in the vise.
Ridge Tool Company
6
614 Dry Cut Saw
Figure 2 – Fence Adjustment For Angle Cut
Horizontal
Lever
Upper Lever
Figure 3 – Two-Lever Vise Controls
WARNING
Figure 4 – Switch Controls
Trigger
Lock Off Switch
WARNING
CAUTION
Figure 5 – Cutting Workpiece