


1716
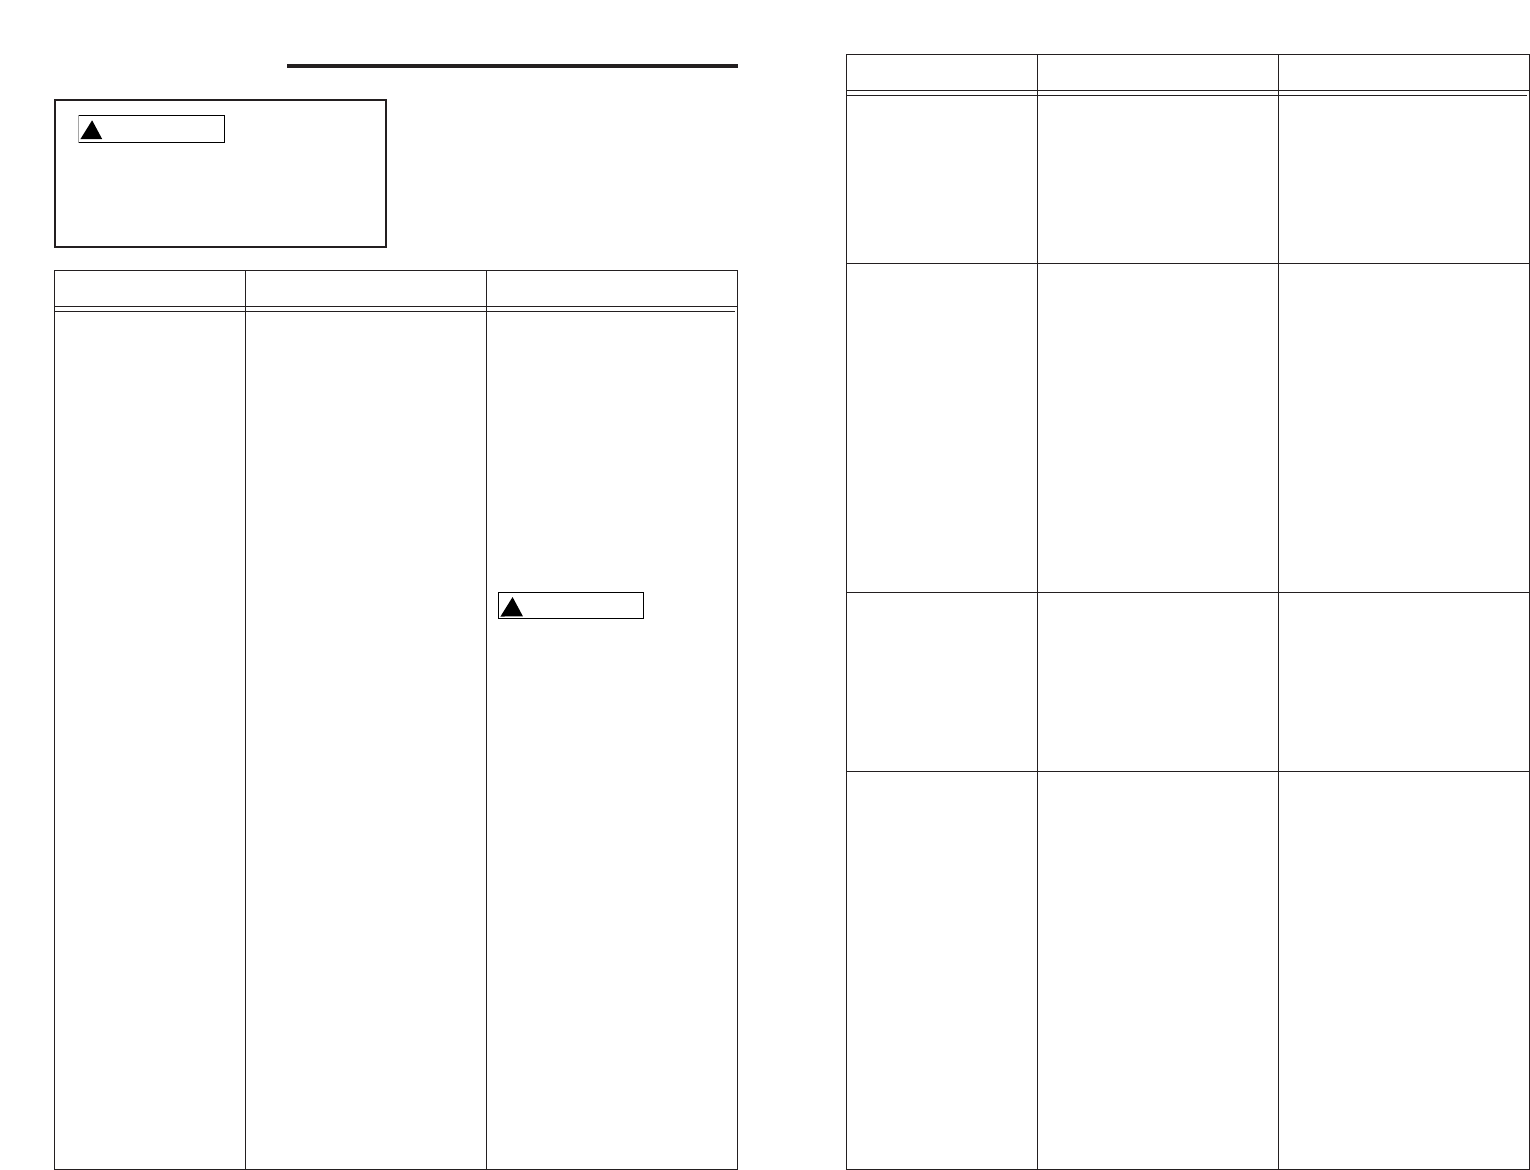
Troubleshooting
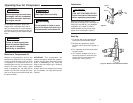
For your own safety do not try
and run the air compressor
while troubleshooting.
!
WARNING
TROUBLE PROBABLE CAUSE REMEDY
Low discharge pres-
sure
1. Air leaks
2. Leaking valves
3. Restricted air intake
4. Slipping belts
5. Blown gaskets
6. Low compression
1. Listen for escaping air.
Apply soap solution to all
fittings and connections.
Bubbles will appear at
points of leakage. Tighten
or replace leaking fittings
or connections
2. Remove head and inspect
for valve breakage, weak
valves, scored valve seats,
etc. Replace defective
parts and reassemble
Be sure that the old head
gasket is replaced with a
new one each time the
head is removed
3. Clean the air filter element
4. Loosen engine clamping
bolts and move the engine
in a direction away from
the compressor, being sure
that the engine pulley is
perfectly aligned with the
flywheel. Tighten engine
clamping bolts. The belt
should deflect about 1/2”
under 5-lbs of force. Do
not “roll” belts over pulleys
5. Replace any gaskets
proven faulty on inspection
6. Low pressure can be due
to worn rings and cylinder
walls. Correction is made
by replacing the rings,
cylinders, and pistons as
required
!
CAUTION
TROUBLE PROBABLE CAUSE REMEDY
Overheating
Excessive belt wear
Unit stalls
Excessive noise
(knocking)
1. Poor ventilation
2. Dirty cooling surfaces
1. Pulley out of alignment
2. Belt too loose or too tight
3. Belt slipping
4. Pulley wobbles
1. Low engine idle
2. Improper lubrication
3. Low oil level
4. Defective unloader valve
1. Loose engine or com-
pressor pulley
2. Lack of oil in crankcase
3. Worn connecting rod
4. Worn piston pin bushing
1. Relocate the compressor
to an area where an ample
supply of cool, clean, dry
and well-circulated air is
available
2. Clean the cooling surfaces
of pump and motor/engine
1. Realign engine pulley with
compressor pulley
2. Adjust tension (See Drive
Belt Section)
3. Adjust tension or replace
belt (See Drive Belt
Section)
4. Check for worn crankshaft,
keyway or pulley bore
resulting from running the
compressor or motor with
loose pulleys. Check for
bent pulleys or bent crank-
shaft
1. Increase idle, refer to
engine manual for details
2. See LUBRICATION, under
Assembly
3. Check oil level. Fill if nec-
essary
4. Replace
1. Loose engine or compres-
sor pulleys are a very com-
mon cause of compressors
knocking. Tighten pulley
clamp bolts and set-screws
2. Check for proper oil level; if
low, check for possible
damage to bearings. Dirty
oil can cause excessive
wear
3. Replace connecting rod
4. Remove piston assemblies
from the compressor and
inspect for excess wear.
Replace excessively worn
piston pin or pistons, as
required