10
11
OPERATION
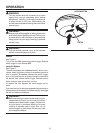
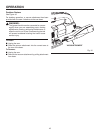
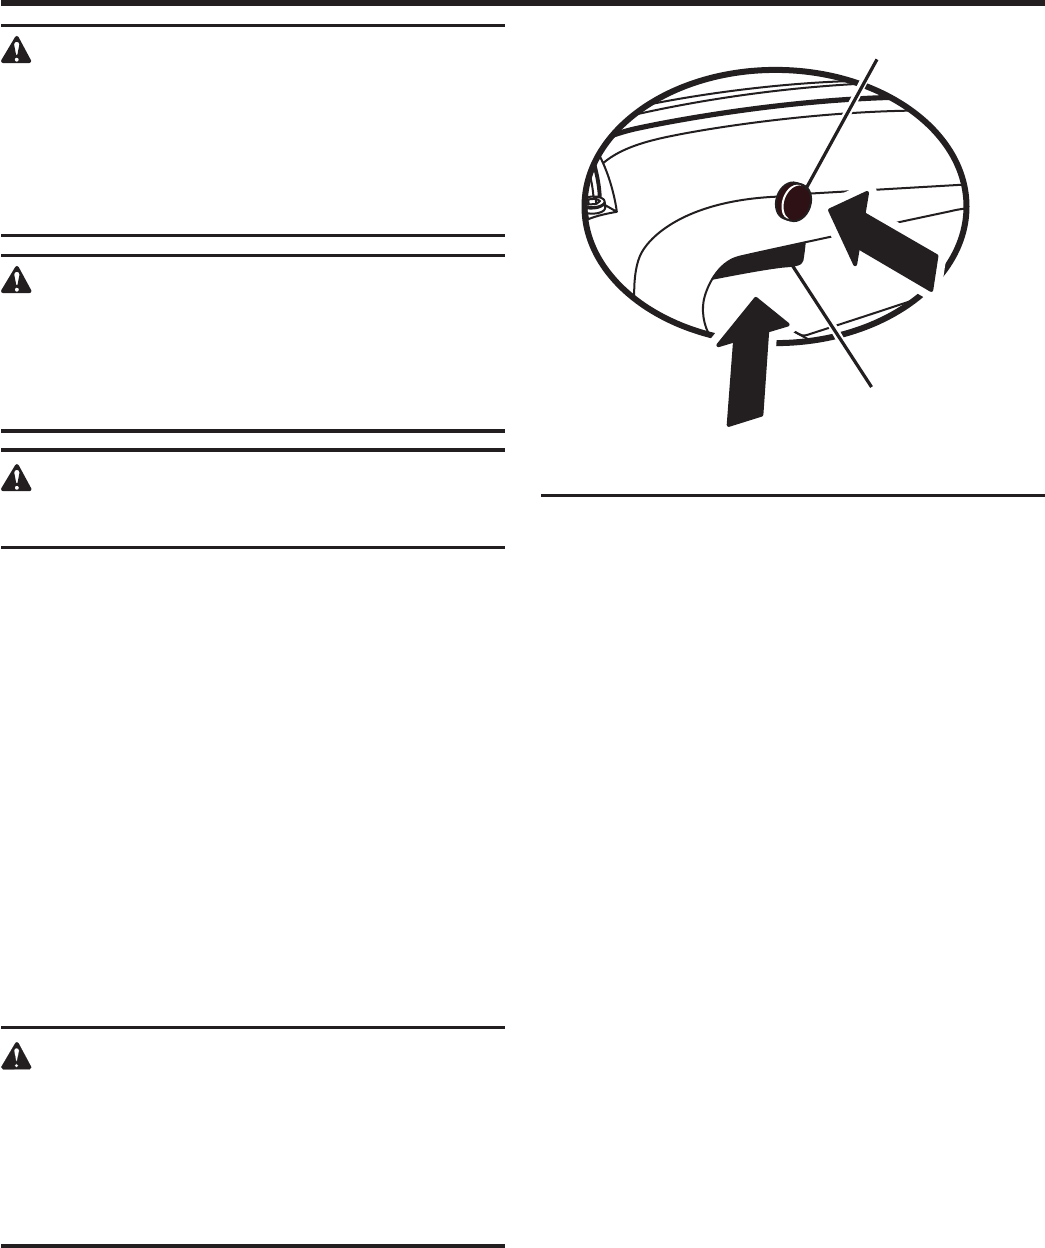
Fig. 3
SWITCH
LOCK-ON BUTTON
WARNING:
The tool should never be connected to a power
supply when you are assembling parts, making
adjustments, cleaning, performing maintenance,
or when the tool is not in use. Disconnecting the
tool will prevent accidental starting that could cause
serious injury.
WARNING:
Always wear safety goggles or safety glasses with
side shields when operating this tool. Failure to do
so could result in dust, shavings, or loose particles
being thrown into your eyes, resulting in possible
serious injury.
WARNING:
To avoid serious personal injury, do not use saw
without chip shield properly in place.
Switch
See Figure 3.
To turn the saw ON, depress the switch trigger. Release
switch trigger to turn the saw OFF.
Lock-On Button
See Figure 3.
The saw is equipped with a lock-on feature, which is con-
venient when continuous cutting for extended periods of
time is required. To lock-on, depress the switch trigger,
push in and hold the lock-on button located on the side of
the handle, then release switch trigger. Release lock-on
button and your saw will continue running.
To release the lock, depress the switch trigger and re-
lease.
If you have the lock-on feature engaged during use and your
saw becomes disconnected from power supply, disengage
the lock-on feature immediately.
WARNING:
Before connecting the saw to power supply source,
always check to be sure it is not in lock-on position
(depress and release switch trigger). Failure to do
so could result in accidental starting of the saw
resulting in possible serious injury. Also, do not
lock the trigger on jobs where the saw may need
to be stopped suddenly.


