


Page 8
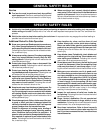
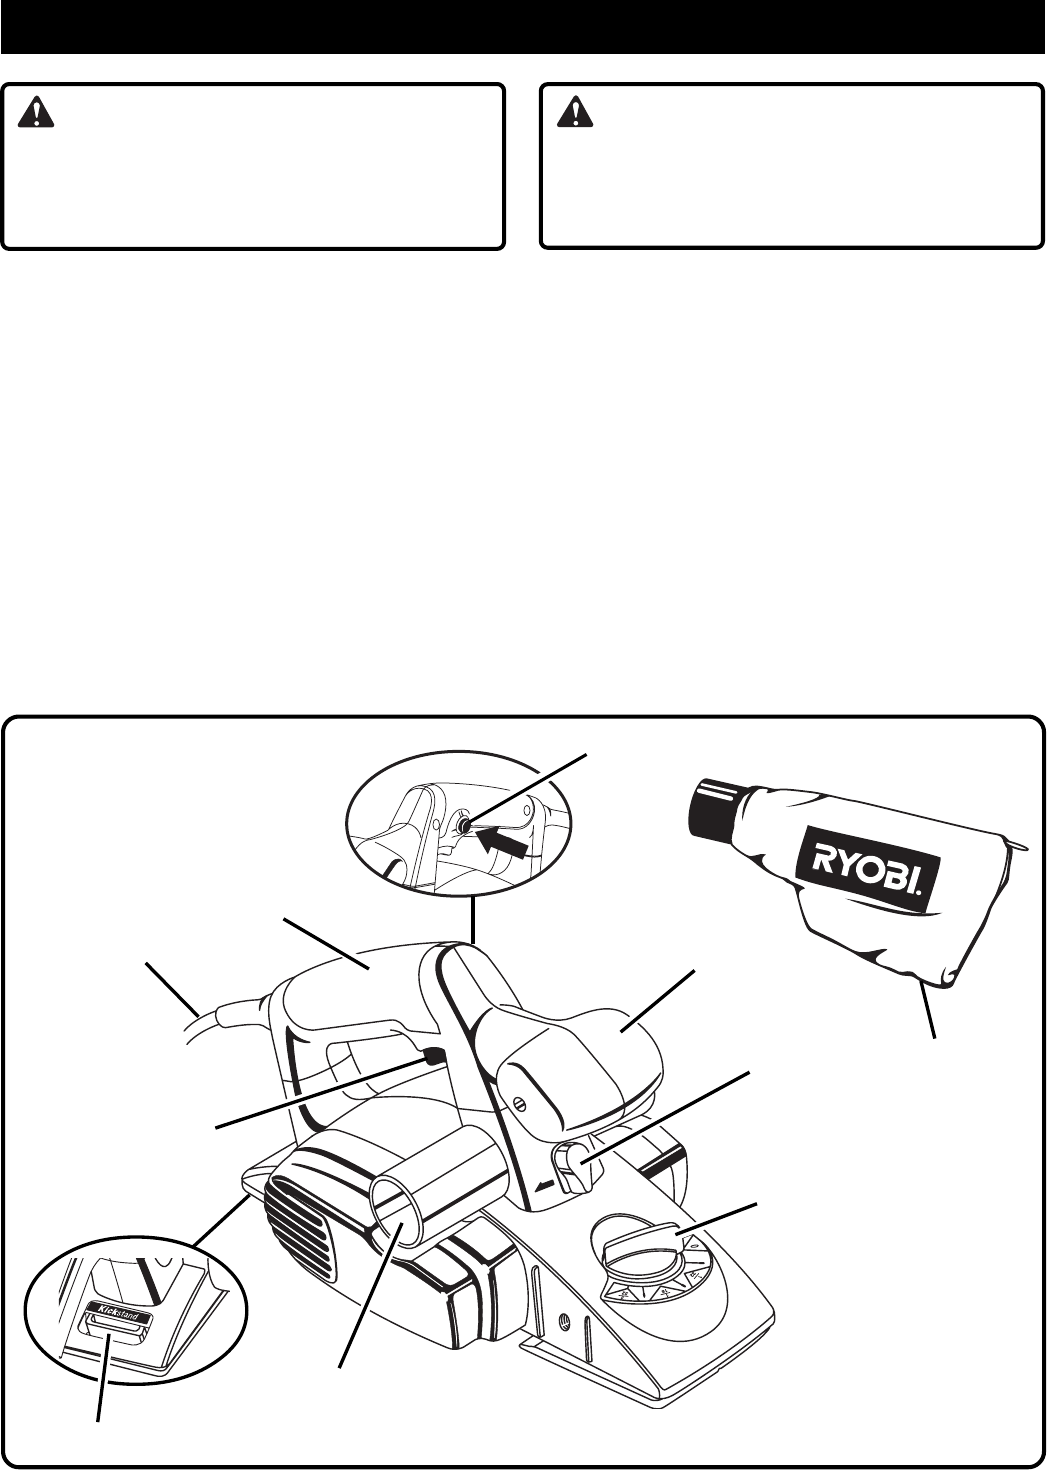
FEATURES
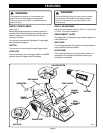
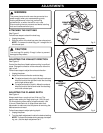
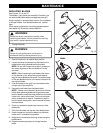
DEPTH
ADJUSTMENT
KNOB
Fig. 1
EXHAUST PORT
POWER CORD
TRIGGER
SWITCH
EXHAUST
DIRECTION
DIAL
FRONT HANDLE
WARNING:
Do not allow familiarity with your planer to make
you careless. Remember that being careless a
fraction of a second is sufficient time to inflict
severe injury.
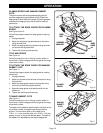
DEPTH ADJUSTMENT
Adjust the planing depth from 0 to 3/32 in. (0 to 2.4 mm)
in 1/64 in. (0.4 mm) increments.
EDGE/RABBET GUIDE
The edge guide included allows you to plane edges and
make rabbet cuts.
DUST BAG
The dust bag attaches to the planer and helps keep the
work area free of dust and debris.
KICKSTAND
The kickstand allows you to set the planer down on a
workpiece or clear table area without damaging the
workpiece or the blades.
WARNING:
If any parts are missing, do not operate your
planer until the missing parts are replaced.
Failure to do so could result in possible serious
personal injury.
KNOW YOUR PLANER
See Figure 1.
Before attempting to operate your planer, familiarize
yourself with all operating features and safety require-
ments. However, do not let familiarity with the tool
make you careless.
Your planer is compact and lightweight. It is equipped
with the following features:
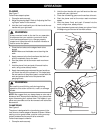
SWITCH
The planer has a conveniently located trigger switch.
LOCK-OFF
The lock-off button locks the trigger switch in the OFF
position when the trigger switch is released.
DUST BAG
LOCK-OFF BUTTON
KICKSTAND
REAR HANDLE