18 19
MITER JOINTS
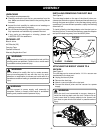
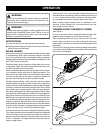
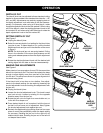
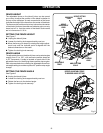
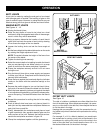
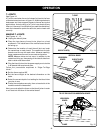
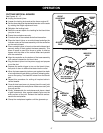
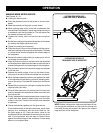
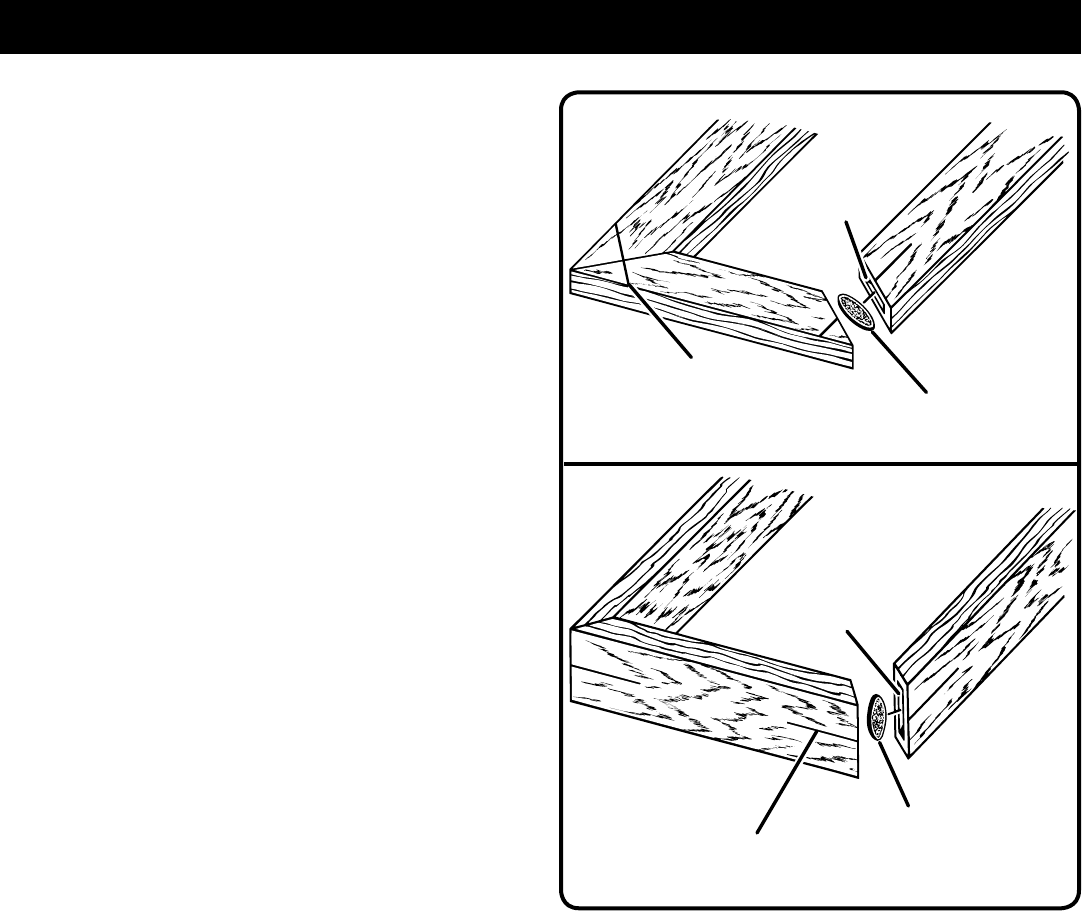
See Figures 18 - 21.
There are two types of miter joints that can be made using
biscuits: flat miters and edge miters. Flat miters are used
when making picture frames. Edge miters are used when
making boxes or things where you don’t want to show the
end grain of the wood.
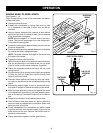
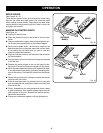
MAKING FLAT MITER JOINTS
See Figure 18.
n Unplug the biscuit joiner.
n Place the pieces of wood to be joined on a level work-
bench.
n Using a combination square, draw a line through the cen-
ter of each joint perpendicular to the mitered edges.
n Set the fence angle at 90°, set the fence height at the
desired dimension on the scale, select the correct depth
of cut setting for the biscuit size you plan to use, and
clamp the workpiece securely.
n Align the indicator mark on the fence with the centerline
on the workpiece.
n Plug the biscuit joiner into the power supply and prepare
to cut the slot.
n Depress the switch trigger to turn on the biscuit joiner,
then push it forward to extend the blade into the wood.
n When the base assembly bottoms out against the depth
of cut adjustment knob setting, pull back, releasing pres-
sure on the spring. The blade will retract from the biscuit
slot.
n Repeat this procedure for cutting the mating slot and all
required miter joint slots.
n Once all slots have been cut, place a biscuit in each joint
and dry assemble the workpieces. Make sure each joint
lines up and fits.
n Finally, disassemble the workpieces and place a bead
of glue in each slot. Also, spread a bead of glue over the
entire surface of the joint. Reinsert the biscuits and as-
semble the workpieces.
n Clamp the workpieces together until the glue sets up.
Fig. 18
OPERATION
Fig. 19
BISCUIT
CENTERLINE
MARK(S)
BISCUIT
SLOT
CENTERLINE
MARK(S)
BISCUIT
BISCUIT
SLOT


