Page 9
WARNING:
Always wear safety goggles or safety glasses with side
shields when operating your sander. Failure to do so
could result in foreign objects being thrown into your eyes
resulting in possible serious injury. If the sanding operating
is dusty, also wear a face or dust mask.
SANDPAPER SELECTION
Selecting the correct size grit and type sandpaper is an
extremely important step in achieving a high quality sanded
finish. Aluminum oxide, silicon carbide, and other synthetic
abrasives are best for power sanding. Natural abrasives,
such as flint and garnet are too soft for economical use in
power sanding.
In general, coarse grit will remove the most material and finer
grit will produce the best finish in all sanding operations. The
condition of the surface to be sanded will determine which grit
will do the job. If the surface is rough, start with a coarse grit
and sand until the surface is uniform. Medium grit may then
be used to remove scratches left by the coarser grit and finer
grit used for finishing of the surface. Always continue sanding
with each grit until surface is uniform.
Note: DO NOT use sander without sandpaper. Doing so will
damage the cushion.
PREPARING FOR OPERATION
CAUTION:
Be careful not to let your hand completely cover air vents.
SANDING
Clamp or otherwise secure the work to prevent it from moving
under your sander.
WARNING:
Unsecured work could be thrown towards the operator
causing injury.
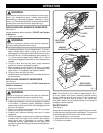
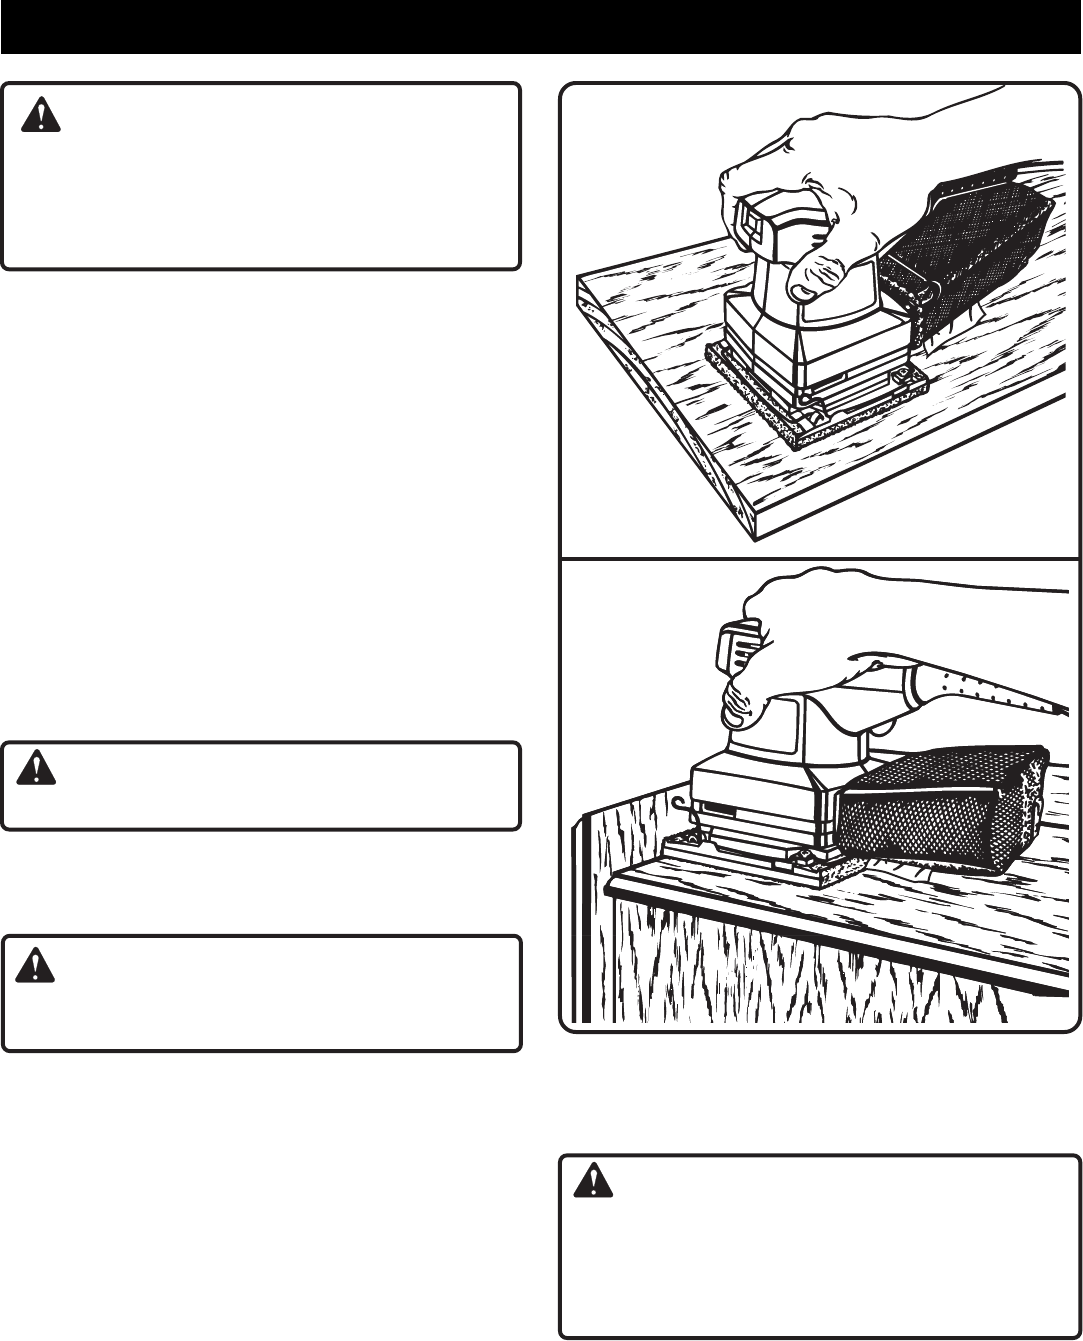
Hold your sander in front and away from you, keeping it clear
of the workpiece. Start your sander by pressing the switch
button to "ON" position and letting the motor build to its
maximum speed. Gradually lower your sander on the work
with a slight forward movement.
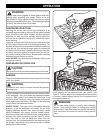
See Figure 4.
Move it slowly
using forward and backward strokes.
DO NOT FORCE. The weight of the unit supplies adequate
pressure, so let the sandpaper and sander do the work.
Applying additional pressure only slows the motor, rapidly
wears sandpaper and greatly reduces sander speed.
Excessive pressure will overload the motor causing possible
damage from motor overheating and can result in inferior
work. Any finish or resin on wood may soften from the
frictional heat. Do not allow sanding on one spot too long as
the sander's rapid action may remove too much material,
making the surface uneven.
Fig. 4
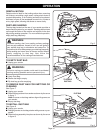
Fig. 5
Flush sanding can be performed with your sander.
See
Figure 5.
The front edge of your sander allows flush sanding
in corners. Always remove sander from workpiece before
turning your sander off.
WARNING:
Do not wear loose clothing or jewelry when operating
sander. They could get caught in moving parts causing
serious injury. Keep head away from sander and sanding
area. Hair could be drawn into sander causing serious
injury.
OPERATION


