


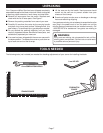


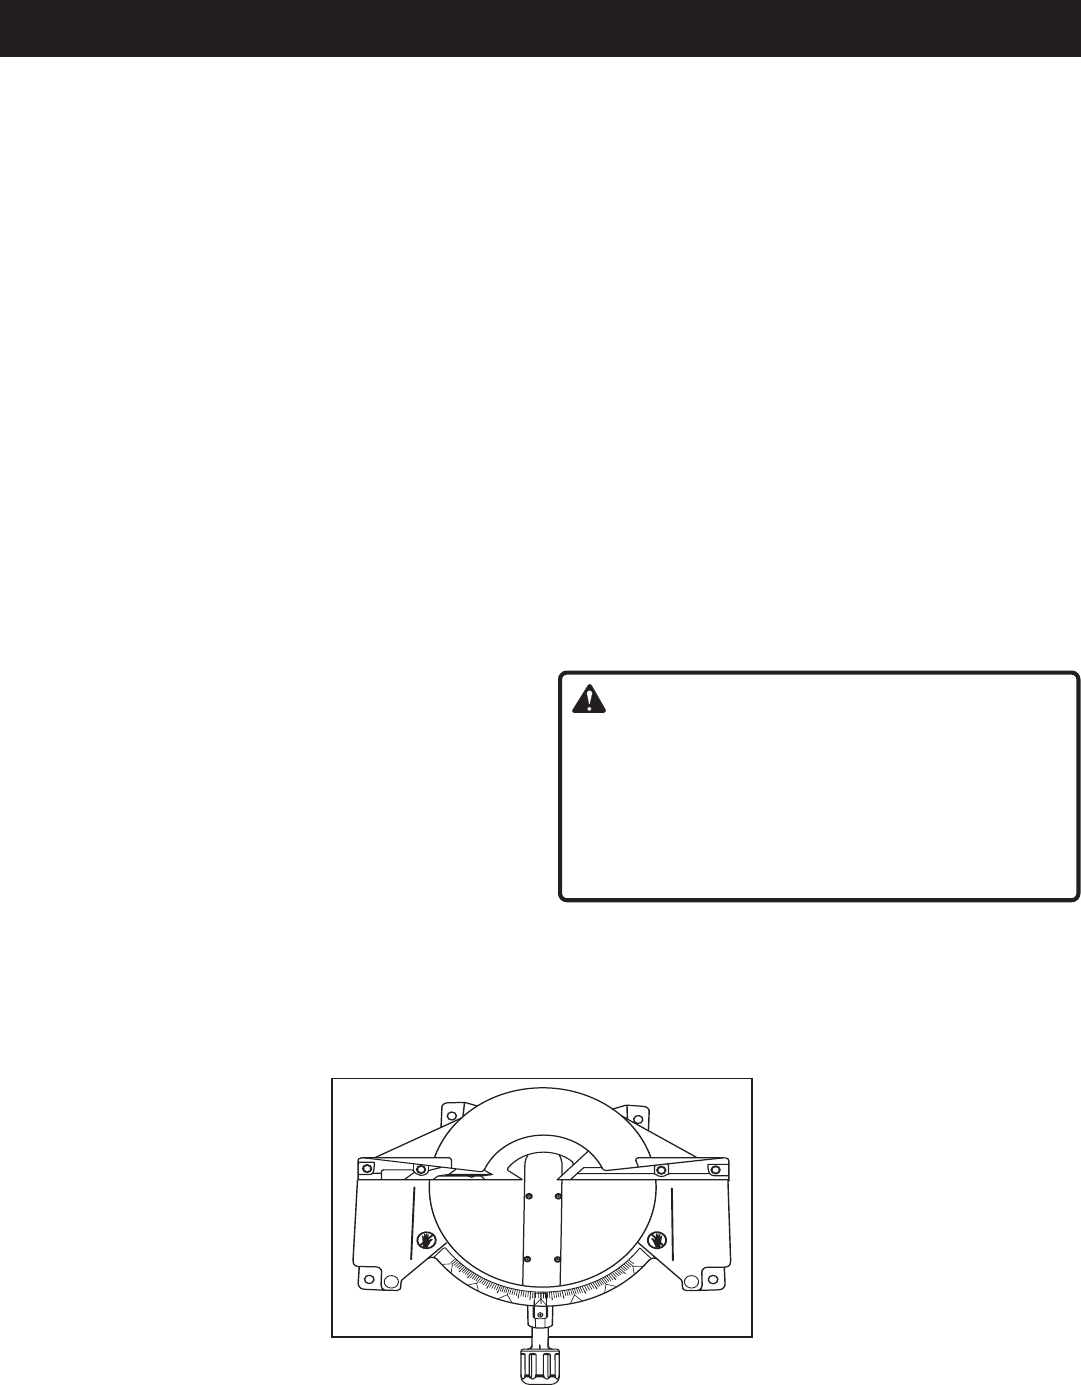
Page 11
15
30
45
0
15
30
45
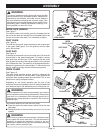
FEATURES
POSITIVE STOPS ON MITER TABLE
Positive stops have been provided at 0
°
, 15
°
, 22-1/2
°
, 30
°
, and
45
°
. The 22-1/2
°
and 45
°
positive stops have been provided
on both the left and right side of the miter table.
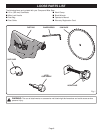
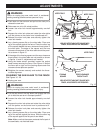
BEVEL LOCK KNOB
The bevel lock knob securely locks your compound miter
saw at desired bevel angles. Positive stop adjustment screws
have been provided on each side of the saw arm. These
adjustment screws are for making fine adjustments at 0
°
and
45
°
.
ELECTRIC BRAKE
An electric brake has been provided to quickly stop blade
rotation after the switch is released.
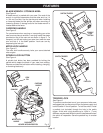
MITER FENCE
The miter fence on your compound miter saw has been
provided to hold your workpiece securely against when
making all cuts; the left side is also larger providing additional
support.
SELF-RETRACTING LOWER BLADE GUARD
The lower blade guard is made of shock-resistant, see-
through plastic that provides protection from each side of the
blade. It retracts over the upper blade guard as the saw is
lowered into the workpiece.
WARNING:
To avoid serious personal injury, always assure saw is
fully supported and securely attached to a level work
surface.
WARNING:
Do not attempt to modify this tool or create accessories
not recommended for use with this tool. Any such alteration
or modification is misuse and could result in a hazardous
condition leading to possible serious personal injury.
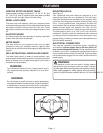
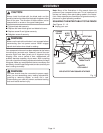
MOUNTING HOLES
See Figure 6.
Your compound miter saw should be mounted to a firm
supporting surface such as a workbench. Four bolt holes
have been provided in the saw base for this purpose. Each
of the four mounting holes should be bolted securely using
3/8 in. (10 mm) machine bolts, lock washers, and hex nuts
(not included). Bolts should be of sufficient length to accom-
modate the saw base, lock washers, hex nuts, and the
thickness of the workbench. Tighten all four bolts securely.
The hole pattern is for an 18 in. x 24 in. (457 mm x 610 mm)
workbench. Carefully check the workbench after mounting
to make sure that no movement can occur during use. If any
tipping, sliding, or walking is noted, secure the workbench to
the floor before operating.
ELECTRICAL CONNECTION
Your saw has a precision built electric motor. It should be
connected to a power supply that is 120 volts, 60Hz, AC
only (normal household current). Do not operate this tool
on direct current (DC). A substantial voltage drop will cause
a loss of power and the motor will overheat. If your tool does
not operate when plugged into an outlet, double-check the
power supply.
WARNING:
The operation of any saw can result in foreign objects
being thrown into your eyes, which can result in severe
eye damage. Before starting power tool operation, always
wear safety goggles or safety glasses with side shields
and a full face shield when needed. We re0.194. We re0Wo326.70125 Tvrecisior safemask is f caill oour ty glasses oubsdardays