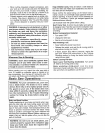
• When cutting irregularly shaped workpieces, plan
your work so it will not slip and pinch the blade and
be torn from your hands. A piece of molding, for
example, must lie fiat or be held by a fixture or jig
that will not tet it twist, rock or slip while being cut°
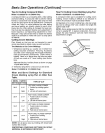
* Properly support round material such as dowel rods,
or tubing,, They have a tendency to roll while being
cut, causing the blade to "bite," To avoid this, always
use a fixture designed to properly hold your work-
piece
WARNING: If planning to cut aluminum or other
non-ferrous metals: Under adverse conditions,
the blade can grab and throw the workpiece
suddenly and unexpectedly. To avoid injury,
follow all applicable safety instructions, as you
normally would, and:
• Use only sawblades specifically recom-
mended for non-ferrous metal cutting.
, Do not cut metal workpieces that must be
hand held. Use auxiliary clamps or other
equipment as needed.
, Cut non-ferrous metals only if you are expe-
rienced or under the supervision of an expe-
rienced person.
Whenever Saw Is Running:
WARNING: Don't allow familiarity (gained from
frequent use of your miter saw) cause a care-
less mistake. A careless fraction of a second is
enough to cause a severe injury.
Before starting your cut, watch the miter saw while it
runs. if it makes an unfamiliar noise or vibrates a lot,
stop immediately. Turn the saw off, Unplug the saw, Do
not restart until finding and correcting the problem
Basic Saw Operations
Keep Children Away, Keep all visitors a safe distance
from the miter saw, Make sure bystanders are clear of
the miter saw and workpiece,
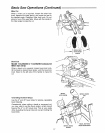
Never confine the piece being cut off, Never hold it.
clamp it,touch it. or use length stops against it while the
blade is spinning, tt must be free to move sideways on
its own, If confined, it could get wedged against the
blade and thrown violently
Let the blade reach full speed before cutting.,
Don't Force Tool. It will do the job better and safer at
its designed rate, Feed the saw into the workpiece only
fast enough to tet the blade cut without bogging down
or binding.
Before freeing jammed material:
• Turn switch "OFF",
• Unplug the miter saw
• Wait for aflmoving parts to stop
After finishing a cut:
Keep holding the power head down
• Release the switch, and wait for all moving parts to
stop before moving your hands,
• If blade, doesn't stop within 6 seconds, unplug the
saw and follow the instructions in the Trouble
Shooting section for fixing the blade brake before
using the saw again,
Before Leaving The Saw;
Never Leave Tool Running Unattended. Turn power
off, Wait for all moving parts to stop,
Make workshop child-proof, Lock the shop,
Disconnect master switches, Store tool away from chil-
dren and others not qualified to use the tool
WARNING: For your convenient use, your saw
has a blade brake. The brake is not a safety
device. Never rely on it to replace proper use of
the guard on your saw. If the blade does not
stop within 6 seconds, unplug the saw and fol-
low the instructions in the Trouble Shooting
section for fixing the brake before using saw
again.
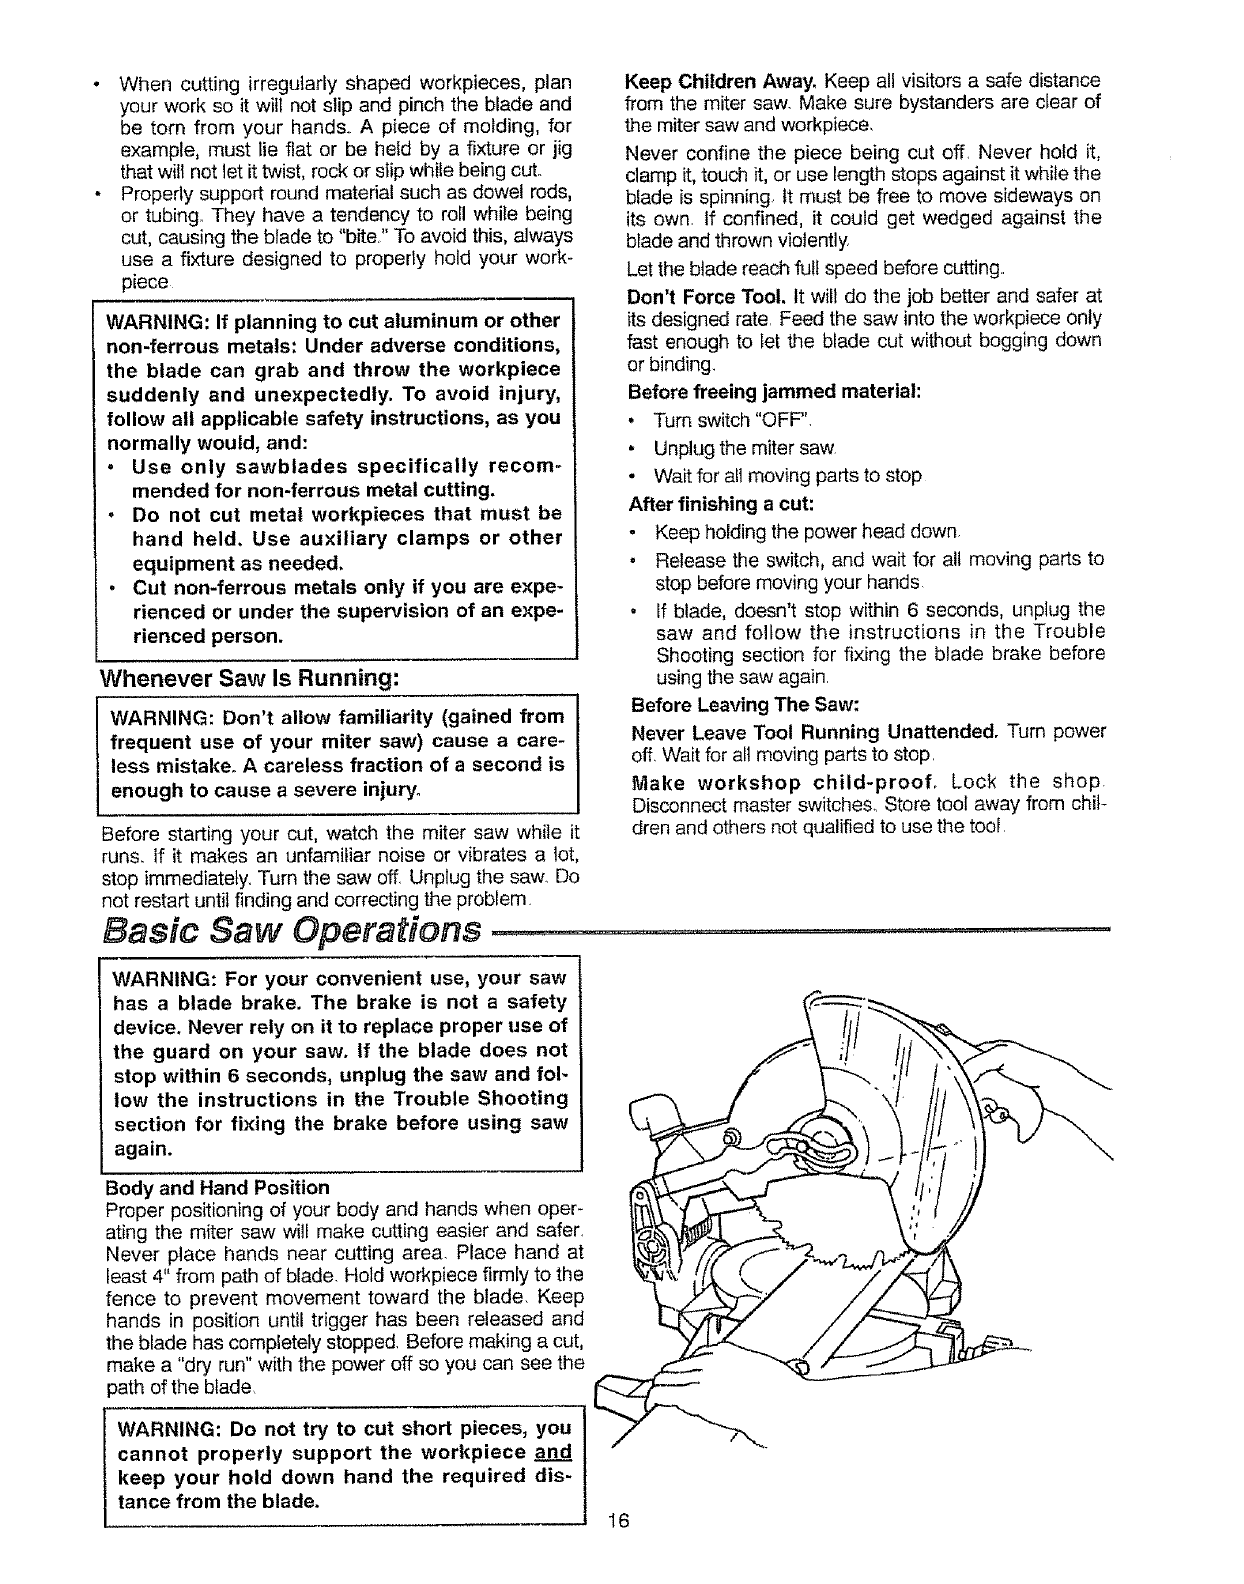
Body and Hand Position
Proper positioning of your body and hands when oper-
ating the miter saw will make cutting easier and safer,
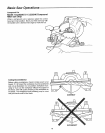
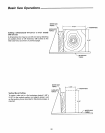
Never place hands near cutting area, Place hand at
least 4" from path of blade, Hold workpiece firmly to the
fence to prevent movement toward the blade, Keep
hands in position until trigger has been released and
the blade has completely stopped Before making a cut,
make a "dry run" with the power off so you can see the
3ath of the blade,
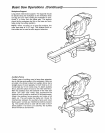
WARNING: Do not try to cut short pieces, you
cannot properly support the workpiece an__d.d
keep your hold down hand the required dis-
tance from the blade.
16


