


Unpacking and Checking Contents
ii u
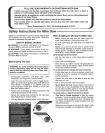
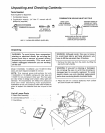
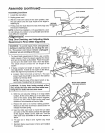
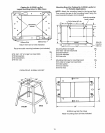
Tools Needed
Tools required for alignment:
1 Combination Square
2 Combination wrench, !/4" Hex "L" wrench with #2
phillips tip (supplied)
QUARE
1/2't SOCKET &
SOCKET WRENCH
J
HEX "L" W/PHILLIPS WRENCH (SUPPLIED)
COMBINATION SQUARE MUST BE TRUE
DRAW LIGHT STRAIGHT EDGE OF
LINE ON BOARD BOARD 3/4" THICK
ALONGTH,SEO
SHOULD BE NO GAP OR OVERLAP
WHEN SQUARE IS FLIPPED
OVER IN DOTTED POSITION
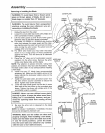
Unpacking
WARNING: To avoid injury from unexpected
starting or electrical shock, do not plug the
power cord into a source of power during
unpacking and assembly. This cord must
remain unplugged whenever you are working
on the saw,
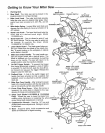
Model 113235220, 113 235240 and 113.235t10 Miter
saws, are each shipped complete in one box
NOTE: This manual gives instructions for both
113 235220 & 113235240 compound miter saw and
113235110 nomcompound miter saw The two saws
are very similar in design and function Many parts are
identical. The illustrations will reflect the compound
miter saw when describing most applications.
Illustrations of the non-compound miter saw wilealso be
given to explain the features that are unique to that
saw
I WARNING: Although small, this saw is heavy,
to avoid back injury, get help whenever you
have to lift the saw more than 10 inches.
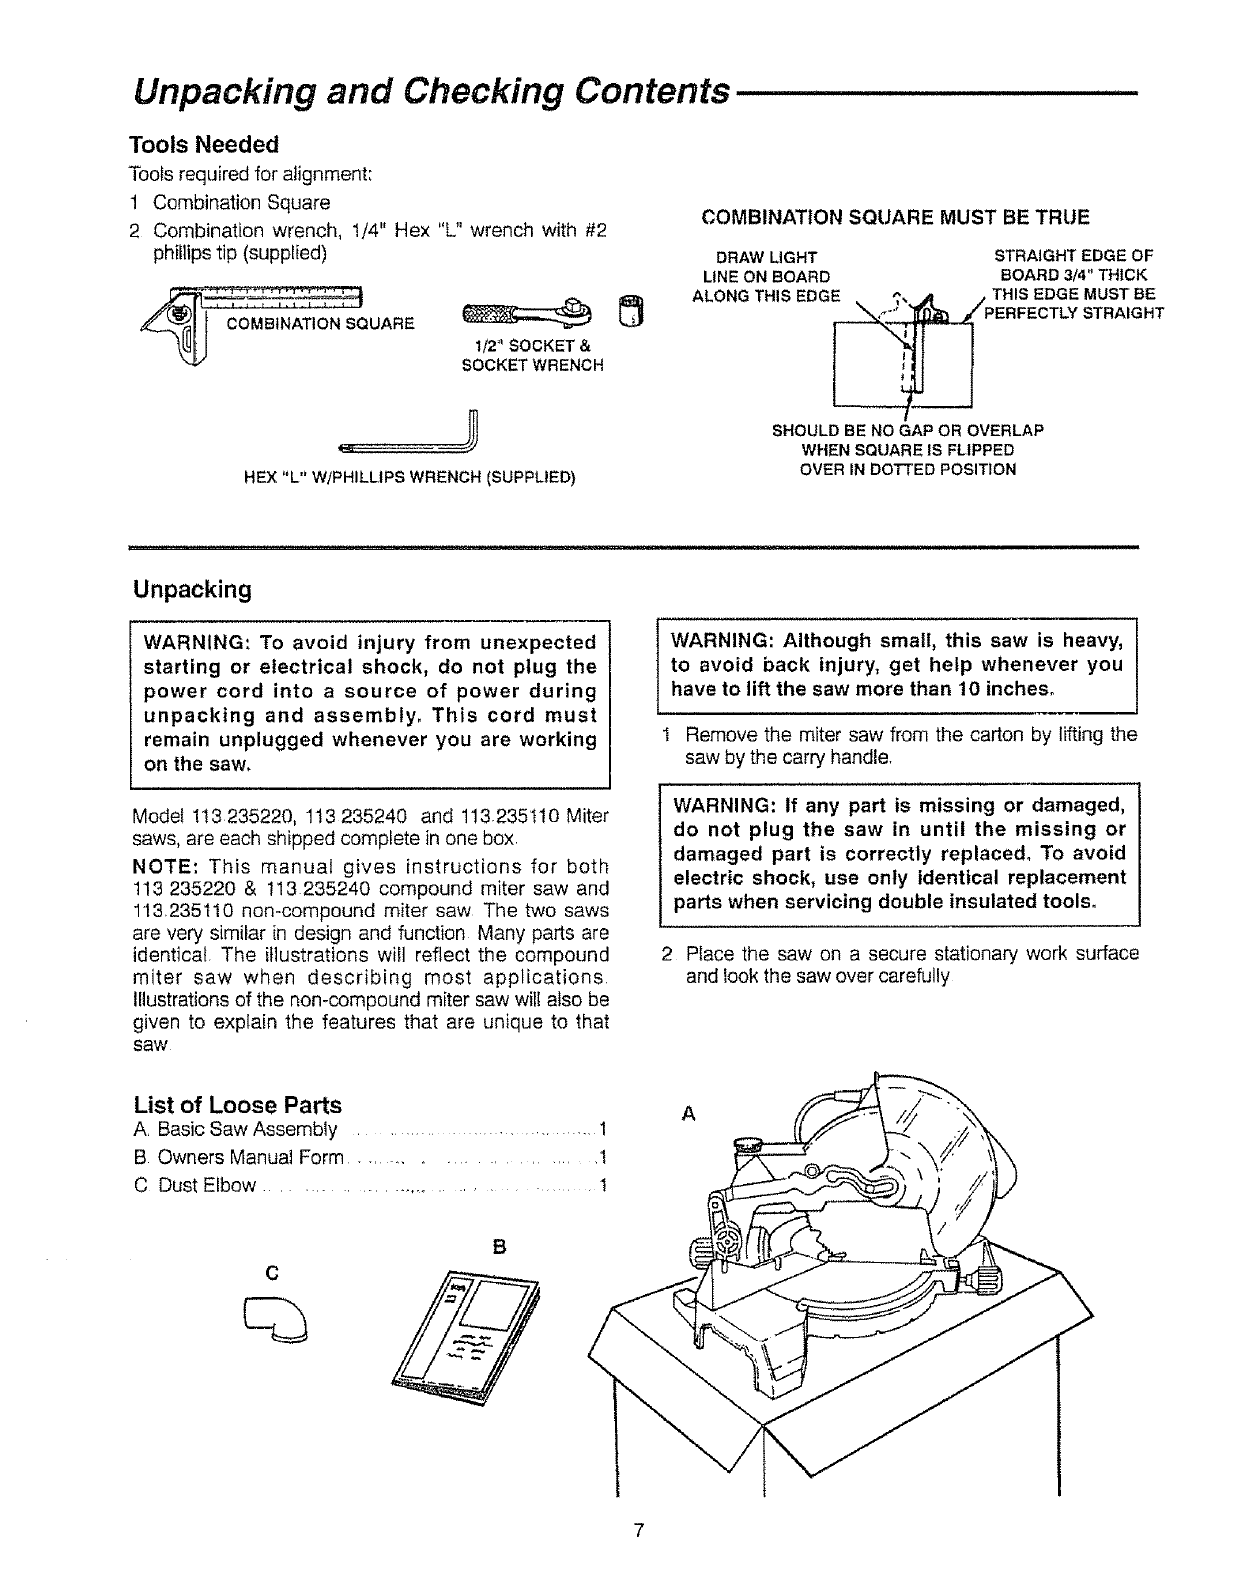
1 Remove the miter saw from the carton by lifting the
saw by the carry handle.
WARNING: If any part is missing or damaged,
do not plug the saw in until the missing or
damaged part is correctly replaced° To avoid
electric shock, use only identical replacement
parts when servicing double insulated tools.
2 Place the saw on a secure stationary work surface
and look the saw over carefully
List of Loose Parts
A Basic Saw Assembly ..................... 1
B Owners Manual Form ..................... 1
C Dust Elbow ............................ 1
A