


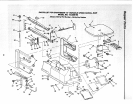

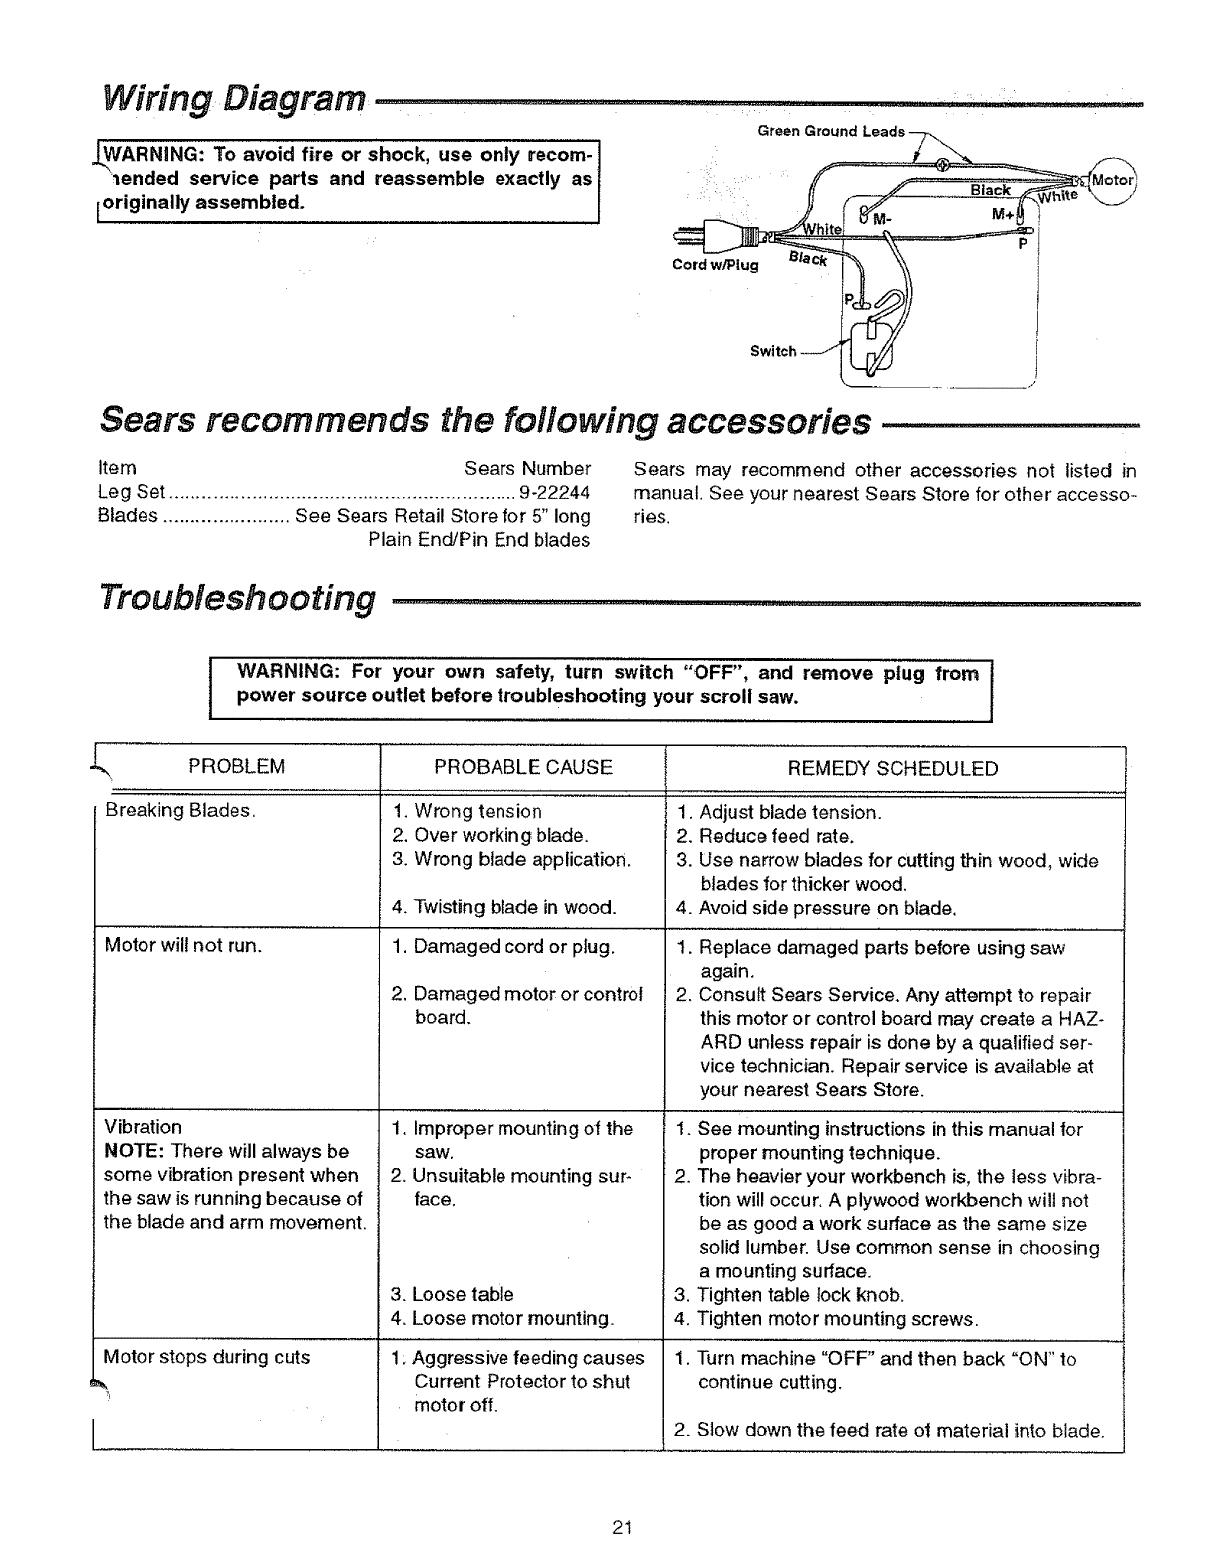
Wiring Diagram ...........
/ARNING: To avoid fire or shock, use only recom-
_ended service parts and reassemble exactly as
[originally assembled.
_J
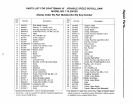
Sears recommends the following accessories
Item Sears Number
Leg Set ............................................................... 9-22244
Blades ....................... See Sears Retail Store for 5" long
Plain End/Pin End blades
Sears may recommend other accessories not listed in
manual, See your nearest Sears Store for other accesso-
ries.
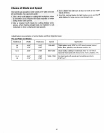
Troubleshooting ..............................................
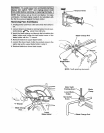
t WARNING: For your own safety, turn switch "OFF", and remove plug from I
power source outlet before troubleshooting your scroll saw.
L PROBLEM PROBABLE CAUSE
Breaking B'iades, 1.
Motor will not run.
Vibration
NOTE: There will always be
some vibration present when
the saw is running because of
the blade and arm movement,
Wrong tension
2. Over working blade.
3. Wrong btade application.
4. Twisting blade in wood.
1, Damaged cord or plug.
2, Damaged motor or control
board.
1, Improper mounting of the
saw.
2. Unsuitable mounting sur-
face.
3. Loose table
4. Loose motor mounting.
Motor stops during cuts 1:Aggressive feeding causes
Current Protector to shut
motor off.
REMEDY SCHEDULED
........................ ' "i
1. Adjust blade tension.
2. Reduce feed rate.
3. Use narrow blades for cutting thin wood, wide
blades for thicker wood.
4. Avoid side pressure on blade.
1. Replace damaged parts before using saw
again.
2. Consult Sears Service. Any attempt to repair
this motor or control board may create a HAZ-
ARD unless repair is done by a qualified ser_
vice technician. Repair service is available at
your nearest Sears Store.
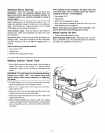
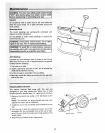
1. See mounting instructions in this manual for
proper mounting technique.
2. The heavier your workbench is, the less vibra-
tion will occur, A plywood workbench wilt not
be as good a work surface as the same size
solid lumber. Use common sense in choosing
a mounting surface.
3. Tighten table lock knob.
4. Tighten motor mounting screws,
1. Turn machine "OFF" and then back "ON" to
continue cutting.
2. Slow down the feed rate ot material into blade.
21