


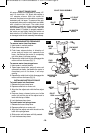
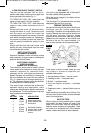


2-POSITION SLIDE "ON/OFF" SWITCH
The tool can be switched "ON" by the 2-
position slide switch located on the upper and
lower right side of the motor (Fig. 1).
TO TURN THE TOOL "ON", slide either the
upper or lower switch UP to the I position.
TO TURN THE TOOL "OFF", slide either the
upper or lower switch downward to the O
position.
Always hold the router off the work when
turning the switch on or off. Contact the work
with the router only after the router has
reached desired speed, and remove it from the
work before turning the switch off. Operating in
this manner will prolong switch and motor life
and will greatly increase the quality of your
work.
Always hold the tool with both hands while
starting the tool, since torque from the motor
can cause the tool to twist.
SOFT START FEATURE
(Included on all models)
Electronic feedback control minimizes torque
twist customary in larger routers by limiting the
speed at which motor starts.
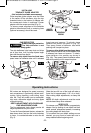
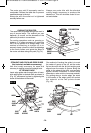
ELECTRONIC VARIABLE
SPEED CONTROL
(Models 1827 & 1830 only)
The electronic speed control feature allows
motor speed to be matched to cutter size and
material hardness for improved finish,
extended bit life, and higher performance.
Speed changes are achieved by rotating the
dial on or between any one of the six numbers
(Fig. 3). Speed may be changed while tool is
on. The reference numbers on the dial facilitate
re-setting control to desired speed.
The speed chart indicates the relationship
between settings and application, exact
settings are determined by operator experience
and preference. The bit manufacturer may also
have a speed recommendation.
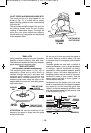
SITE-LIGHT™
Your tool is also equipped with a Site-Light™
for better visibility during operation.
When the tool is plugged in, the lights will turn
on automatically.
The Site-Light™ is maintenance free and was
designed to last the life of your tool.
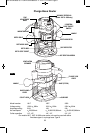
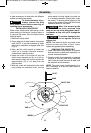
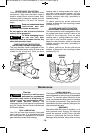
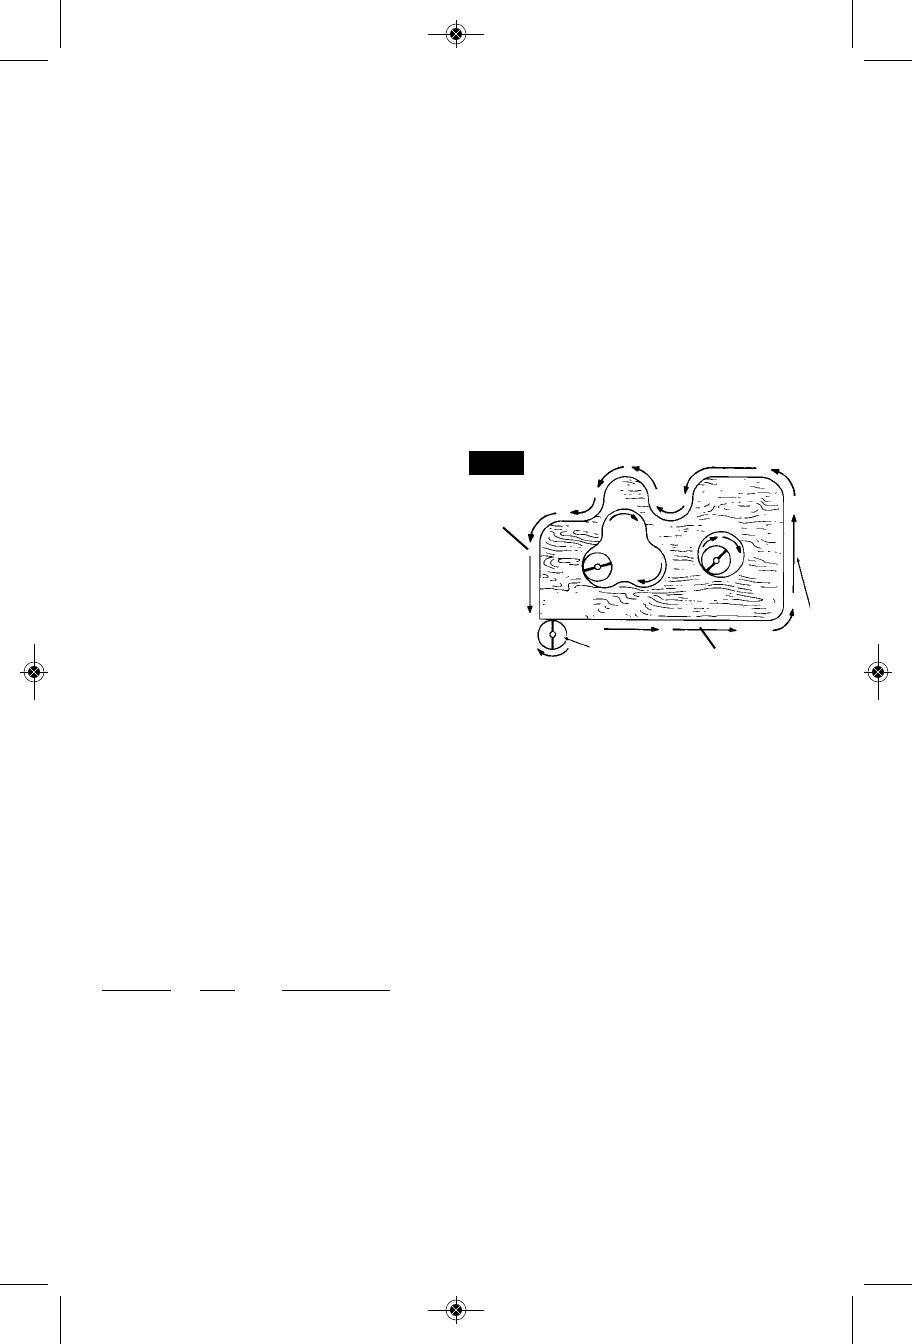
FEEDING THE ROUTER
As seen from the top of the router, the bit turns
clockwise and the cutting edges face
accordingly. Therefore, the most efficient cut is
made by feeding the router so that the bit turns
into the work, not away. Figure 13 shows
proper feed for various cuts. How fast you feed
depends on the hardness of the material and
the size of the cut. For some materials, it is
best to make several cuts of increasing depth.
If the router is hard to control, heats up, runs
very slowly or leaves an imperfect cut,
consider these causes:
1. Wrong direction of feed — hard to control.
2. Feeding too fast — overloads motor.
3. Dull bit — overloads motor.
4. Cut is too large for one pass — overloads
motor.
5. Feeding too slow — leaves friction burns on
work.
Feed smoothly and steadily (do not force). You
will soon learn how the router sounds and feels
when it is working best.
RATE OF FEED
When routing or doing related work in wood
and plastics, the best finishes will result if the
depth of cut and feed rate are regulated to
keep the motor operating at high speed. Feed
the router at a moderate rate. Soft materials
require a faster feed rate than hard materials.
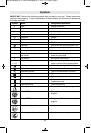
DIAL
SETTING RPM APPLICATION
1 10,500
2 13,500
3 16,500
4 20,000
5 22,500
6 25,000
}
}
Nonferrous metals,
larger diameter bits,
and cutters
Softwoods, plastics,
counter tops, smaller
diameter bits, and
cutters
-13-
FIG. 13
BIT
WORK
DIRECTION OF
ROUTER FEED
START
HERE
SM 1619X04663 05-11:SM 1619X04663 05-11 5/3/11 8:14 AM Page 13