


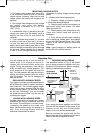
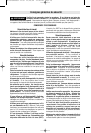
* BATTERY CHARGED CONDITION
INDICATOR
The battery is equipped with a charged
condition indicator (Fig.1). The indicator
lights show the charged condition of the
battery during the working process.
By pressing the battery fuel indicator button,
the charged condition can be checked.
Note:
to check charge level, the battery must be in
the tool.
• • • When all three lights are illuminated, this
indicates the battery pack is fully charged.
• • When only two lights illuminate, this
indicates the battery pack is partially
charged.
•
When only one light illuminates, this
indicates the battery pack is slightly charged.
When no lights illuminate, this indicates the
battery pack is completely discharged.
-10-
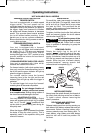
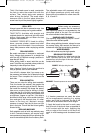
DRILL BIT AND SCREW STORAGE
COMPARTMENT
Your tool is equipped with a handy bit and
screw storage compartment in the housing of
your tool (Fig. 3).
To open, simply lift up lid at tab.
The storage will allow you to conveniently
store bits and screws.
To close, lower lid until it locks in place.
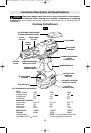
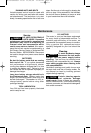
* DRILL BIT STORAGE COMPARTMENT
AND QUICK REFERENCE GAUGE
Your tool may be equipped with a bit storage
compartment and quick reference gauge
located on top of your tool.
To remove, simply slide off the housing
towards the back of the tool.
The quick reference gauge will allow you to
identify the size of drill bits, and standard or
metric screws.
Hex bits can be slid in from the front for
storage.
QUICK REFERENCE
GAUGE
BIT STORAGE
COMPARTMENT
LID
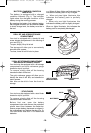
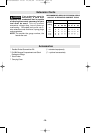
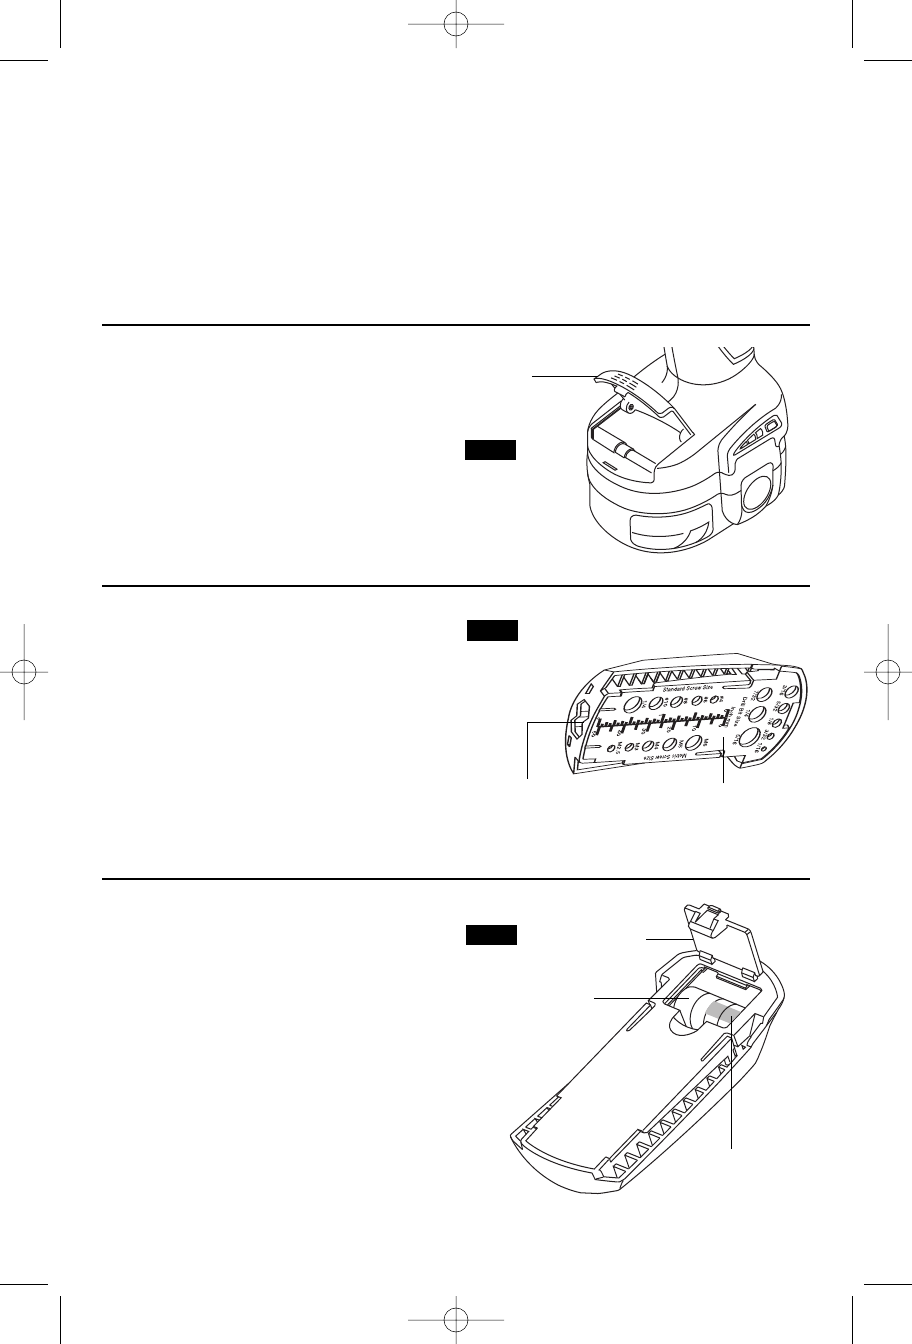
* STUD FINDER
Your tool may be equipped with a stud finder
located on top of your tool.
To remove, simply slide off the housing
towards the back of the tool.
Before first use, open the battery
compartment door and remove the protective
plastic insert from between the batteries.
Assure proper battery placement as shown in
the compartment and replace the door (Fig. 5).
Your stud finder uses four L1154 button cell
batteries.
BATTERIES
DOOR
PROTECTIVE
PLASTIC INSERT
FIG. 3
FIG. 4
FIG. 5
SM 1619X00551 11-04 11/29/04 11:46 PM Page 10