


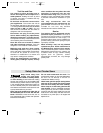
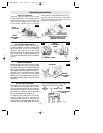
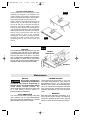
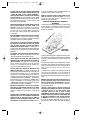
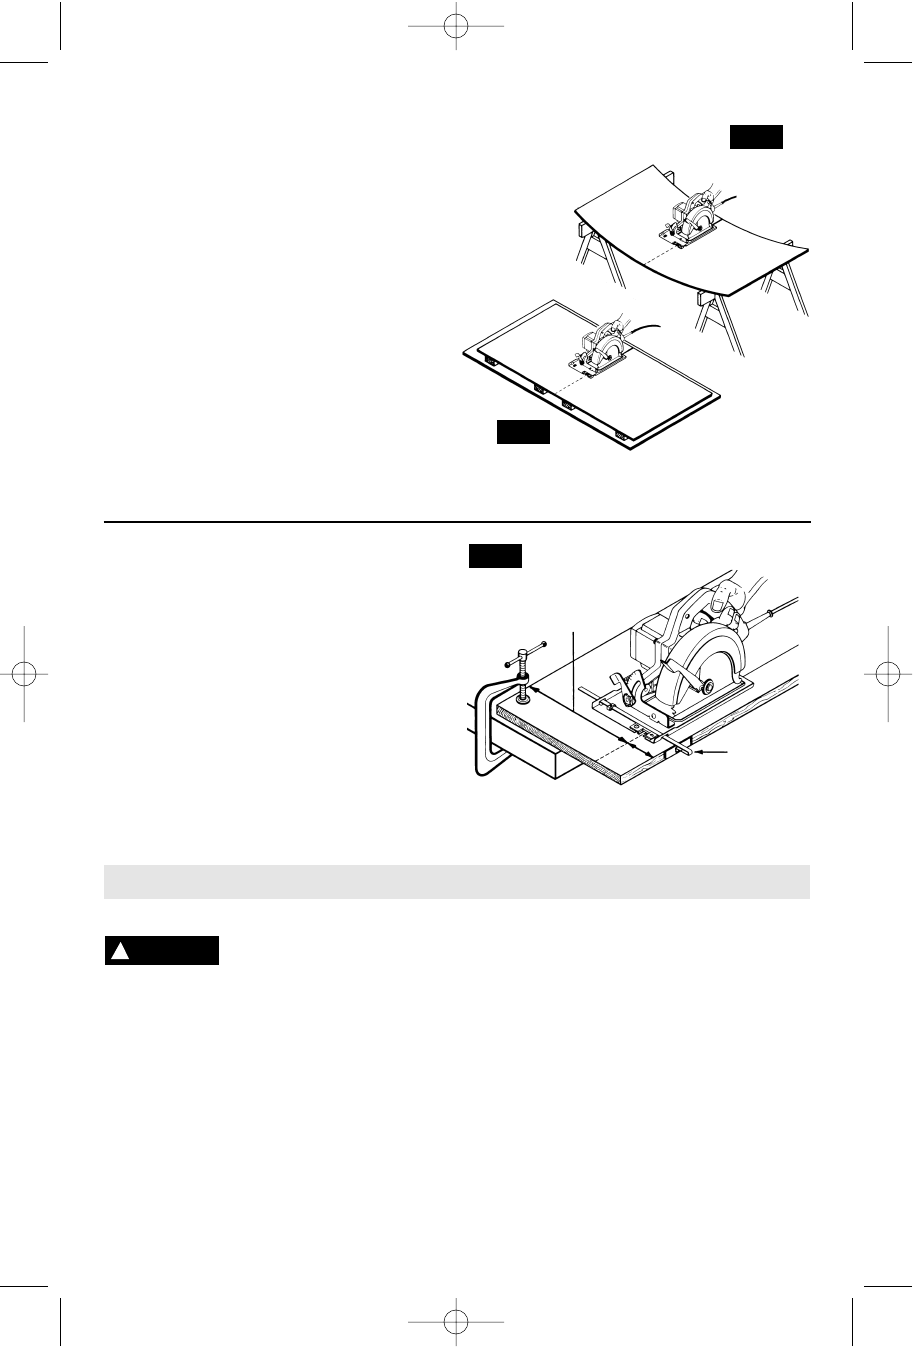
CUTTING LARGE SHEETS
Large sheets and long boards sag or bend,
depending on support. If you attempt to cut
without leveling and properly supporting the
piece, the blade will tend to bind, causing KICK-
BACK and extra load on the motor (Fig. 10).
Support the panel or board close to the cut, as
shown in (Fig. 11). Be sure to set the depth of
the cut so that you cut through the sheet or
board only and not the table or work bench.
The two-by-fours used to raise and support the
work should be positioned so that the broadest
sides support the work and rest on the table or
bench. Do not support the work with the
narrow sides as this is an unsteady
arrangement. If the sheet or board to be cut is
too large for a table or work bench, use the
supporting two-by-fours on the floor and
secure.
-11-
Service
Preventive maintenance
performed by unauthorized
personnel may result in misplacing of
internal wires and components which
could cause serious hazard. We
recommend that all tool service be performed
by a Skil Factory Service Center or
Authorized Skil Service Station.
TOOL LUBRICATION
Your Skil tool has been properly lubricated
and is ready to use. It is recommended that
tools with gears be regreased with a special
gear lubricant at every brush change.
CARBON BRUSHES
The brushes and commutator in your tool
have been engineered for many hours of
dependable service. To maintain peak
efficiency of the motor, we recommend every
two to six months the brushes be examined.
Only genuine Skil replacement brushes
specially designed for your tool should be
used.
BEARINGS
After about 300-400 hours of operation, or at
every second brush change, the bearings
should be replaced at Skil Factory Service
Center or Authorized Skil Service Station.
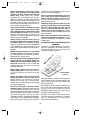
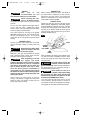
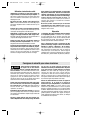
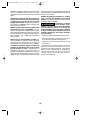
RIP CUTS
The combination blade provided with your saw
is for both cross cuts and rip cuts. Ripping is
cutting lengthwise with the grain of the wood.
Rip cuts are easy to do with a rip fence
(Fig. 12). Rip Fence is available as an accessory
(not included). To attach fence, insert fence
through slots in foot to desired width as shown
and secure with the wing nut (not included).
FIG. 11
FIG. 10
WRONG
RIGHT
FIG. 12
DESIRED
WIDTH OF CUT
RIP FENCE
Maintenance
!
WARNING
SM 2610905556 1/03 1/9/03 11:24 AM Page 11