


English
Grounding Instructions
This product must be grounded. In the event of an electrical
short circuit, grounding reduces the risk of electric shock by
providing an escape wire for the electric current. This product
is equipped with a cord having a grounding wire with an
appropriate grounding plug. The plug must be plugged into an
outlet that is properly installed and grounded in accordance
with all local codes and ordinances.
DANGER — Improper installation of the grounding plug can
result in a risk of electric shock. If repair or replacement of the
cord or plug is necessary, do not connect the green grounding
wire to either flat blade terminal. The wire with insulation
having a green outer surface with or without yellow stripes is
the grounding wire and must be connected to the grounding
pin.
Check with a qualified electrician or serviceman if the
grounding instructions are not completely understood, or if you
are in doubt as to whether the product is properly grounded.
Do not modify the plug provided. If the plug will not fit the
outlet, have the proper outlet installed by a qualified
electrician.
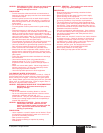
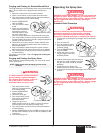
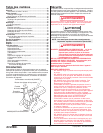
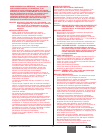
This product is for use on a nominal 120 volt circuit and has a
grounding plug that looks like the plug illustrated below. A
temporary adapter which looks like the adapter illustrated in
the figure below may be used to connect this plug to a 2 pole
receptacle as shown if a properly grounded outlet is not
available.
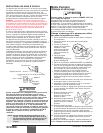
The temporary adapter should be used only until a properly
grounded outlet as shown below can be installed by a qualified
electrician. The green colored rigid ear, lug, or the grounding
wire extending from the adapter must be connected to a
permanent ground such as a properly grounded outlet box
cover. Whenever the adapter is used, it must be held in place
by a metal screw.
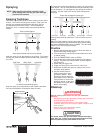
Use only a 3-wire extension cord that has a 3-blade
grounding plug and a 3-slot receptacle that will accept the
plug on the product. Make sure your extension cord is in
good condition. When using an extension cord, be sure
to use one heavy enough to carry the current your
product will draw. An undersized cord will cause a drop
in line voltage resulting in loss of power and overheating.
A 14 or 12 gauge cord is recommended. If an extension
cord is to be used outdoors, it must be marked with the
suffix W-A after the cord type designation. For example, a
designation of SJTW-A would indicate that the cord would
be appropriate for outdoor use.
NOTE: Do not use more than 50 feet of extension
cord. If you need to paint further than 100
feet from your power source, use more paint
hose, not more extension cord.
CAUTION
Grounded Outlet
Grounding Pin
Tab for
Grounding Screw
Adapter
Metal Screw
Cover for grounded outlet box
4©SprayTECH. All rights reserved.
Operation
Purging and Priming
Always keep the spray gun locked in the off position while
purging the system.
If this unit is new, it is shipped with test fluid in the fluid section
to prevent corrosion during shipment and storage. If you are
going to spray with latex paint, this fluid must be thoroughly
cleaned out of the system. For spraying with solvent-based
paint, thorough cleaning of this material is not necessary.
If it is already in service, you will need to purge the water or
solvent used in cleanup.
Purging and Priming the Pump for Latex Paint
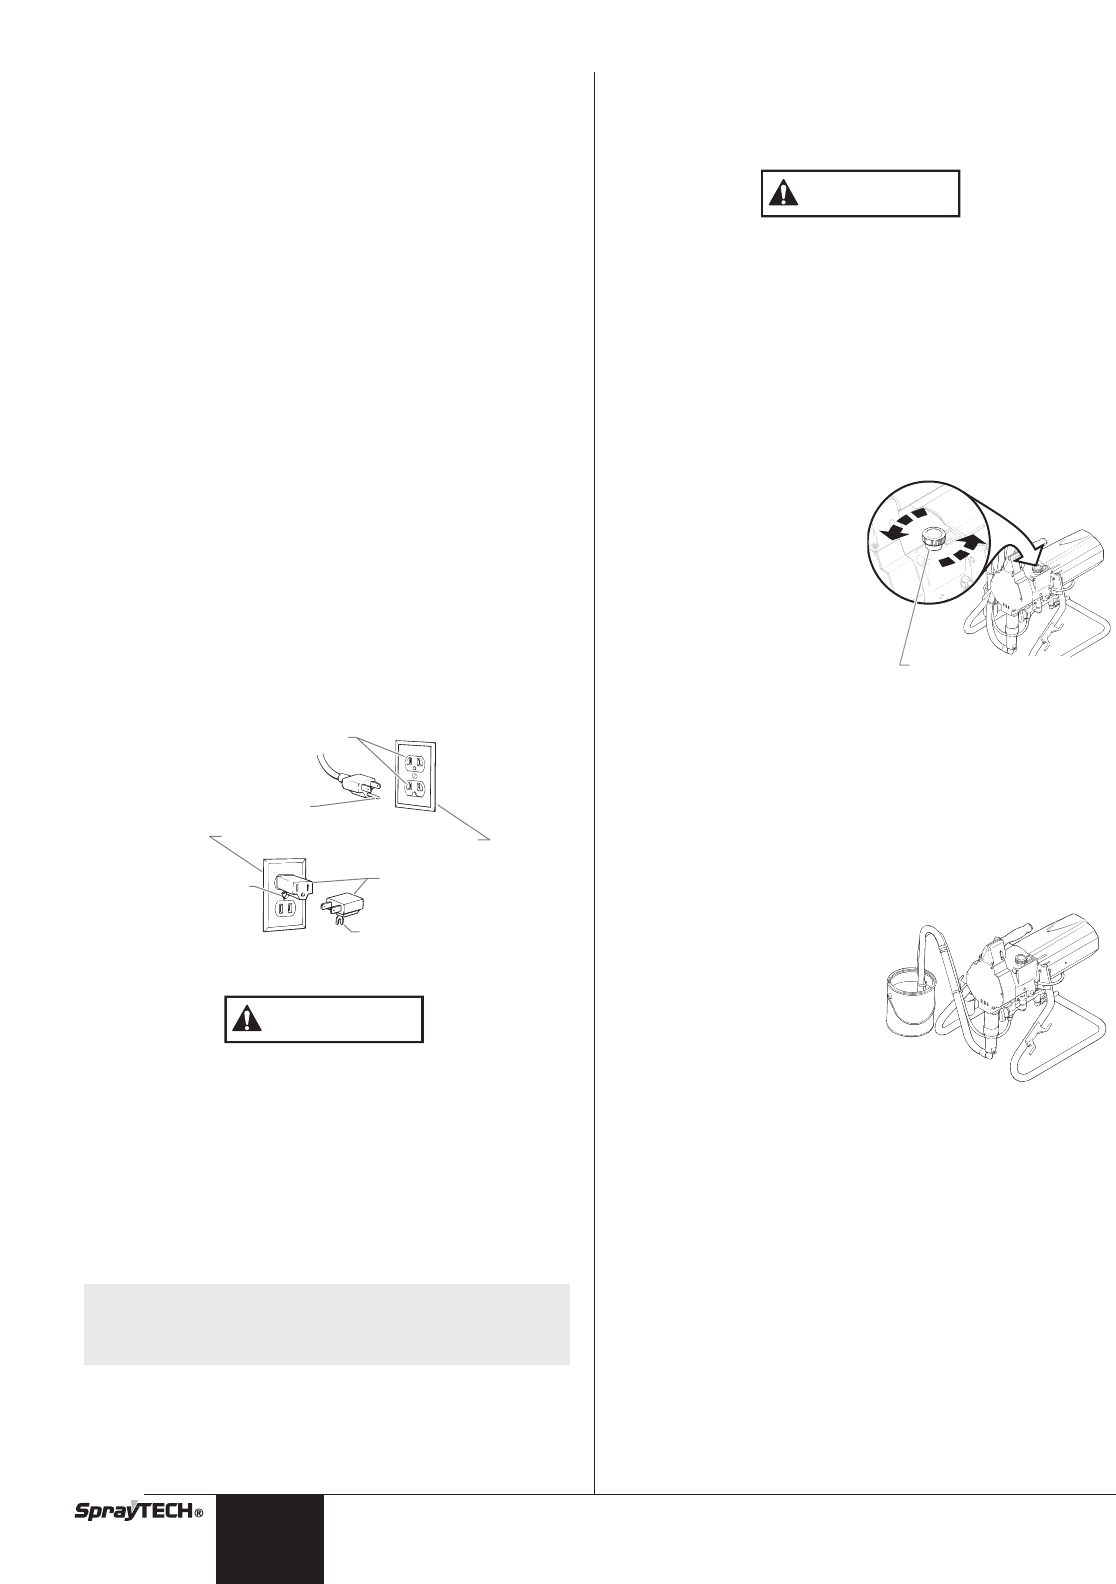
1. Secure the return hose into a waste container.
2. Place a bucket of soapy water under the suction tube.
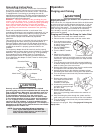
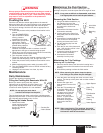
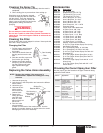
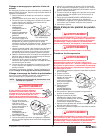
3. Turn the pressure control
knob fully counterclockwise
to reduce the pressure to
its lowest setting.
4. Set the PRIME/SPRAY
valve to PRIME.
5. Turn the ON/OFF switch to
ON.
6. Slowly turn the pressure
control knob clockwise to
increase the pressure until fluid starts to come out of the
return hose. Use only enough pressure to keep the fluid
coming out.
7. Turn the pressure control knob fully counterclockwise to
its lowest setting when the test fluid is purged and soapy
water is coming out of the return hose.
8. Remove the bucket of soapy water from the suction tube
and replace it with a bucket of clear water.
9. Increase the pressure to the minimum necessary to keep
fluid flowing until clear water is coming out of the return hose.
10. Turn the pressure control knob fully counterclockwise to
its lowest setting.
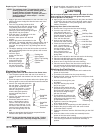
11. Remove the bucket of water
from under the suction tube
and replace it with a
container of latex paint.
12. Increase the pressure slowly
until paint is coming through
the return hose.
13. Remove the return hose
from the waste container and
place it in its operating position above the container of
latex paint.
14. Keep circulating the paint through the system until the
paint coming out of the return hose is free of air bubbles.
15. Turn the pressure control knob fully counterclockwise to
its lowest setting.
The pump is now purged. Skip to Purging and Priming the
Spray Hose.
Pressure Control Knob
CAUTION