


4. Turn the pressure control knob slowly until paint starts to
flow into the bucket. As soon as the water or solvent
starts to come into the bucket, release the trigger.
5. Change to clean water or solvent, point the gun to the
side of the waste bucket, and continue circulating for
another 5 minutes to thoroughly clean the hose, pump and
spray gun.
6. Turn the pressure control knob counterclockwise to its
lowest setting.
7. Turn the PRIME/SPRAY knob to PRIME.
8. Trigger the gun to remove any pressure which may still be
in the hose.
9. Lock the gun trigger by rotating the trigger lock forward
until it stops.
1
0. Turn the motor switch to OFF.
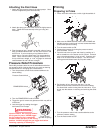
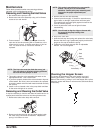
Clearing the Gun
1. Remove the spray gun from the paint hose using two
adjustable wrenches.
2. Remove the filter housing from the gun. Place the gun
and the filter assembly into a container of water or solvent
to soak.
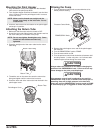
3. Cover the paint container and set it aside.
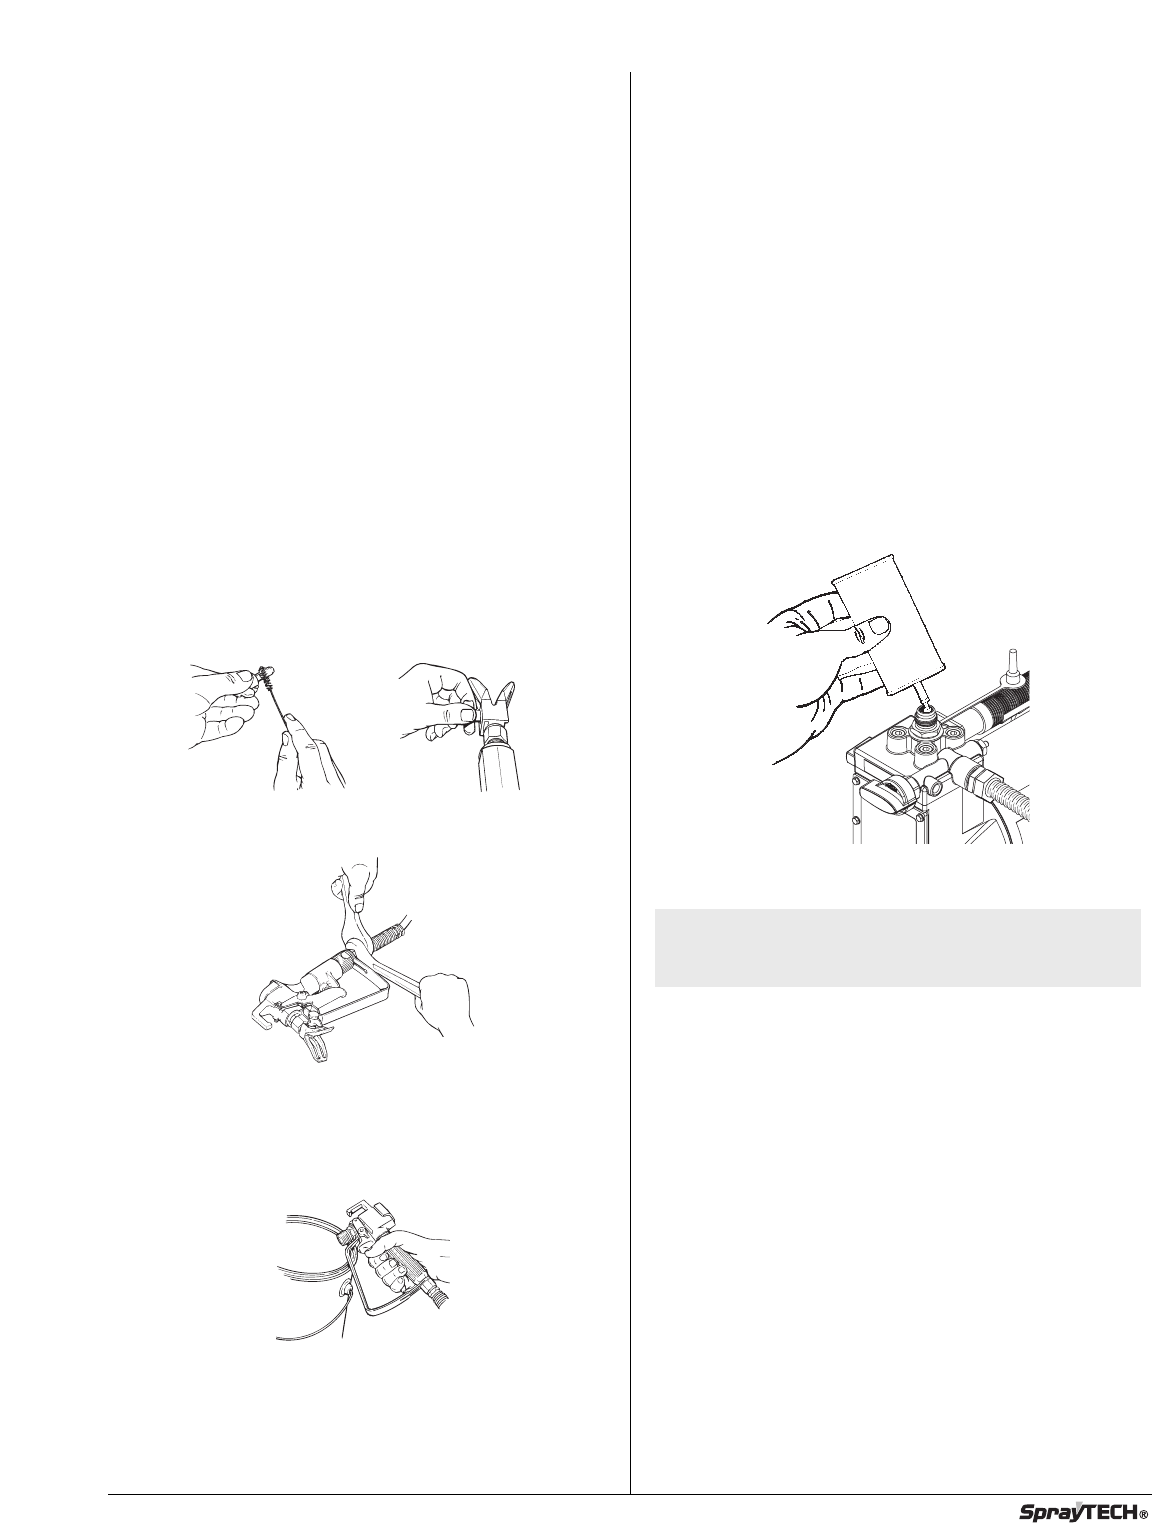
4. Clean the spray tip and gun filter with a soft brush.
5. Reassemble the gun and filter. Assemble the spray tip in
the cleaning position with the arrow pointing to the back of
the gun.
6. Attach the paint hose to the gun and tighten using two
wrenches.
7. Turn the motor switch to ON.
8. Unlock gun trigger by turning the gun trigger lock so that it
is parallel to the gun handle.
9. Turn the PRIME/SPRAY knob to SPRAY and point the gun
to the side of the waste bucket.
10 Trigger the gun and gradually turn the pressure control
knob clockwise to 1/2 pressure. Continue to trigger the
gun for approximately 30 seconds.
11. Turn the pressure control knob counterclockwise to its
lowest setting.
12. Turn the PRIME/SPRAY knob to PRIME.
13. Trigger the gun to remove any pressure which may still be
in the hose.
14. Lock the gun trigger by rotating the trigger lock forward
until it stops.
1
5. Turn the motor switch to OFF.
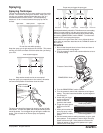
Final Cleanup
1. Remove the tip assembly.
2. Turn the motor to ON.
3. Turn the PRIME/SPRAY knob to SPRAY.
4. Turn the pressure control knob clockwise to 1/2 power.
5
. Trigger the gun into the cleaning bucket until the hopper is
empty.
6
. Refill the hopper and continue flushing the system until
t
he solution coming out of the gun appears clean.
7. Lock the gun and turn the pressure control knob
counterclockwise to its lowest setting.
8. Turn the PRIME/SPRAY knob to PRIME.
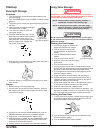
9. Remove the hopper from the inlet valve.
10. Clean the threads of the inlet valve with a damp cloth.
11. Fill the inlet valve with a light household oil.
12. Turn the PRIME/SPRAY knob to SPRAY to distribute the
oil.
13. Turn the pressure control knob counterclockwise to its
lowest setting.
14. Turn the PRIME/SPRAY knob to PRIME.
15. T
rigger the gun to remove any pressure that may still be
in the hose.
16.
Lock the gun trigger by rotating the trigger lock forward
until it stops..
17.
T
urn the motor switch to OFF
.
18. Remove the hopper filter and clean in clean water or the
appropriate solvent. Use a soft brush.
19. Return the hopper filter to its position in the hopper and
replace the hopper on the inlet valve.
20. Wipe the entire unit, hose and gun with a damp cloth to
remove accumulated paint.
NOTE: Proper cleaning and oiling of the pump after
use are the most important steps you can take
to insure proper operation after storage.
© SprayTECH. All rights reserved. 9