5
English
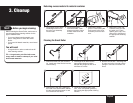
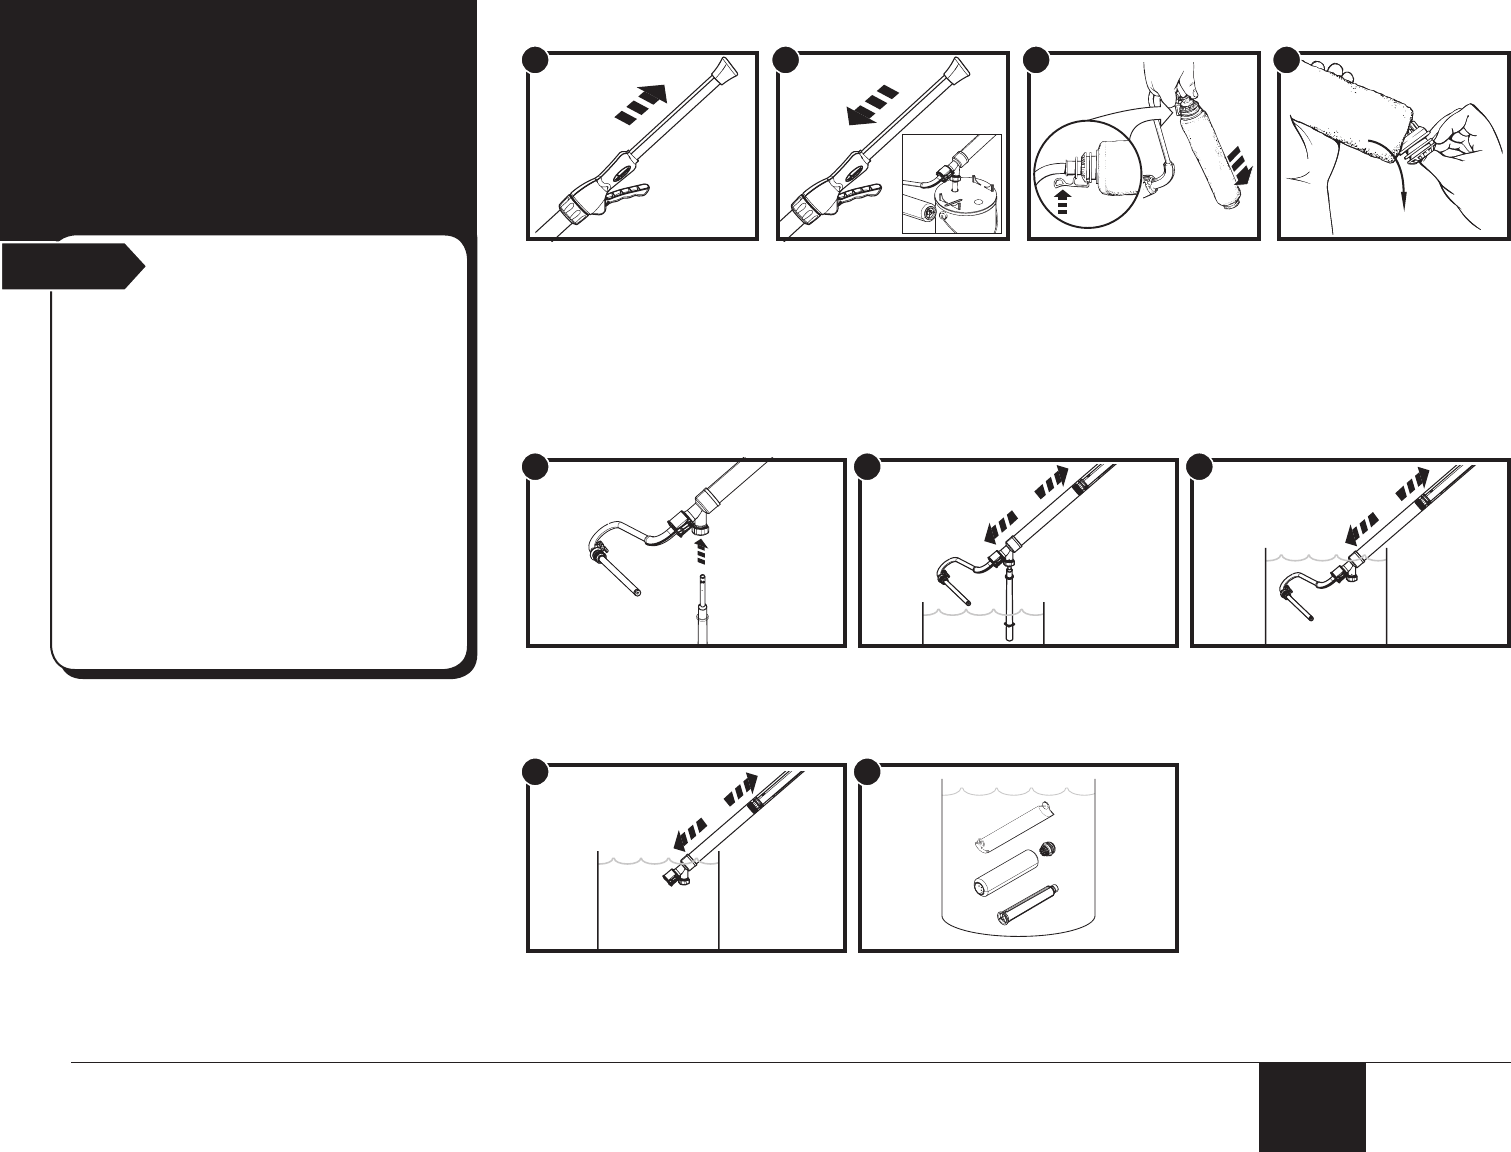
3. Cleanup
Start
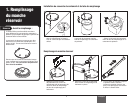
Returning excess material to material container
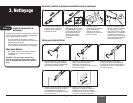
Cleaning the Smart Roller
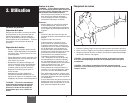
1. Pull plunger back to draw
remaining material from
the roller arm assembly
into the tube.
1. Remove ll tube from the container
lid. Install end of the ll tube into the
valve housing.
4. Remove the roller arm. Submerge
the head of the Smart Roller and the
ll valve and pull the plunger in and
out a minimum of 5 times.
2. Submerge the ll tube into the
appropriate cleaning solution
and pull the plunger in and out a
minimum of 5 times.
5. Clean the remaining parts (cap,
core, cover and spatter guard) by
hand using the appropriate cleaning
solution.
3. Remove the ll tube. Submerge the
ll valve and roller arm and pull the
plunger in and out a minimum of 5
times.
2. Press the ll valve
onto the ll tube. Push
plunger forward to return
excess material into the
container.
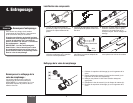
3. Remove the spatter
guard. Press locking tab
and remove roller cover
assembly from the roller
arm.
4. Remove the roller cap.
Push the roller core out
the other end. Place
spatter guard, cap, core
and cover in a bucket of
the appropriate cleaning
solution.
Before you begin cleaning:
When cleaning the Smart Roller, make sure to
use the appropriate cleaning solution for the
type of material used.
• If you used latex-based materials, use
warm, soapy water to clean the Smart
Roller.
• If you used oil-based materials, use mineral
spirits.
You will need:
• A large bucket or other container that will
hold cleaning solution.
TIP: A large laundry tub lled with warm,
soapy water is ideal for cleanup if you used
latex-based materials.
1
x5
1
4
x5
2
5
x5
3
2 3 4


