


8
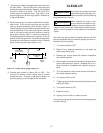
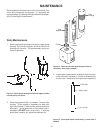
4. Set Prime/Spray Ball Valve to the Prime position.
Figure 5. Set Prime/Spray Ball Valve to Prime
5. Turn the ON-OFF switch to the ON position.
6. Gradually increase pressure by turning Pressure Con-
trol Knob clockwise.
7. Watch for fluid to start coming through return tube. Use
minimum pressure necessary to keep fluid flowing.
8. When test fluid is purged, soapy water will flow through
the return. Turn pressure down to minimum and
replace soapy water bucket with clear water.
9. Increase pressure again and let unit run until water
running through the return line is clear.
10. Decrease pressure. Replace clean water container
with bucket of latex paint.
11. Increase pressure slowly until paint comes through the
return tube. Place return hose back into operating
position above paint bucket. Keep recirculating until
the paint coming through the return tube is free of air
bubbles.
12. Decrease pressure to minimum setting (counter-clock-
wise). The unit is now ready to use. (See “Operating
the Sprayer, page 9.)
PURGING AND PRIMING
This unit is shipped with test fluid in the fluid section to
prevent corrosion during shipment and storage.
For spraying with solvent-based paint, thorough flushing of
this material is not necessary.
If you are going to spray with LATEX paint, this fluid must
be thoroughly cleaned out of the system.
KEEP SPRAY GUN LOCKED AND IN THE OFF POSI-
TON DURING ALL THESE STEPS.
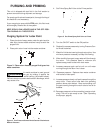
Purging System for Latex Paint
1. Place a bucket of soapy water under the paint suction
tube. Also, have a waste container handy to catch the
purged fluid.
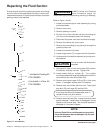
2. Place paint return hose into the waste container.
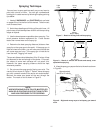
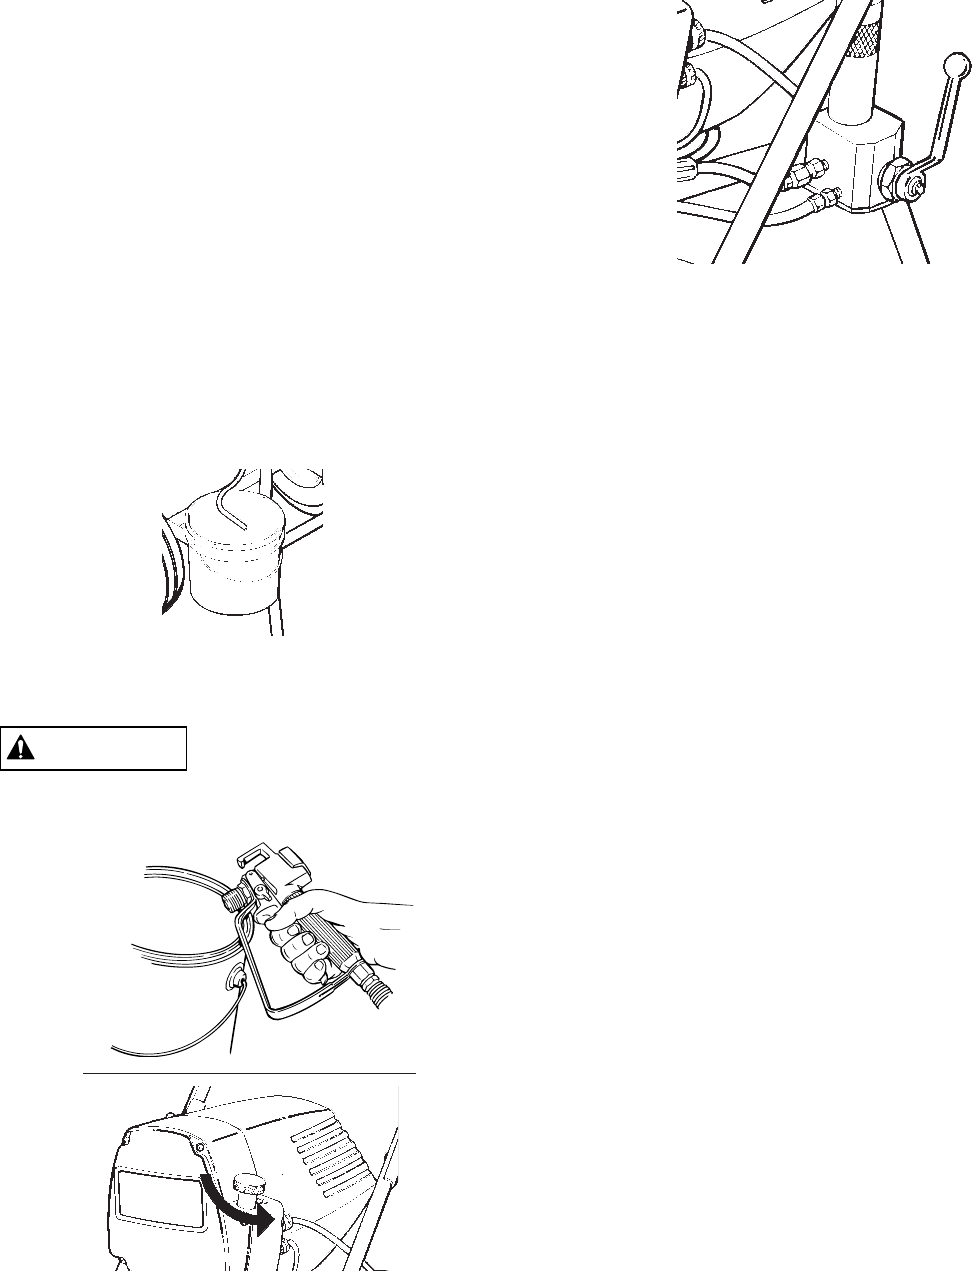
Figure 4. Turn Pressure Control Knob Counter-Clockwise to
Reduce Pressure
Figure 3. Place return hose so purged fluid goes into
waste container.
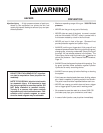
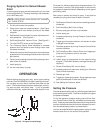
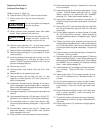
WARNING
If a metal container is used, ground
the gun by holding it against the
edge of the container while flushing (As shown below).
Failure to do so may lead to static electric discharge, which
may cause a fire.