


9
For a new unit, follow purging and priming steps above. For
units already in service, also purge water or solvent from
the system as described above, depending on the type of
paint being used.
After pump is primed and ready to spray, it may also be
necessary to purge the hoses of water or solvent.
1. Set Pressure Control Knob to minimum setting (counter-
clockwise).
2. Set Prime/Spray Ball Valve to Spray .
3. Be sure spray gun still has no tip installed.
4. Unlock spray gun.
5. Increase pressure by turning Pressure Control Knob
clockwise.
6. Trigger gun into waste container until solvent or water
is purged from the hose.
7. Decrease pressure by turning Pressure Control Knob
counter-clockwise.
8. Set Prime/Spray Ball Valve to Prime, and trigger gun
to be sure no pressure is left in the hose.
9. Lock gun off.
10. Install spray tip appropriate for the material being
sprayed. (The thicker the paint, the larger the spray tip
required.)
11. Re-set Prime/Spray Ball valve to Spray.
12. Increase pressure to maximum setting (turn Pressure
Control Knob clockwise).
13. Release gun lock.
14. Trigger gun to test spray pattern. Spray against a scrap
piece of pasteboard or other test surface.
15. See Setting the Pressure, below.
Setting the Pressure
The best pressure setting will vary with the type of paint and
the size and type of nozzle. The thicker the paint, the higher
the pressure needed.
To find the optimum pressure setting, start with the Pres-
sure Control Knob turned fully clockwise (maximum pres-
sure). Gradually decrease the pressure by turning the knob
counter-clockwise to the minimum level necessary to main-
tain the desired spray pattern and atomization.
Until you are satisfied with the spray pattern, spray on a test
surface rather than on the surface to be painted.
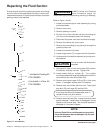
Purging System for Solvent-Based
Paint
If you are going to spray solvent-based paint, all you need
to do is purge the fluid. Thorough cleaning is not necessary
as it is with latex paint.
NOTE: KEEP SPRAY GUN LOCKED OFF DURING
ALL THESE STEPS.
1. Put full paint bucket into position.
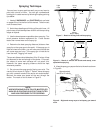
2. Place return hose over waste container. (See Figure
3.) Attach paint hose without tip and put into waste
container.
3. Set Pressure Control Knob full counter-clockwise (mini-
mum pressure). (See Figure 4.)
4. Set Prime/Spray Ball Valve on Prime . (See Figure 5.)
5. Turn the ON-OFF switch to the ON position.
6. Turn Pressure Control Knob clockwise to increase
pressure until fluid starts to come through return tube
into waste container.
7. When paint starts to flow through return tube, decrease
pressure to minimum setting and place return tube over
paint bucket.
8. Continue recirculating until paint flowing through return
tube is free of bubbles.
9. Install spray tip.
10. You are now ready to spray.
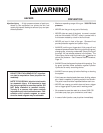
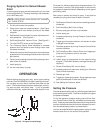
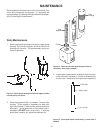
OPERATION
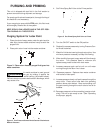
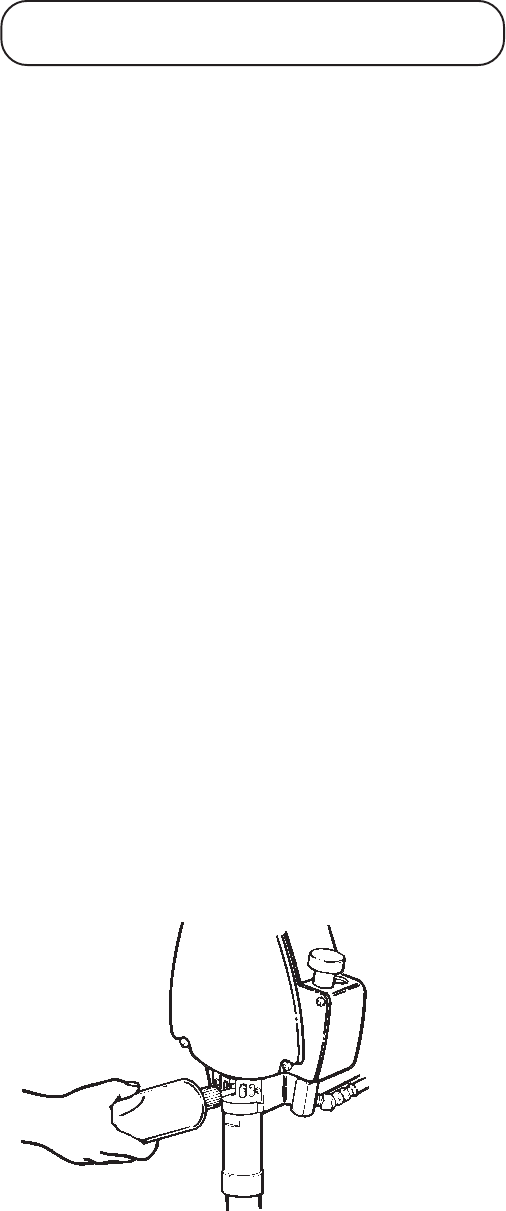
Before starting spraying every day, squirt upper packing
lubricant (Part No. 9992504) into slots in packing nut cover.
Do not apply so much that it overflows and drips into the
paint. This lubricant keeps the piston seals pliant, minimiz-
ing paint by-pass and piston wear. If unit is operated
several hours a day, repeat lubrication after about 4 hours.
Figure 6. Oil Upper Pump Packings