


15
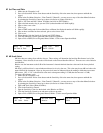
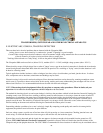
WARBLE TONE GENERATOR (UE-WTG-1):
• Turn Tone Generator on by selecting either "LOW" for a low amplitude signal (usually recommended for small containers) or
"HIGH" for high amplitude. In high, the Warble Tone Generator will cover up to 4,000 cubic feet (121.9 cu. meters) of
unobstructed space.
• When the Tone Generator is on, a red light (located below the recharge jack in the front) flickers.
• Place the Warble Tone Generator within the test item/container and seal or close it. Then scan the suspect areas with the
Trisonic
TM
Scanning Module in the Ultraprobe and listen for where the "warble" ultrasound penetrates.
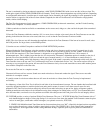
As an example, if the item to be tested is the seal around a window, place the Warble Tone Generator on one side of the window,
close it and proceed to scan on the opposite side.
• To test the condition of the Warble Tone Generator battery, set to the LOW INTENSITY position and listen to the sound through
the Ultraprobe at 40 kHz. A continuous warbling sound should be heard. If a "beeping" is heard instead, then a full recharge of the
Warble Tone Generator is indicated.
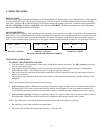
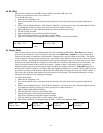
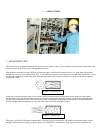
TO CHARGE THE WARBLE TONE GENERATOR:
• Plug recharger cable into recharger jack on the Warble Tone Generator and then plug the recharger into a wall receptacle.
• Make sure that the LED on the charger is lit when recharging.
• The LED turns OFF when the battery is charged.
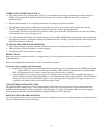
HELPFUL HINTS:
Before you begin your inspection activities, it is suggested that you review the applications section to become familiar with the basic
inspection methods.
Here are some helpful hints that should prove useful in some difficult situations.
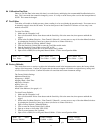
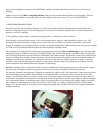
If you can’t read your display panel while testing:
• Trigger-release-Trigger method: Take the reading while holding the trigger in. Immediately press the STORE button and the
reading will be set. If you do not wish to save the reading, click the Sensitivity dial and return to Operation Mode.
NOTE: The instrument turns off within 5 seconds if the trigger control switch is not held in.
• Snap Shot Method: If you know you are going to be in a situation where you won’t be able to read the display panel, go
into Set Up Mode and spin to Display Mode (Menu 5). Select Snap Shot and return to Operation Mode. This will hold your
reading even while you continue to hold the trigger in. For a quick grab, take a reading, press the trigger in to hold it. For
an update or new reading, simply release and press the trigger switch.
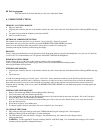
AUTO-SHUTDOWN BATTERY FEATURE
The Ultraprobe 9000 is equipped with an auto-shutdown feature, which enables the instrument to provide accurate measurement
throughout the effective battery charge. If the Ultraprobe 9000 goes into the auto-shutdown mode, no sound will be heard in the
headphones and measurements will not be displayed on the display panel. To restore the Ultraprobe 9000 to its’ normal operating
mode, recharge the instrument using the BCH-9 Battery Charger (BCH-92 for 220 V operation).
RESETTING THE ON BOARD COMPUTER:
For security purposes, there is no reset switch on the instrument. Should it be necessary to reset the instrument:, disconnect the battery
for one (1) minute and then reconnect the battery.