10
OPERATING CONTROLS AND ADJUSTMENTS
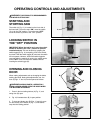
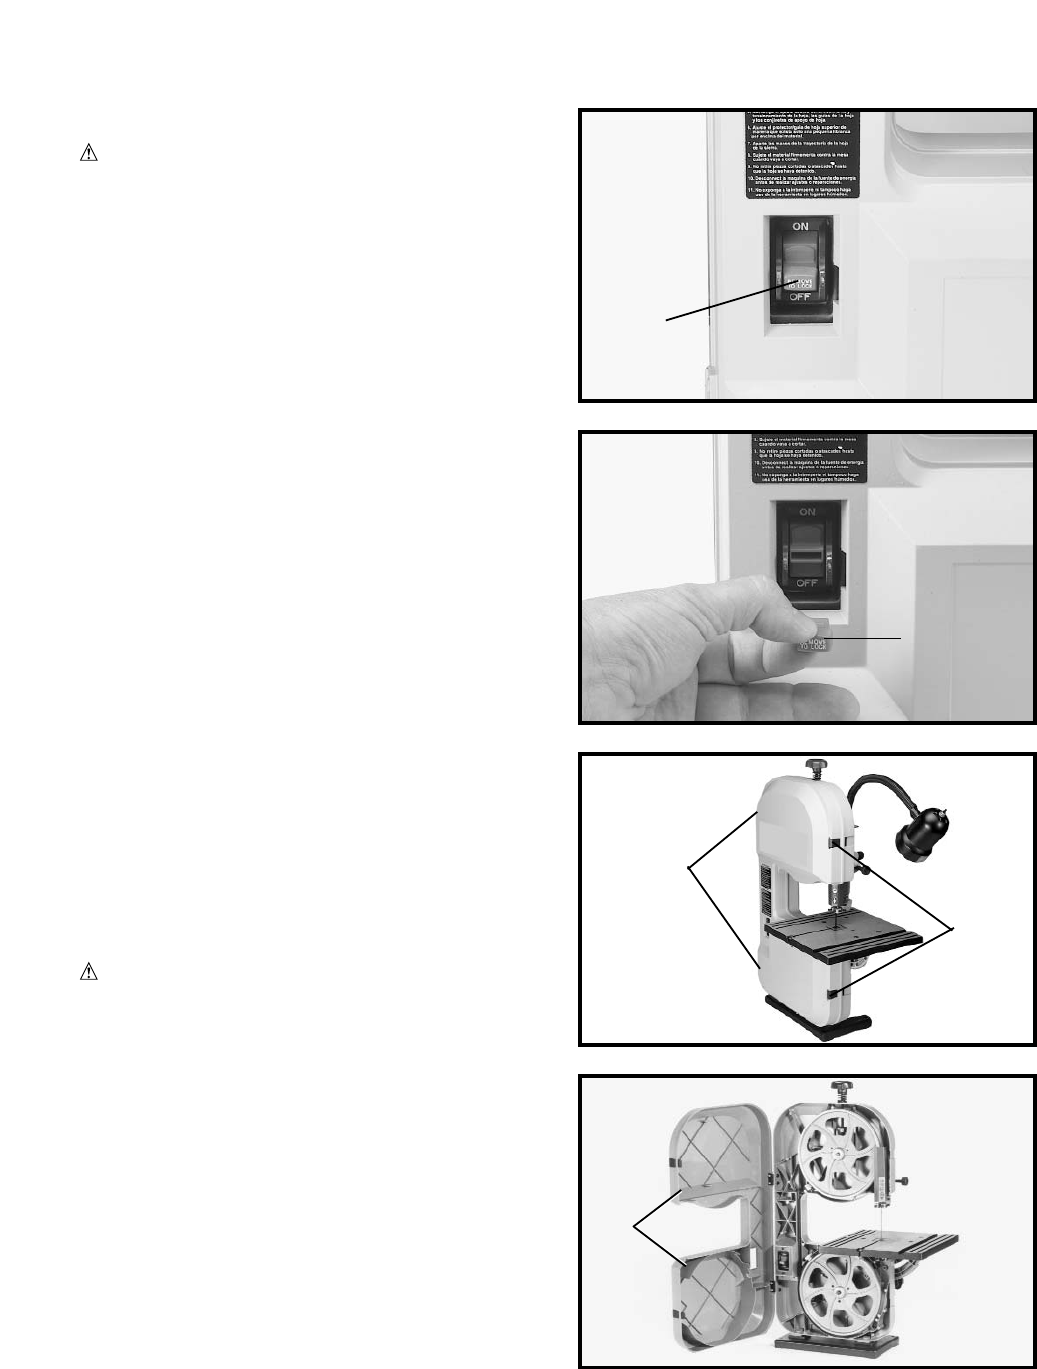
Fig. 15
Fig. 16
Fig. 17
WARNING: THIS PRODUCT IS RECOMMENDED
FOR WOOD CUTTING ONLY.
STARTING AND
STOPPING SAW
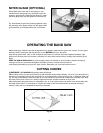
The switch (A) Fig. 15, is located on the front side of
the band saw. To turn the saw “ON” move the switch
(A) up to the “ON” position. To turn the saw “OFF”
move the switch (A) down to the “OFF” position.
LOCKING SWITCH IN
THE “OFF” POSITION
IMPORTANT: When the tool is not in use, the switch
should be locked in the “OFF” position to prevent
unauthorized use. This can be done by grasping the
switch toggle (B) Fig. 16, and pulling it out of the switch,
as shown. With the switch toggle (B) removed, the switch
will not operate. However, should the switch toggle be
removed while the machine is running, the switch can be
turned “OFF” once, but cannot be restarted without
inserting the switch toggle (B).
OPENING AND CLOSING
DOOR
When making adjustments such as changing the blade,
tracking the blade, blade guide adjustments, etc., the
door (B) Figs. 17 and 18, can be opened as follows:
WARNING: MOVING PARTS. LAZERATION /
PINCH HAZARD: NEVER OPEN THE DOOR WHEN
THE MACHINE IS RUNNING.
1. Press in the two locking latches (A) Fig. 17, and
swing door (B) open.
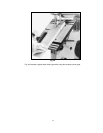
2. Fig. 18, illustrates door (B) in open position.
3. To close and fasten door (B) Figs. 17 and 18, press
on door directly over latches (A) Fig. 17, until latches
snap into the locking position.
B
A
B
B
A
Fig. 18


