


8
Fig. 9
Fig. 10
Fig. 11
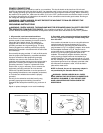
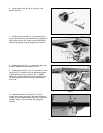
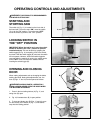
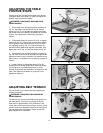
6. Locate pinion knob (N) Fig. 9, spring (O), and
special screw (P).
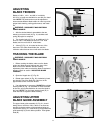
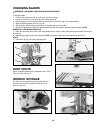
7. Position pinion knob (N) Fig. 10, onto the back of
saw so that the teeth on the pinion knob (N) engage the
teeth on the trunnion (R). Fasten in place with special
screw (P) and spring using the supplied 4mm wrench.
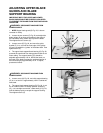
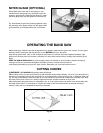
8. Fasten pointer (S) Fig. 11, to the back of band saw
using the M5x.8x10mm pan head screw (T).
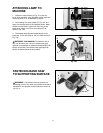
9. Place locking handle (F) Fig. 4, onto stud (G). Place
spring (E) Fig. 4, inside hole of lock handle and fasten
in place with screw (D) as shown in Fig. 11. NOTE:
Handle (F) is spring-loaded and can be repositioned on
the stud by pulling out the handle and repositioning it
on the nut.
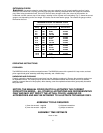
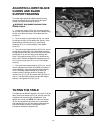
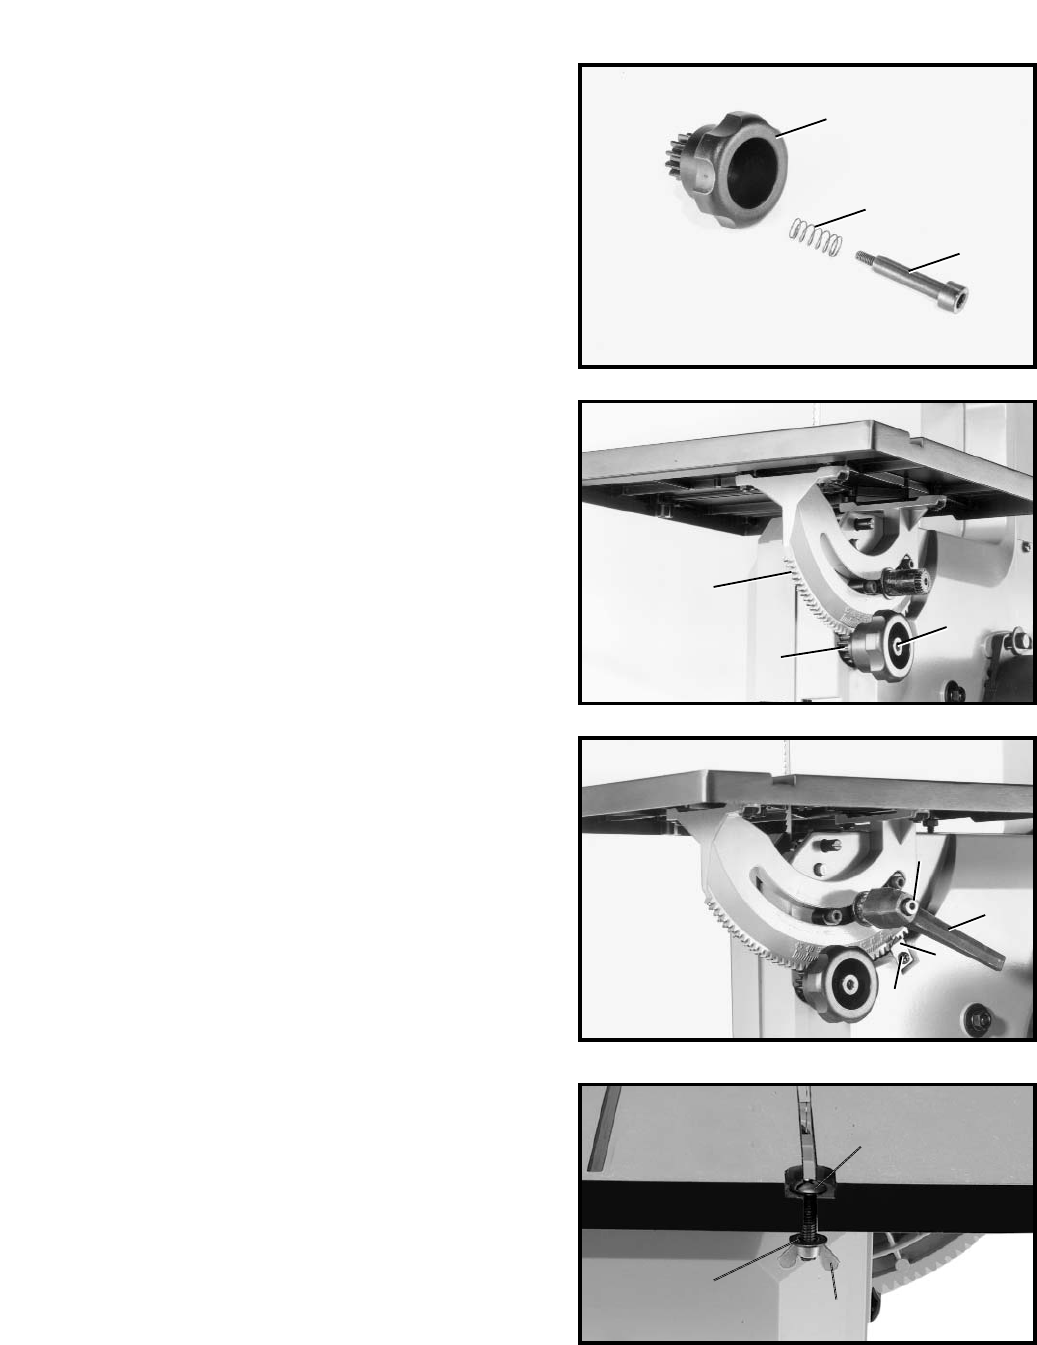
10. Insert M6x1x30mm screw (W) Fig. 12, down
through hole in table, as shown, and place an M6 flat
washer (Z) onto the M6x1x30mm screw (W) and thread
the M6x1 wing nut (X) onto screw (W) and tighten
securely.
N
O
P
R
N
P
F
S
T
D
Fig. 12
W
Z
X