


12
CHN70899
www.chpower.com
Pre-Operation
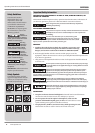
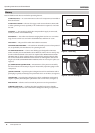
OPERATIONAL MODES
Always know the operational mode of the nailer before using. Failure to
know the operational mode could result in death or serious injury.
This nailer may be operated in the “Sequential” mode (as supplied by the
manufacturer) or “Bump” mode. The tool may be converted from one mode to the
other by firmly pressing the conversion switch from one position to the other.
Press the conversion switch on the “
” side to activate Sequential Mode.
Press the conversion switch on the “ ” side to activate Bump Mode.
Press either side to the middle position to activate the Safety Lockout Mode.
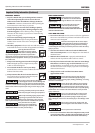
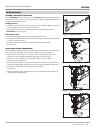
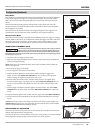
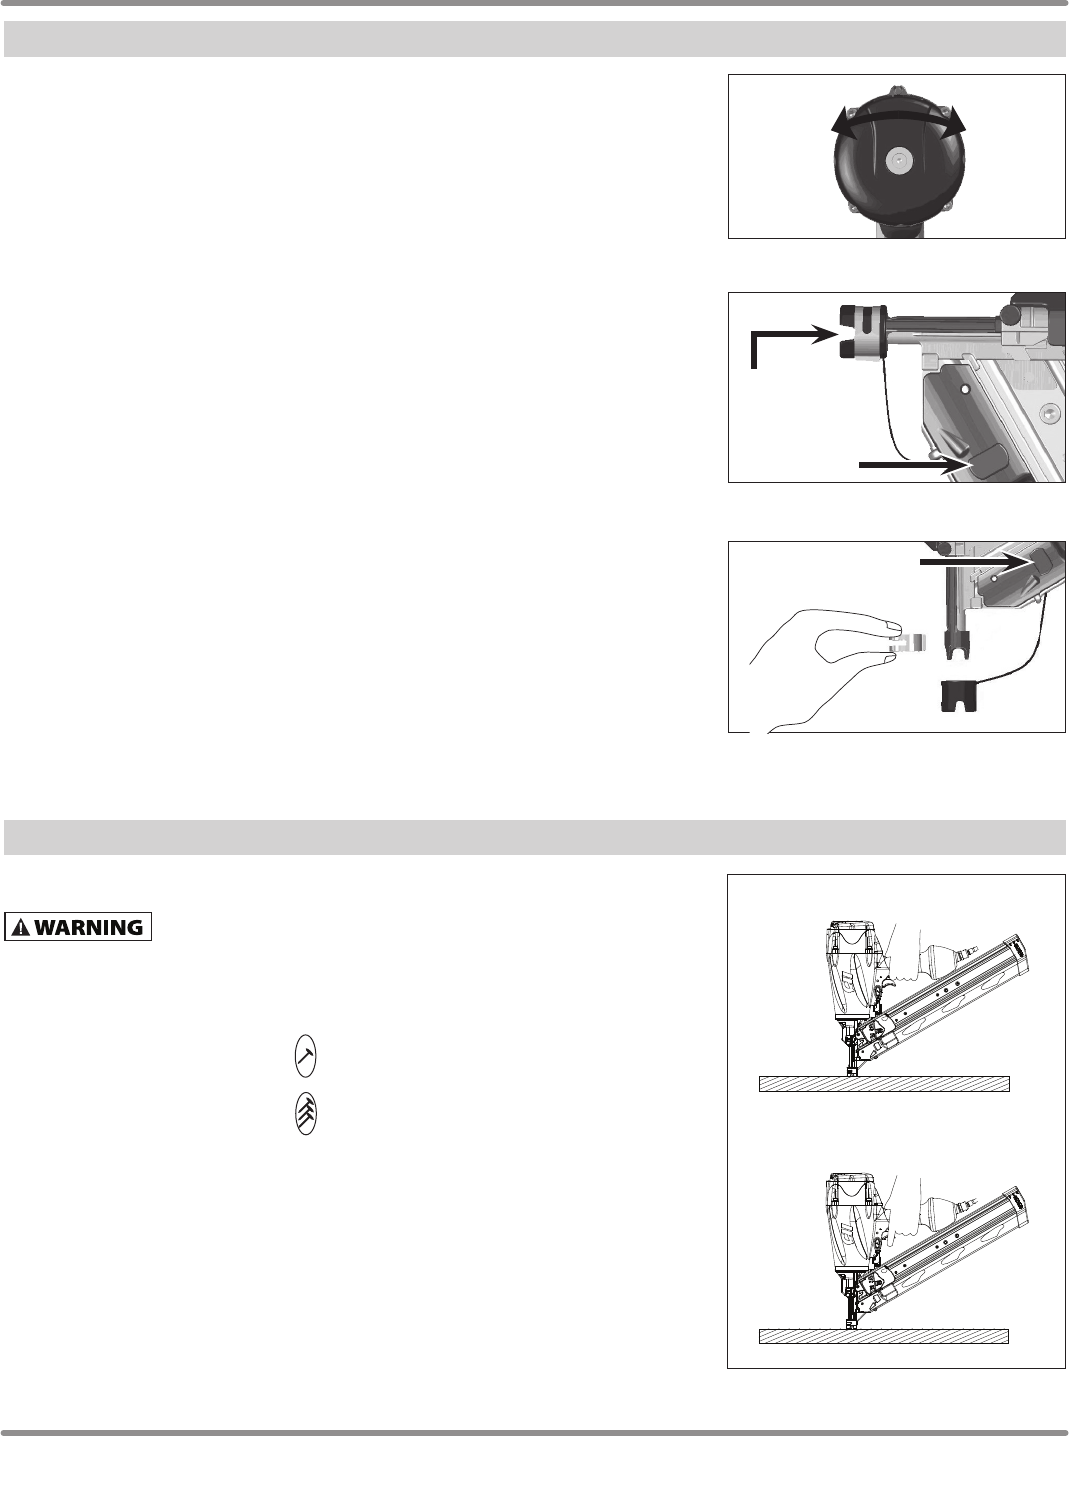
Sequential Mode
This method is recommended when precise nail placement is required. Operation in
this mode requires trigger to be pulled each time a nail is driven. Nailer can be actuated
by depressing the Work Contact Element (WCE) against work surface followed by
pulling the trigger.
The trigger must be released after each fastener is driven to allow tool to reset.
Since the tool can only be actuated by first removing the finger from the trigger, this
is considered to be a more restrictive mode of operation, suitable for less experienced
users.
Operating Instructions and Parts Manual
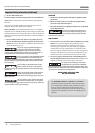
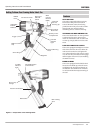
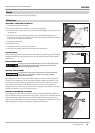
Figure 13 - Exhaust Adjustment
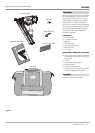
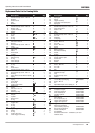
Figure 15 - Remove No-mar Tip
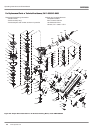
Storage Post
Figure 14 - No-mar Tip
Storage Post
No-mar Tip
Figure 16 - Sequential Mode
Then pull trigger.
Work Surface
Depress WCE first...
Work Surface
Set-Up (Continued)
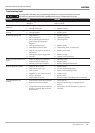
ADJUSTING THE DIRECTION OF THE EXHAUST
The CHN70899 is equipped with an adjustable direction exhaust deflector. This is
intended to allow the user to change the direction of the exhaust. Simply twist the
deflector to any direction desired.
INSTALLING NO-MAR TIP
1. Disconnect air supply from nailer.
2. Remove no-mar tip from storage post.
3. Remove retaining ring from no-mar tip.
4. Carefully place no-mar tip over the end of work contact element. Position tip
onto WCE making certain serrated gooves on each piece are in line and fit snugly
together.
5. Position retaining ring on no-mar tip and press firmly in place.
6. Check that the WCE and trigger move up and down freely without sticking or
binding.
REMOVING NO-MAR TIP
1. Disconnect air supply from nailer.
2. Remove no-mar tip retaining ring.
3. Pry no-mar tip away from the work contact element.
4. Replace retaining ring onto no-mar tip, then store tip on storage post for future use.