


6
Operating Instructions
www.chpower.com
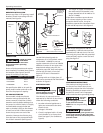
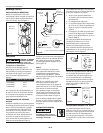
Storage
1. When not in use, hose and
compressor should be stored in a
cool dry place.
2. Tanks should be drained of moisture.
and hose should be disconnected
and hung with open ends down to
allow any moisture to drain.
3. Protect the electrical cord from
possible damage by winding the
cord loosely around the handle of
the unit or coiling the cord up.
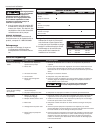
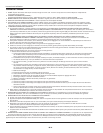
MAINTENANCE SCHEDULE
OPERATION DAILY WEEKLY MONTHLY 3 MONTHS
CHECK OIL LEVEL
l
DRAIN TANK
l
CHECK AIR FILTER
l
CHECK SAFETY VALVE
l
CLEAN UNIT
l
CHECK BELT TIGHTNESS
l
CHANGE OIL
l
TORQUE REQUIREMENTS (in/lbs)
Model
Compressor
Head Bolts
Bearing
Cap Bolts
VS 100-125 50-120
VT 225-300 50-120
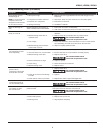
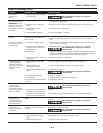
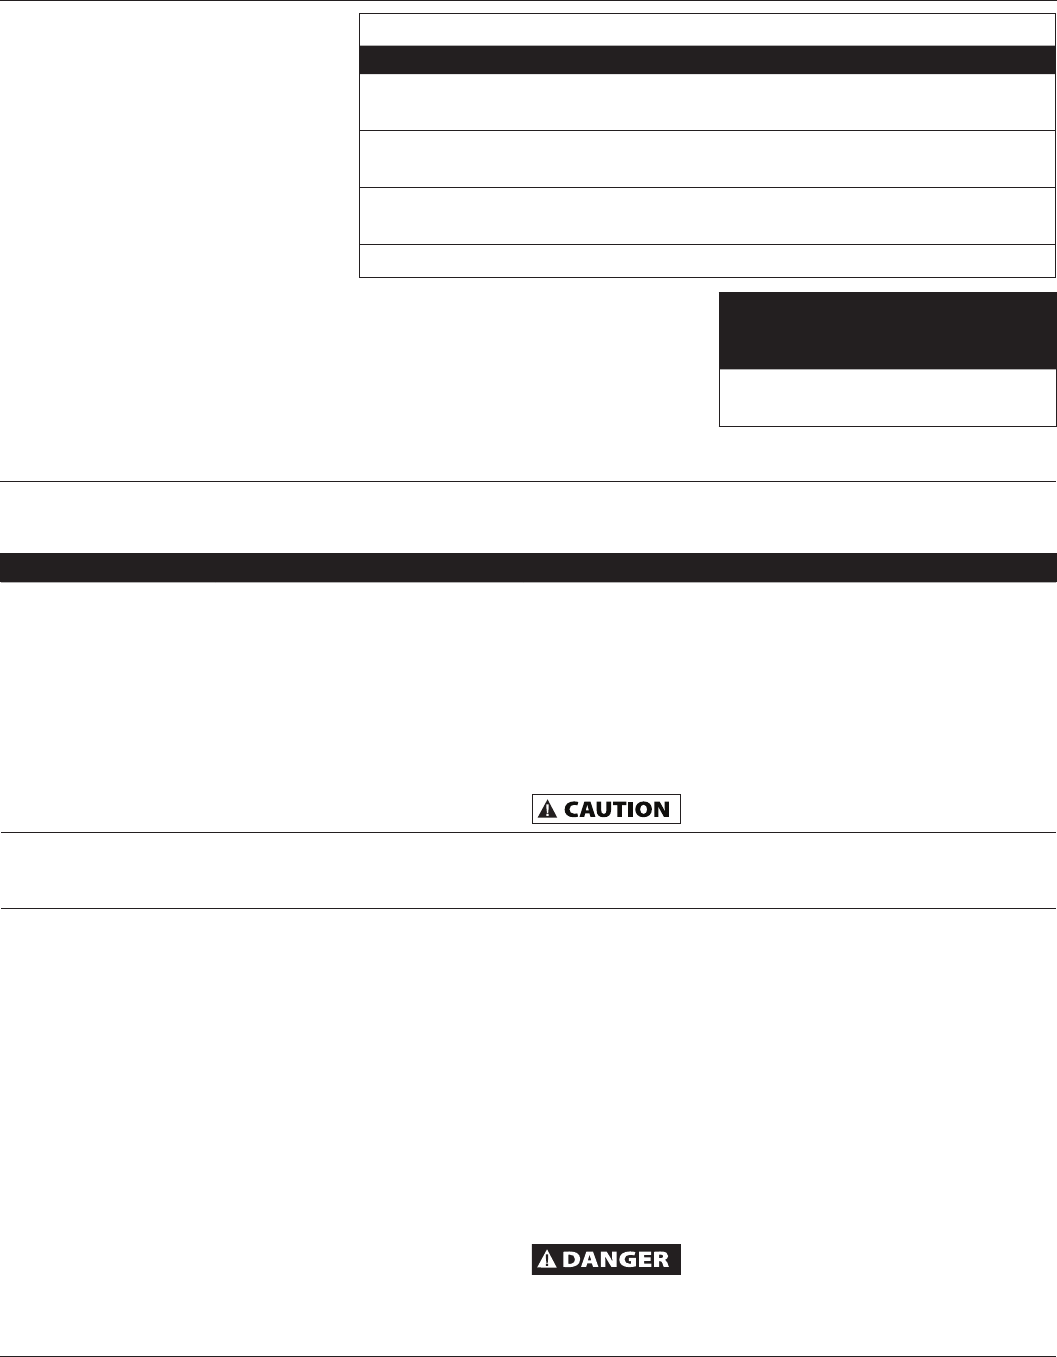
Troubleshooting Chart
Symptom Possible Cause(s) Corrective Action
Low discharge pressure 1. Air demand exceeds pump capacity 1. Reduce air demand or use a compressor with more capacity.
2. Air leaks 2. Listen for escaping air. Apply soap solution to all fittings and
connections. Bubbles will appear at points of leakage. Tighten or
replace leaking fittings or connections.
3. Restricted air intake 3. Clean the air filter element.
4. Blown gaskets 4. Replace any gaskets proven faulty on inspection.
5. Leaking or damaged valves 5. Remove head and inspect for valve breakage, misaligned valves,
damaged valve seats, etc. Replace defective parts and reassemble.
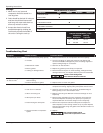
Install a new head gasket
each time the head is removed
Pump overheating causes
air filter to melt
1. Insulating gasket between filter and
head is missing
1. Install gasket.
2. Broken valves/blown gasket 2. Replace valves or install new gasket.
Excessive noise (knocking) 1. Loose motor or compressor pulley 1. Loose motor or compressor pulleys are a very common cause of
compressors knocking. Tighten pulley clamp bolts and set-screws.
2. Lack of oil in crankcase 2. Check for proper oil level; if low, check for possible damage to
bearings. Dirty oil can cause excessive wear.
3. Worn connecting rod 3. Replace connecting rod. Maintain oil level and change oil more
frequently.
4. Worn piston pin bores 4. Remove piston assemblies from the compressor and inspect for
excess wear. Replace excessively worn piston pin or pistons, as
required. Maintain oil level and change oil more frequently.
5. Piston hitting the valve plate 5. Remove the compressor head and valve plate and inspect for
carbon deposits or other foreign matter on top of piston. Replace
head and valve plate using new gasket. See Lubrication section for
recommended oil.
6. Noisy check valve in compressor
system
6. Replace.
Do not disassemble check
valve with air pressure in tank